
Service Electrical
Battery Statement
Service the Battery Safely

Checking Battery Electrolyte Level
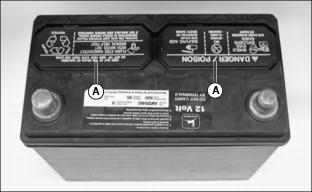
2. Remove battery manifold caps (A).
IMPORTANT: Avoid damage! Acid may leak from the battery while it is charging. Make sure the battery is filled correctly. |
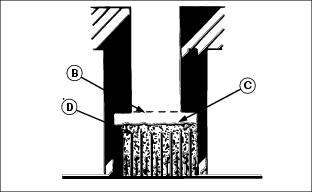
3. Check electrolyte level. Electrolyte level (C) should be halfway between the plates (D) and the filler neck (B).
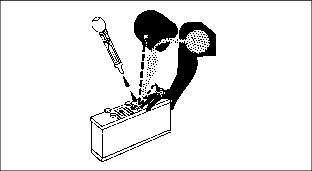
4. Add distilled water if necessary.
Removing and Installing the Battery
Removing:
1. Park machine safely. (See Parking Safely in the SAFETY Section.)
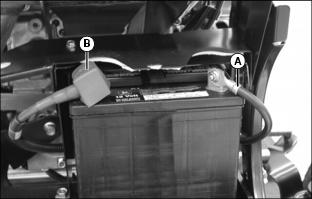
4. Disconnect negative (-) battery cable (A).
5. Push red cover (B) away from positive (+) battery cable and remove cable from battery.
Installing:
1. Place battery on battery tray.
2. Connect positive (+) cable to battery first, then negative (-) cable.
3. Apply dielectric grease to terminals to prevent corrosion.
4. Slide red cover over positive battery cable.
Cleaning Battery and Terminals
1. Disconnect and remove battery.
2. Wash battery with solution of four tablespoons of baking soda to one gallon of water. Be careful not to get the soda solution into the cells.
3. Rinse the battery with plain water and dry.
4. Clean terminals and battery cable ends with wire brush until bright.
5. Apply dielectric grease to terminals to prevent corrosion.
Using Booster Battery
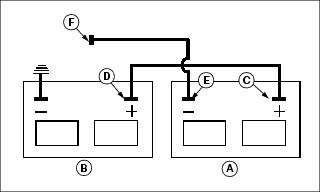
1. Connect positive (+) booster cable to booster battery (A) positive (+) post (C).
2. Connect the other end of positive (+) booster cable to the disabled vehicle battery (B) positive (+) post (D).
3. Connect negative (-) booster cable to booster battery negative (-) post (E).
4. Connect the other end (F) of negative (-) booster cable to a metal part of the disabled machine frame away from battery.
5. Start the engine of the disabled machine and run machine for several minutes.
6. Carefully disconnect the booster cables in the exact reverse order: negative cable first and then the positive cable.
Replacing Headlight Bulb
 c CAUTION: Avoid injury! Halogen lightbulb contains gas under pressure. The bulb may shatter if the glass is scratched or dropped. Wear eye protection and handle bulb with care when replacing.
|
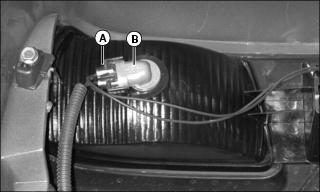
2. Disconnect wire harness (A) from defective bulb assembly (B).
3. Turn bulb assembly 1/4 turn counterclockwise to remove.
4. Insert new bulb assembly into housing and turn 1/4 turn clockwise to install.
Replacing Taillight Bulb
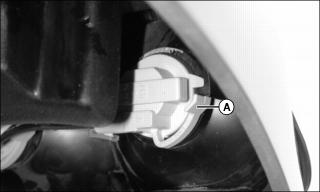
1. Depress tab (A) and turn bulb assembly counterclockwise 1/4 turn to release.
2. Remove bulb assembly from housing.
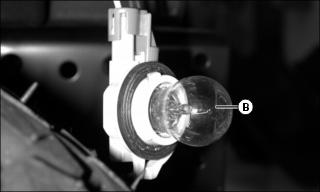
3. Turn bulb (B) counterclockwise to remove from socket.
5. Insert bulb assembly into housing and turn clockwise to lock tab into place.
Replacing Indicator Light Bulb
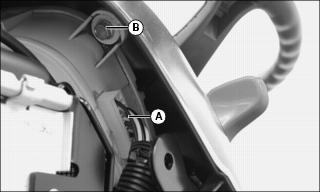
3. Disconnect wire harness (A) from indicator light panel.
4. Remove cap screws (B) on both sides of indicator light panel.
5. Lift indicator light panel bottom tabs out of holder, and pivot panel to remove from machine.
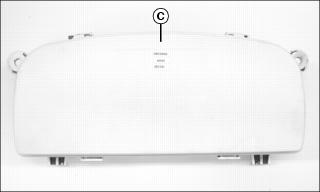
6. Push down on tabs and remove panel back (C).
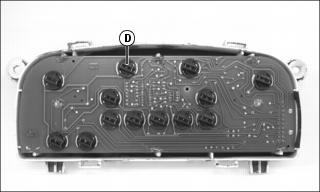
7. Turn bulb sockets (D) counterclockwise to remove.
Replacing Fuses
IMPORTANT: Avoid damage! Be sure replacement fuse is the proper amperage: 15 amp fuses for lights and switches, 20 amp fuse for 12-volt outlet. |
NOTE: The separate fuse (not shown) on the wiring harness is for the 12-volt outlet.
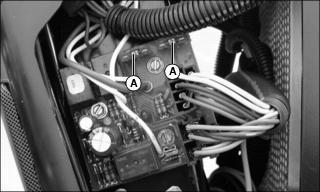
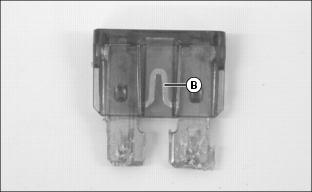
4. Check metal clip (B) in fuse window. Discard fuse if clip is broken.