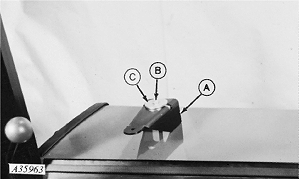
30-60 Series Open Station Tractors-Console Installation1. Drill hole in right fender and attach bracket (A) with 3/8 x 3-1/2 in. cap screw (B) and 0.391 x 2 x 0.22 in. washer (C) and 3/8 in. nut. Order from Parts:
|
|
AG,OUO1074,854 -19-01MAR00-1/7 |
|
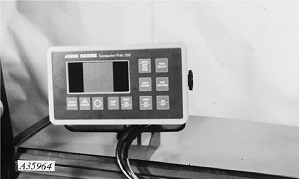
2. Attach monitor to bracket. |
|
AG,OUO1074,854 -19-01MAR00-2/7 |
|
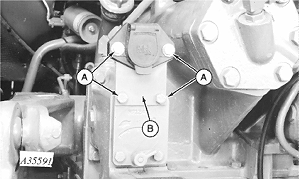
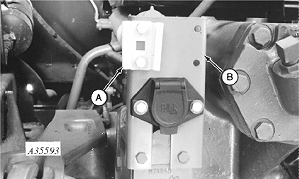
3. Remove four cap screws (A), two nuts and SAVE for reuse. 4. Remove connector mounting plate (B) and DISCARD.
|
|
AG,OUO1074,854 -19-01MAR00-3/7 |
|
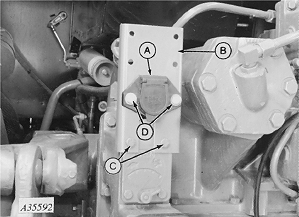
5. Install harness connector (A) through slot in bracket (B). 6. Mount bracket (B) (legs to front) to tractor SCV with two cap screws (C) previously removed. 7. Install two cap screws (D) and nuts previously removed through connector (A) to bracket (B).
|
|
AG,OUO1074,854 -19-01MAR00-4/7 |
|
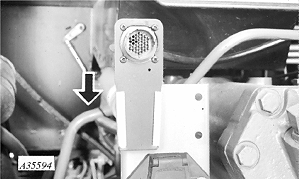
8. Install socket (A) to connector bracket (B) with two M8 x 16 cap screws and M8 nuts.
|
|
AG,OUO1074,854 -19-01MAR00-5/7 |
|
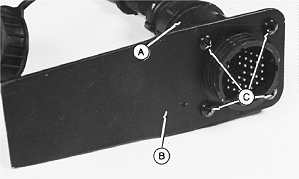
9. Attach monitor harness connector (A) to mounting spade (B) using four self tapping screws (C) provided with monitor.
|
|
AG,OUO1074,854 -19-01MAR00-6/7 |
|
10. Insert mounting spade into socket. 11. Connect monitor power harness to 3-pin convenience outlet. If tractor is equipped with a 2-pin outlet, order AA37254 to convert 2-pin outlet to a 3-pin outlet. If tractor is not equipped with a convenience outlet, order AA37247. |
|
AG,OUO1074,854 -19-01MAR00-7/7 |
