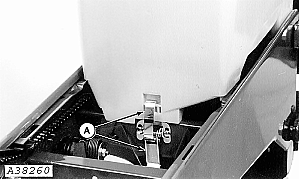
Install Seed DiskTo install seed disk in vacuum metering unit: 1. Remove seed hopper from planting unit by disengaging hopper latch (A) and lifting hopper upward and rearward. |
|
GENOM,PVU,L -19-12NOV92-1/5 |
|
2. To install seed disk in vacuum metering unit: Remove vacuum hose (A) from metering unit. |
|
GENOM,PVU,L -19-12NOV92-2/5 |
|
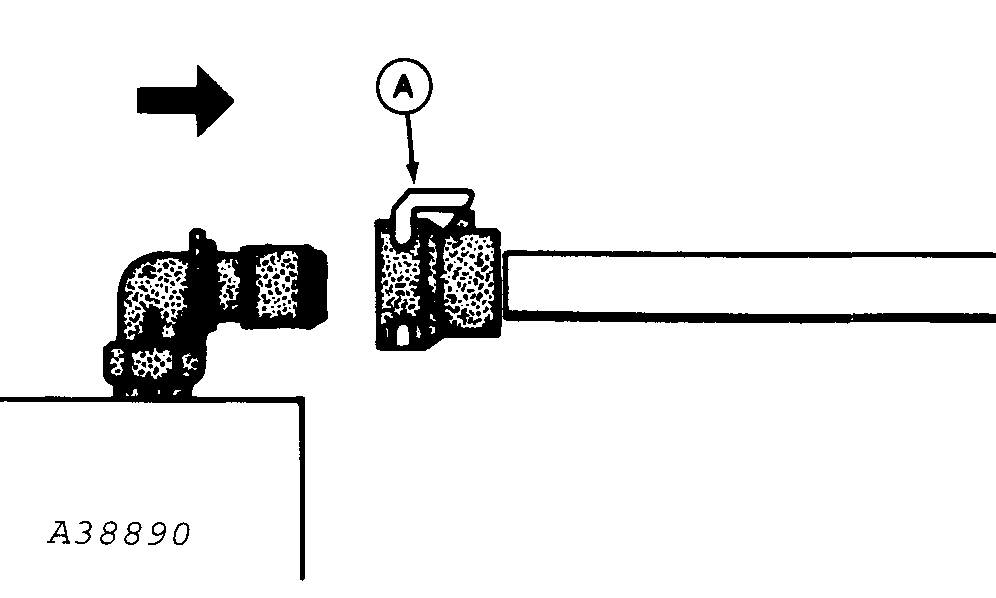
3. Squeeze retainer (A) and pull hose out of connector on unit equipped with vacuum monitoring hose. |
|
GENOM,PVU,L -19-12NOV92-3/5 |
|
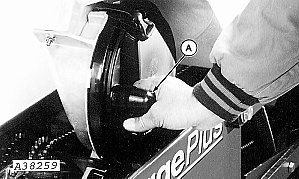
4. Disengage handle (A) and swing vacuum chamber open. |
|
GENOM,PVU,L -19-12NOV92-4/5 |
|
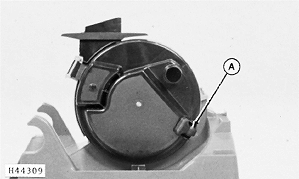
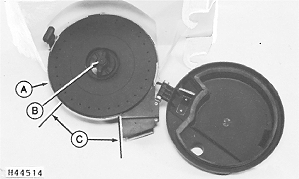
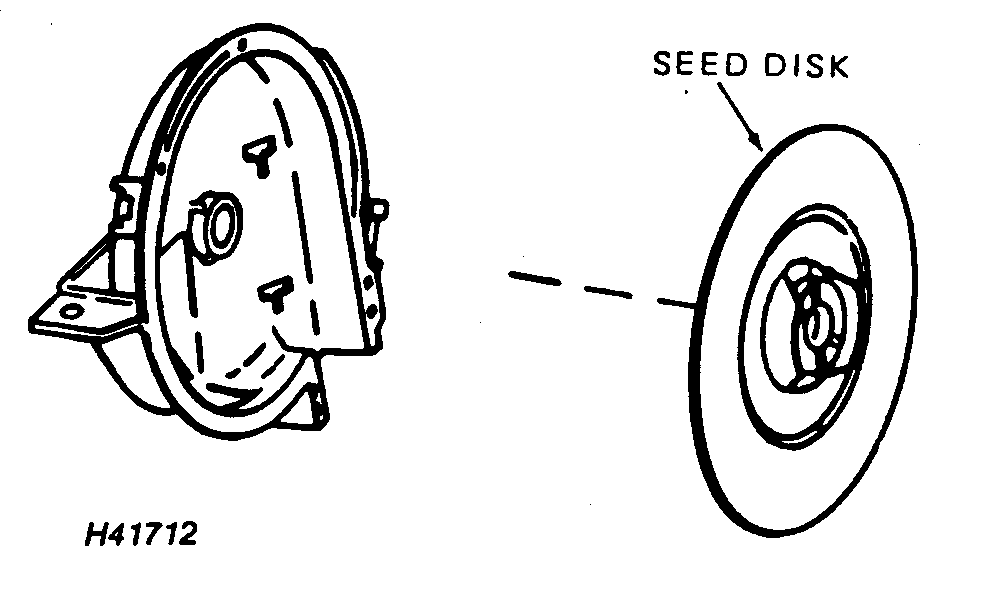
5. Fit seed disk (A) into housing and attach with hub handle (B) by holding seed disk stationary and rotating hub handle. 6. Inspect gap between seed disk and housing, then spin disk in housing. NOTE: Seed disk should turn smoothly with light contact or a small gap between seed disk (A) and meter housing. Turn seed disk by hand and check gap between seed disk and meter housing in section (C). Seed should not leak around circumference of meter. When planting small seed, such as sorghum or sugar beets, seed disk must lightly contact housing to prevent seed leakage. If disk turns too hard, or if seed leaks through gap, readjust hub position. ( See ADJUSTING METER HUB in Preparing for Use section.) 7. Close vacuum chamber and attach with handle ( see step 4.) 8. Replace hopper on unit and attach with latch ( see step 2). 9. Reposition vacuum hose on vacuum meter ( see step 1). |
|
GENOM,PVU,L -19-12NOV92-5/5 |