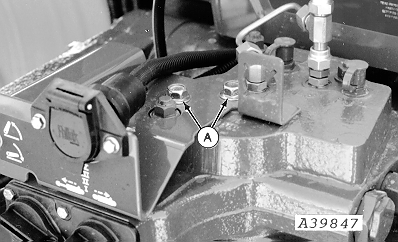
Install Harness Bracket-8000 and 9000 Series Tractors1. Remove two cap screws (A) and discard.
|
|
AG,OUO1074,1615 -19-24APR00-1/5 |
|
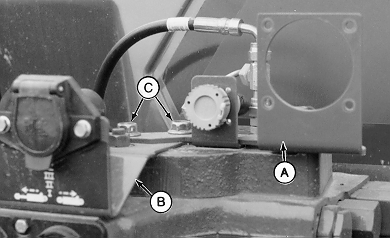
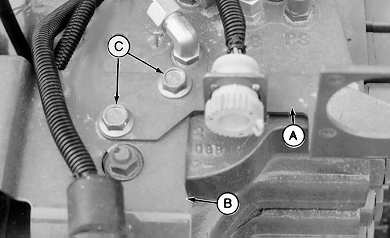
2. Install monitor bracket (A) on top of 7-pin bracket (B) and fasten with M12 x 20 cap screws (C).
|
|
AG,OUO1074,1615 -19-24APR00-2/5 |
|
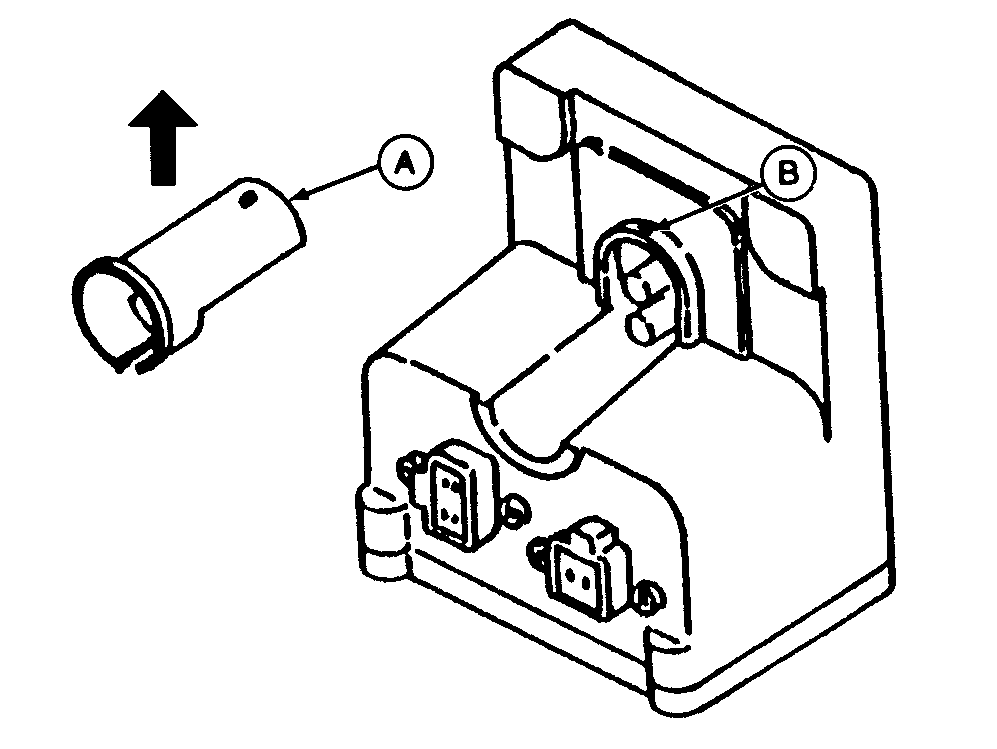
NOTE: Cover (A) for 4-pin connector can be removed to simplify connection of red and black wires to terminals. 3. To remove cover, lift rear portion to remove from pin (B), then lift straight up in direction of arrow.
|
|
AG,OUO1074,1615 -19-24APR00-3/5 |
|
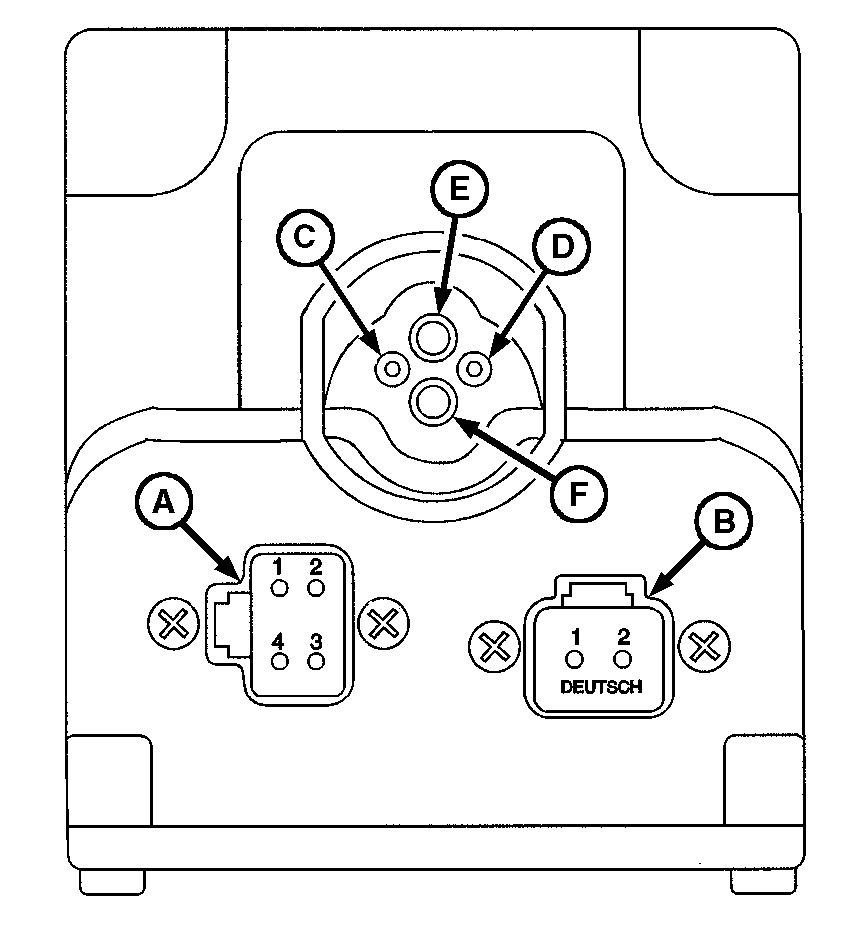
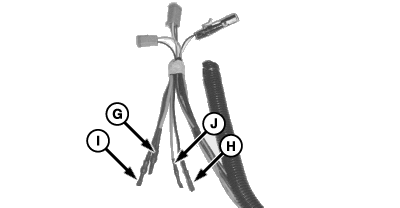
4. Connect 4-pin plug to connector (A) and 2-pin plug to connector (B). 5. The ISO Implement connector must have the 2 red and 2 black wires hooked-up to the top four sockets. These wires come tucked behind the protective wire conduit. 6. Cut the tape wrapped around these wires and remove the shrink-wrap. NOTE: Positive and negative symbols are molded into the lip of the box as a guide showing where the insert wires. NOTE: To connect wires, insert wire end firmly into terminal. Properly connected wire will remain connected when wire is gently pulled. 7. Connect large red wire (G) to terminal (E), small black (H) to terminal (D), large black (I ) to terminal (F) and small red (J) to terminal (C).
|
|
AG,OUO1074,1615 -19-24APR00-4/5 |
|
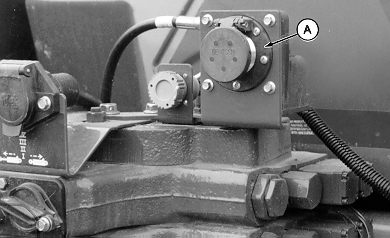
8. Attach monitor connector (A) to bracket with M6 x 16 cap screws.
|
|
AG,OUO1074,1615 -19-24APR00-5/5 |