System Tests1. Select primary Menu button >> Air Cart button >> Diagnostic softkey >> Continue (Enter) button in top right corner.2. Page one displays all clutch tests. Select the on and off button next to each clutch while a second person watches each clutch for activity. 3. Select Continue (Enter) button. 4. Page two displays the fan speed light test. Select the on and off button next to each light while watching lights on front of cart for illumination. 5. Select Continue (Enter) button. 6. Page three tests all meter rotation sensors to determine the proper number of signals (pulses) are detected. Select the Test button next to the sensor to test. a. Select on and off switches to enable main clutch and meter clutch. b. Select the Zero button to clear pulse count. c. Select the on and off button to start counting sensor pulses. d. Mark meter wheel and turn meter crank until meter wheel rotates one revolution. e. The actual count is displayed next to Pulse Counts. Sixty pulses are expected per revolution. 7. Disable meter clutch and select the Cancel button to return to page three. 8. Test remaining meters. 9. Select Continue (Enter) button. 10. Page four tests tire speed, fan speed, and tank level inputs. Select the Test button next to Tire Speed . |
|


OUO6074,000000B -19-02JUN09-1/2 |
|
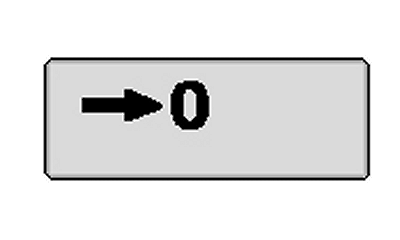
NOTE: Configure tire sensor first. (See CONFIGURE TIRE SPEED SENSOR in Monitor Setup for Air Cart section.) 11. Mark a spot on the rear tire of cart. a. Drive cart forward while a second person watches mark or place rear corner of cart on jack stand and turn tire by hand. Select on and off switch to start pulse count. b. When tire completes one full revolution, select on and off switch to stop pulse count. c. The actual count is displayed next to Pulse Counts. Fifty One pulses are expected per revolution. 12. Select Continue (Enter) button. 13. Select the Test button next to Tank Level . 14. As each level sensor inside a tank is pressed, the switches (Sw's) column changes from zero to one then two then three. Each switch must remain pressed for the numbers to increase. 15. Select Continue (Enter) button. 16. Page five tests the variable rate drive system. a. Select the Front, Middle, and Rear variable transmission drives to test. b. Select the direction the variable drive moves the transmission (Increase or Decrease). c. Enter amount of time for variable drive to remain active (Jog Time). d. Select Start button and observe variable motors. Select Stop button to stop drives before time expires. |
OUO6074,000000B -19-02JUN09-2/2 |