Double Eliminator Operation
NOTE:

A60184-UN-06JUN07
Double Notch Brush
A60109-UN-31MAY07
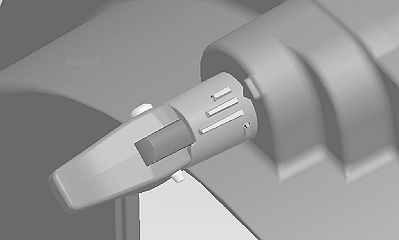
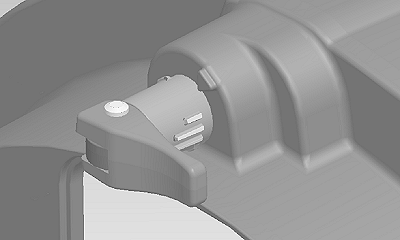
Latched and in Normal Operating Position
When using the Double Eliminator, set vacuum level to approximately 15 and install double notch brush. (See CHANGE VACUUM METER BRUSH in this section.)There are 3 indicator marks on the dial, however it can be set at any location in the range of the dial and then latched to hold that position. The middle position has a detent to represent 1/2 of the hole covered.
Small Indicator Mark: Less hole covered.
Middle Indicator Mark: 1/2 of hole covered. Detent position.
Large Indicator Mark: More hole covered.
-
Normal operating position is middle indicator mark aligned with
pointer on the meter housing.
This is approximately 1/2 of the seed disk hole covered and provides good seed singulation for a wide variety of seed sizes and shapes.
If seed singulation performance is inconsistent and cannot be corrected by varying vacuum level or reducing planting speed, it might be necessary to move the adjustment to the smaller indicator mark (less hole covered) or large mark (more hole covered).
- Seed disk hub height adjustment is critical for proper performance. Adjust seed disk hub, so seed disk is in light contact with the meter housing. Proper adjustment is achieved when the seed disk turns approximately 1 turn when the hub is spun rapidly by hand.
Double Eliminator Operating Tips:
-
A60192-UN-07JUN07
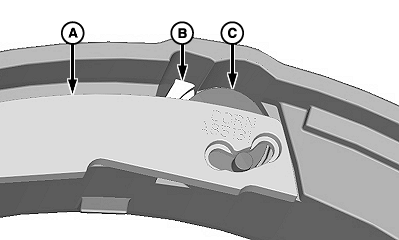
A60193-UN-07JUN07A - Plate
B - Detent Assembly
C - Crank
If excessive wear is on surface of double eliminator plate (A) due to contact with seed disk, check the following:- Detent assembly (B) is seated fully in pocket.
- Crank (C) is seated fully in bore.
-
NOTE: Remove pin by prying under head if disassembly is required.
Assembly/disassembly of pin and latch can be accomplished a limited
number of times, before replacement.
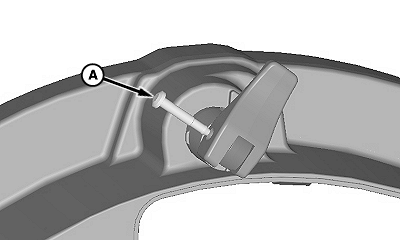
A60198-UN-07JUN07A - Pin
If double eliminator adjustment becomes difficult, do the following:- Remove pin (A).
- Disassemble double eliminator.
- Lubricate double eliminator assembly with powered graphite.
- Assemble double eliminator in reverse order of removal.
- Move double eliminator through its complete range to ensure smooth operation.
- Latch double eliminator in storage position when using celled disks.
A60180-UN-06JUN07
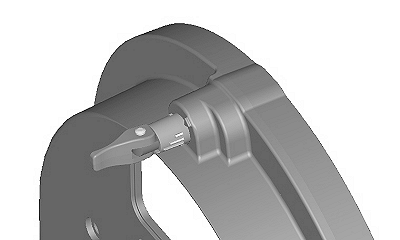
Latched in Storage Position, Celled Disk Use
Double Eliminator Operation with Celled Disks:- Leave double eliminator unlatched in storage position.
A60108-UN-31MAY07
Unlatched and in Storage Position
Storage:|
OUO6045,0000A0E-19-20090408 |