Flex and Rigid Frame Configurations (12-Row Wide)
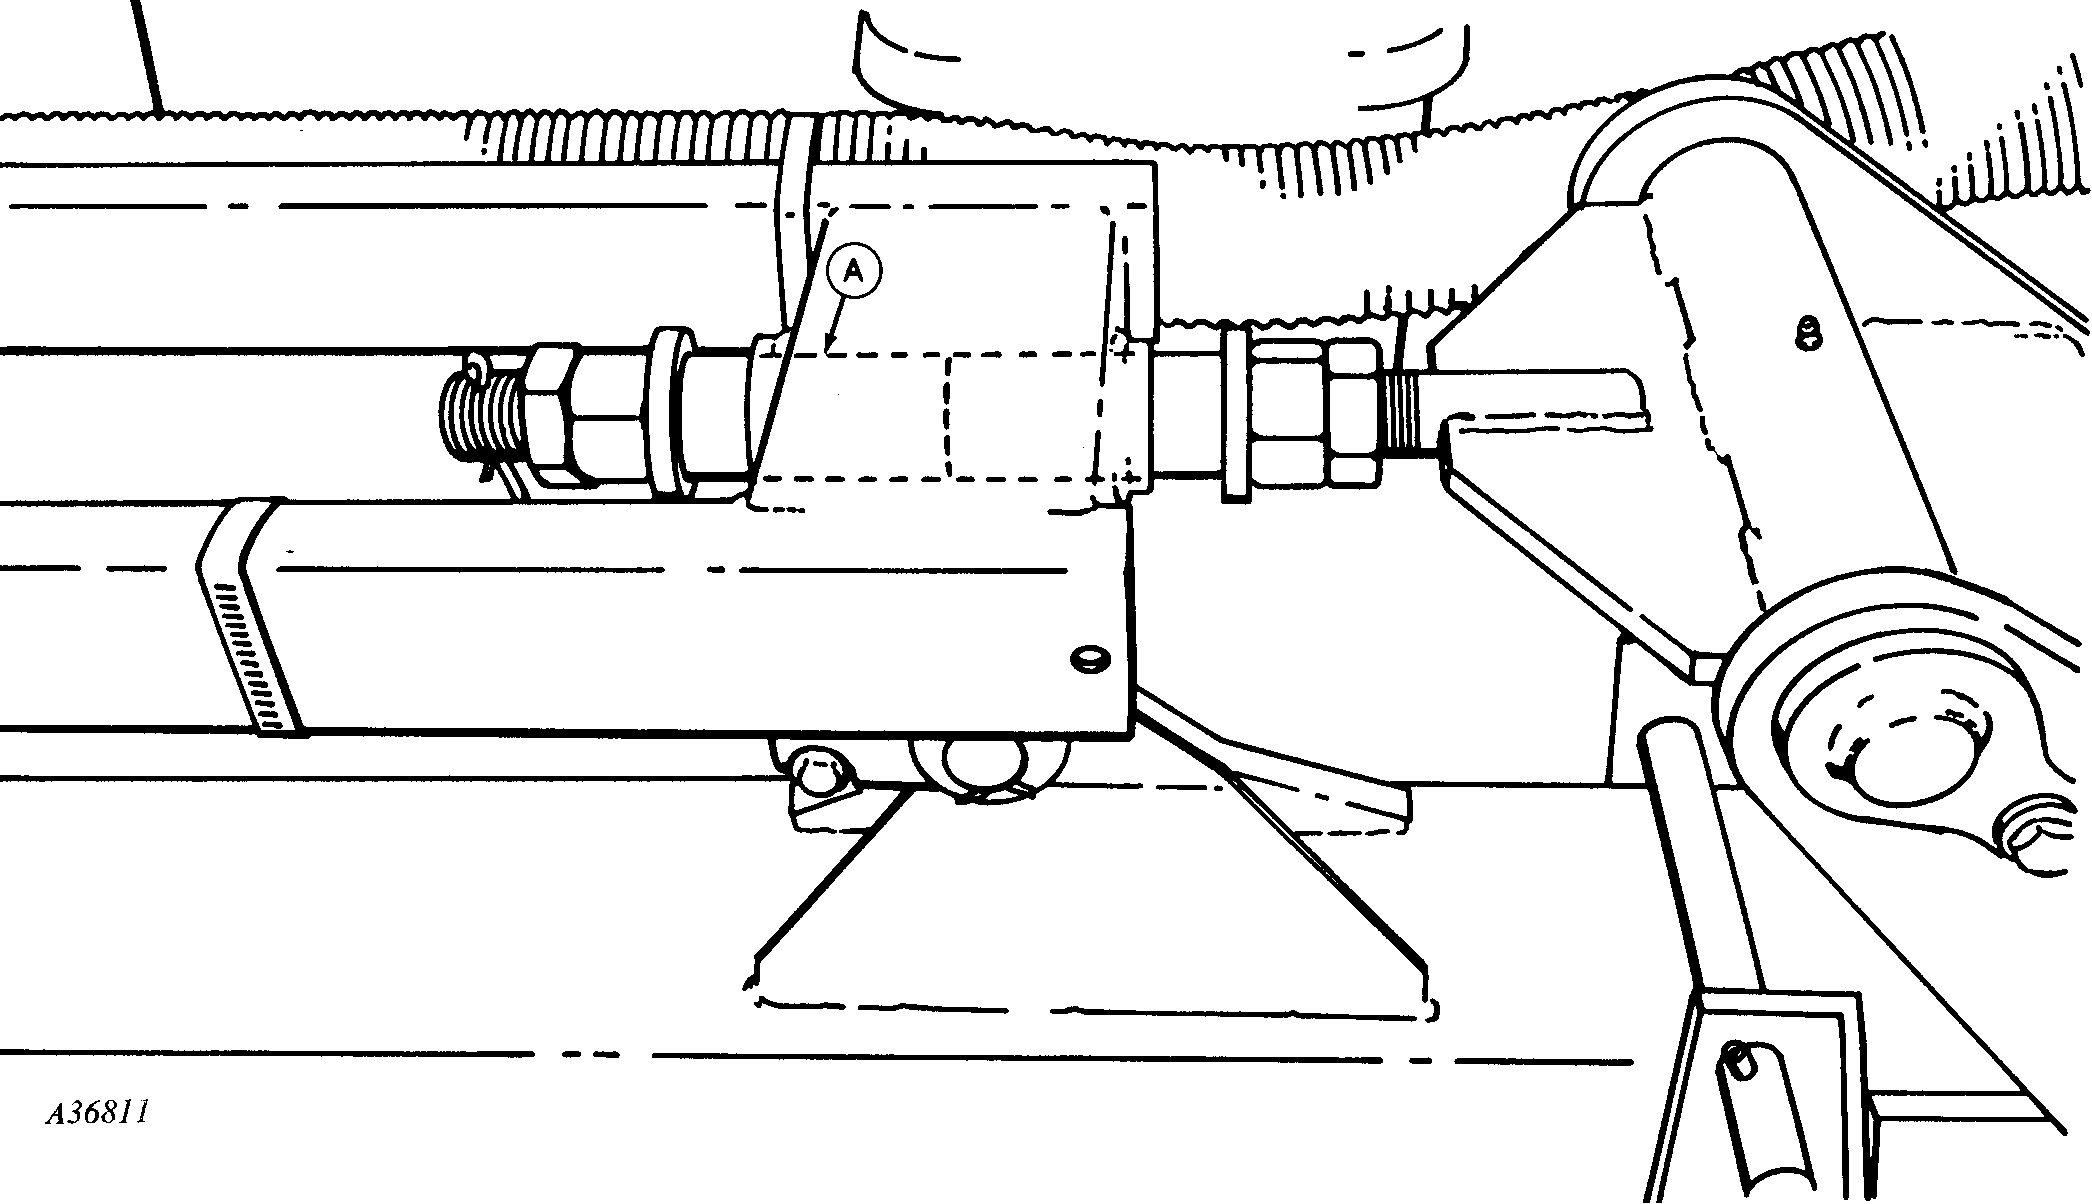
A36811-UN-22MAR95
A - Spacer Location
Flex Configuration
-
NOTE: Follow procedure on both sides of machine.
Position machine frame on a smooth, level surface in an unfolded (planting) position. Then cut a 116 mm (4-9/16 in.) plastic spacer from SHC40 PVC and install next to existing spacer on trunnion at (A). Adjust nuts so an equal amount of spacer is exposed at each end of link sleeve. This allows the wing frame to flex five degrees up and down.
-
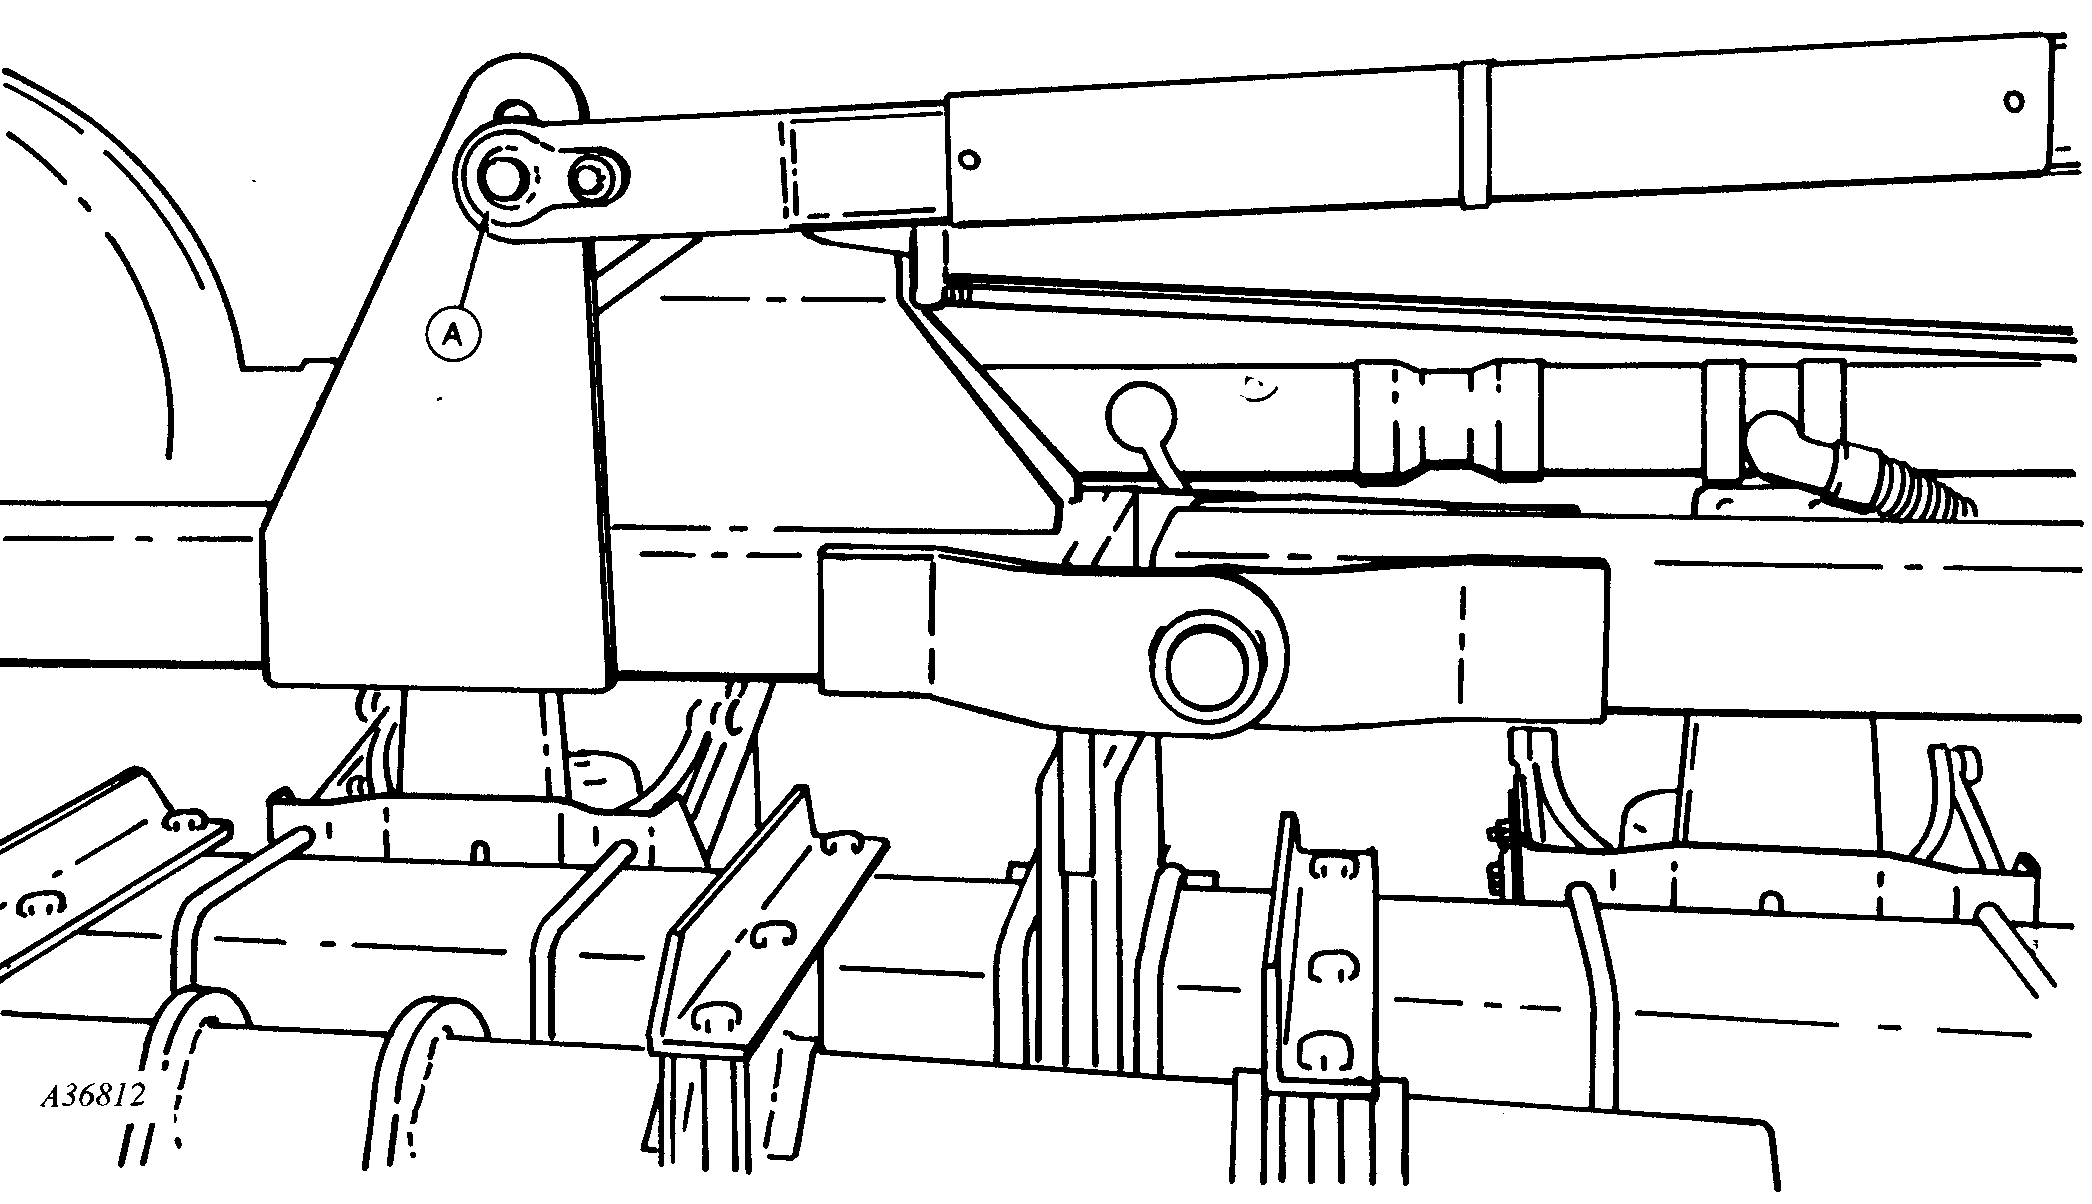
A36812-UN-22MAR95Pin Shown in Lower Hole
A - Link Pin
Remove link pin (A), reposition link and install pin in lower hole. -
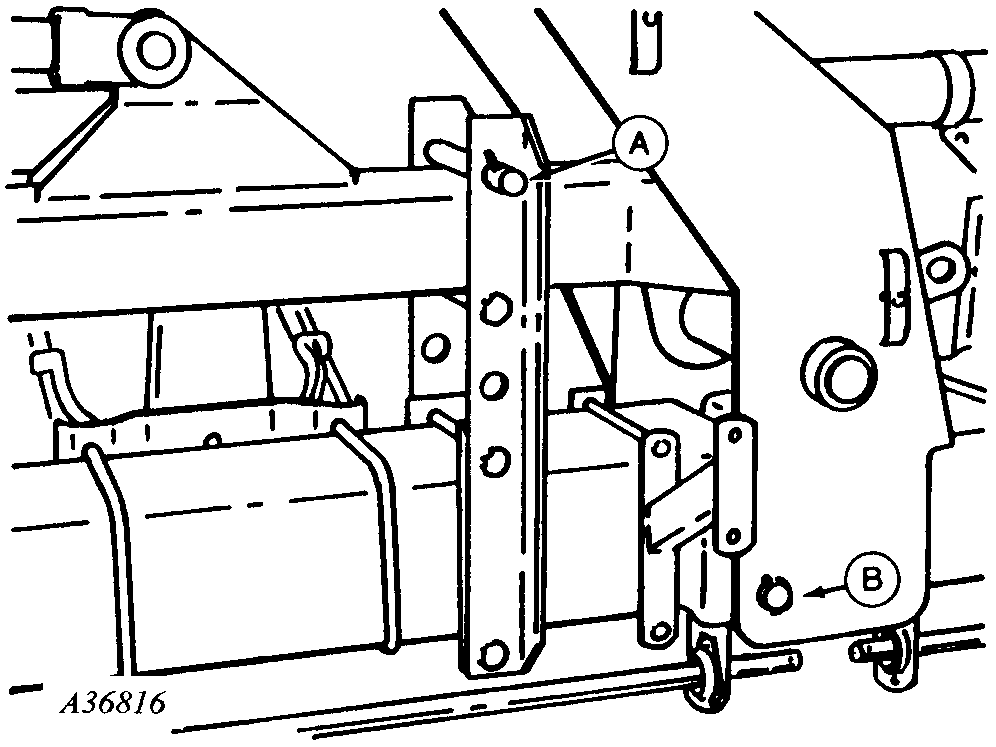
A36816-UN-22MAR95A - Wing Lock-Down Pin
B - Rigid Lock Pin
Install wing lock-down pins (A), on both sides of machine, above each lift arm to prevent the entire wing section from moving straight up or down. -
Remove rigid lock pins (B), on both sides of machine, to allow the wings to flex up and down approximately 5 degrees.
-
NOTE: Wing wheels are not used to drive planting units while in flex mode.
Adjust drill shaft and countershaft. See COUPLER ADJUSTMENTS FOR FLEX AND RIGID OPERATION in this section.
Rigid Configuration
-
NOTE: Follow procedure on both sides of machine.
Position machine frame on a smooth, level surface in an unfolded (planting) position with fold SCV lever in float position.
-
A36811-UN-22MAR95A - Spacer Location
Remove 116 mm (4-9/16 in.) plastic spacer from trunnion at (A). -
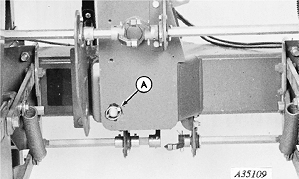
A35109-UN-09NOV92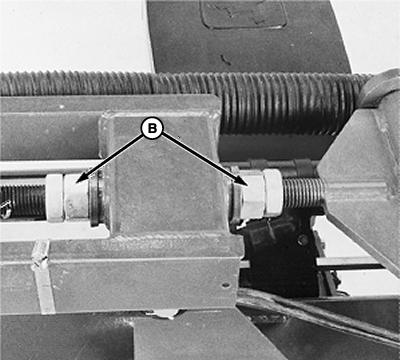
A47301-UN-12APR01A - Locking Pins
B - Nuts
Adjust large nuts (B) on top control links until the locking pins (A), on both sides of machine, can be installed. Tighten nuts to maintain setting. -

A47249-UN-05APR01Pin Shown in Upper Hole
A - Link Pin
Remove link pin (A), reposition link and install pin in upper hole. -
NOTE: When frame is rigid, all wheels must drive planting units.
Adjust drill shaft and countershaft. See COUPLER ADJUSTMENTS FOR FLEX AND RIGID OPERATION in this section.
|
OUO6045,000007F-19-20081211 |