Level Drawbar Hitch Machine
A83381-UN-19AUG14
A82474-UN-01MAY14
A52386-UN-03JUL03
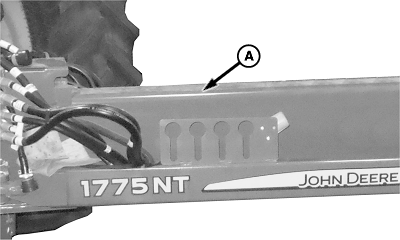
A - Hitch Tube
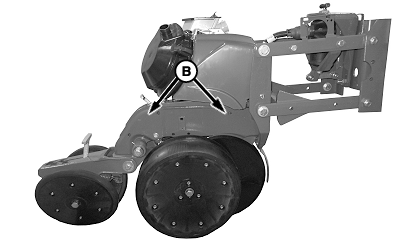
B - Planting Unit Frame
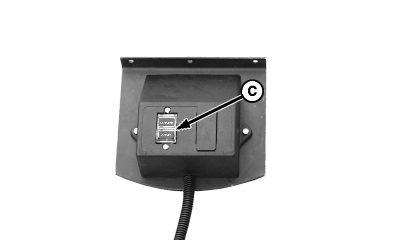
C - Hitch/Marker Switch
Periodically check that hitch tube (A) and planting unit frames (B) are parallel to the ground during operation.-
IMPORTANT: If tractor has Category 4 drawbar, it must be used with a Category 4 clevis on planter. If tractor has Category 5 drawbar, it must be used with a Category 5 clevis on planter. (See INSTALL PROPER DRAWBAR CLEVIS.)
NOTE: Adjustments are more accurate when performed in field conditions.
NOTE: If center frame of machine is higher or lower than wings, rephase hydraulic lift system. Lower machine and hold SCV lever for several seconds to rephase.
Set any adjustable down force system to zero pressure.
-
Lower machine on level ground.
-
Place hitch-marker switch (C) in HITCH position.
-
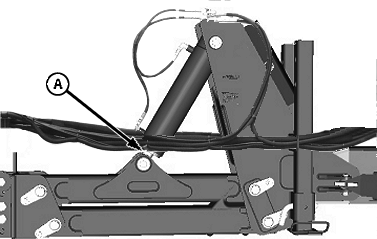
A52394-UN-07JUL03A - Drawbar Hitch Cylinder
Completely retract drawbar hitch cylinder (A). -
With machine in planting position and adjustable down force systems set to zero pressure, check clearance from bottom of main frame tube to the ground. If frame is not 510—560 mm (20—22 in.) above ground, see ADJUST FRAME HEIGHT in this section before continuing this procedure.
-
Raise and lower machine.
-
Verify that hitch tube is parallel with ground. If hitch is not parallel, proceed with remaining steps.
-
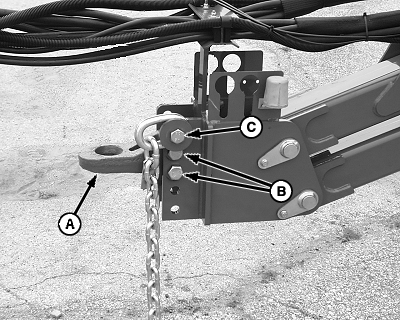
A52376-UN-27JUN03A - Clevis
B - Cap Screws, Clevis
C - Cap Screw, Safety Chain
Raise hitch enough to lower jack stands and disconnect clevis from tractor. -
NOTE: If clevis is in highest position when hitch is parallel, install safety chain under clevis.
NOTE: Turn clevis over for minor adjustment. Move clevis to a new hole for major adjustment.
Reposition clevis (A) so hitch becomes parallel to ground when reattached to tractor.
-
IMPORTANT: Cap screws must be tightened before a load is placed on hitch to obtain accurate torque values.
Tighten clevis cap screws (B) and safety chain cap screw (C) to specification.
Item Measurement Specification Cap Screws Clevis Torque 597 N·m (440 lb.-ft.) Safety Chain Torque 325 N·m (240 lb.-ft.) -
Attach tractor to drawbar, raise jack-stands, and retract drawbar cylinder completely.
-
Check to see if entire length of hitch tube is parallel with ground. If hitch is not parallel, reposition and tighten clevis until hitch tube is parallel.
-

A82475-UN-01MAY14A - Parallel Arms
B - Planting Unit Frame
During operation, parallel arms (A) are parallel to the ground or angle slightly upward toward frame.During operation, planting unit frames (B) are parallel to the ground. Periodically verify that planting units are parallel with ground during operation.
If center frame of machine becomes higher or lower than wings during operation, rephase hydraulic lift system.
|
WP29706,00003F1-19-20140819 |