Replacing the Drive Belt
LX1026131-UN-21MAY01
NOTE: On tractors with front PTO, the drive belt must be replaced by your John Deere dealer.
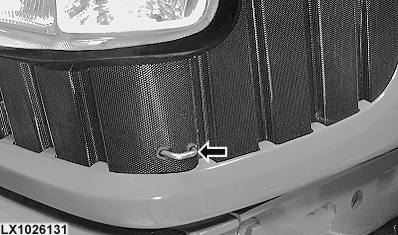
Pull the catch and lift the hood up.
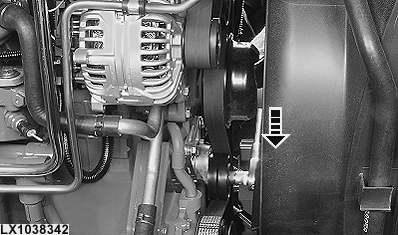
Relieving tension on the drive belt
LX1038342-UN-18MAY06
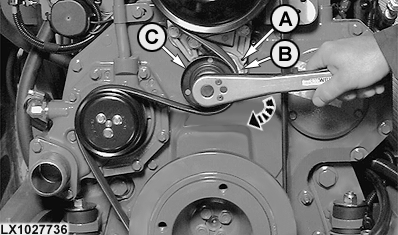
LX1027736-UN-28AUG01
A - Hole (cam)
B - Hole (base plate)
C - Tensioner roll
 CAUTION: Disconnect negative (—) cable from battery.
Remove cover on tensioner roll (C). Turn tensioner roll cap screw using a 15 mm (19/32 in.) wrench (see arrow). The drive belt tensioner automatically goes back to tensioning position.
The drive belt tensioner can be kept in relieved position as follows:
Turn tensioner roll cap screw (see arrow) until bores (A) and (B) are aligned. Insert a 5 mm (0.2 in.) dia. pin into the two holes that are in alignment.
For tensioning, turn tensioner roll slightly to release metal pin and pull it from the bores. The drive belt tensioner returns to its tensioning position automatically.
Replacing the drive belt
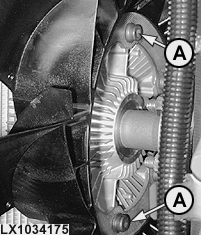
LX1034175-UN-14JUN04

LX1034176-UN-14JUN04
A - Corrugated-head screws
B - Drive belt
C - Fan
Take the six screws (A) out of the fan.
Take drive belt (B) off over fan (C) and put on a new drive belt (see below for routing of belt).
IMPORTANT: When installing, always use new corrugated-head screws.
Tighten corrugated-head screws to the following specification.
| Item | Measurement | Specification |
| Attachment to fan | Torque | 22 – 28 Nm 16 – 21 lb-ft |
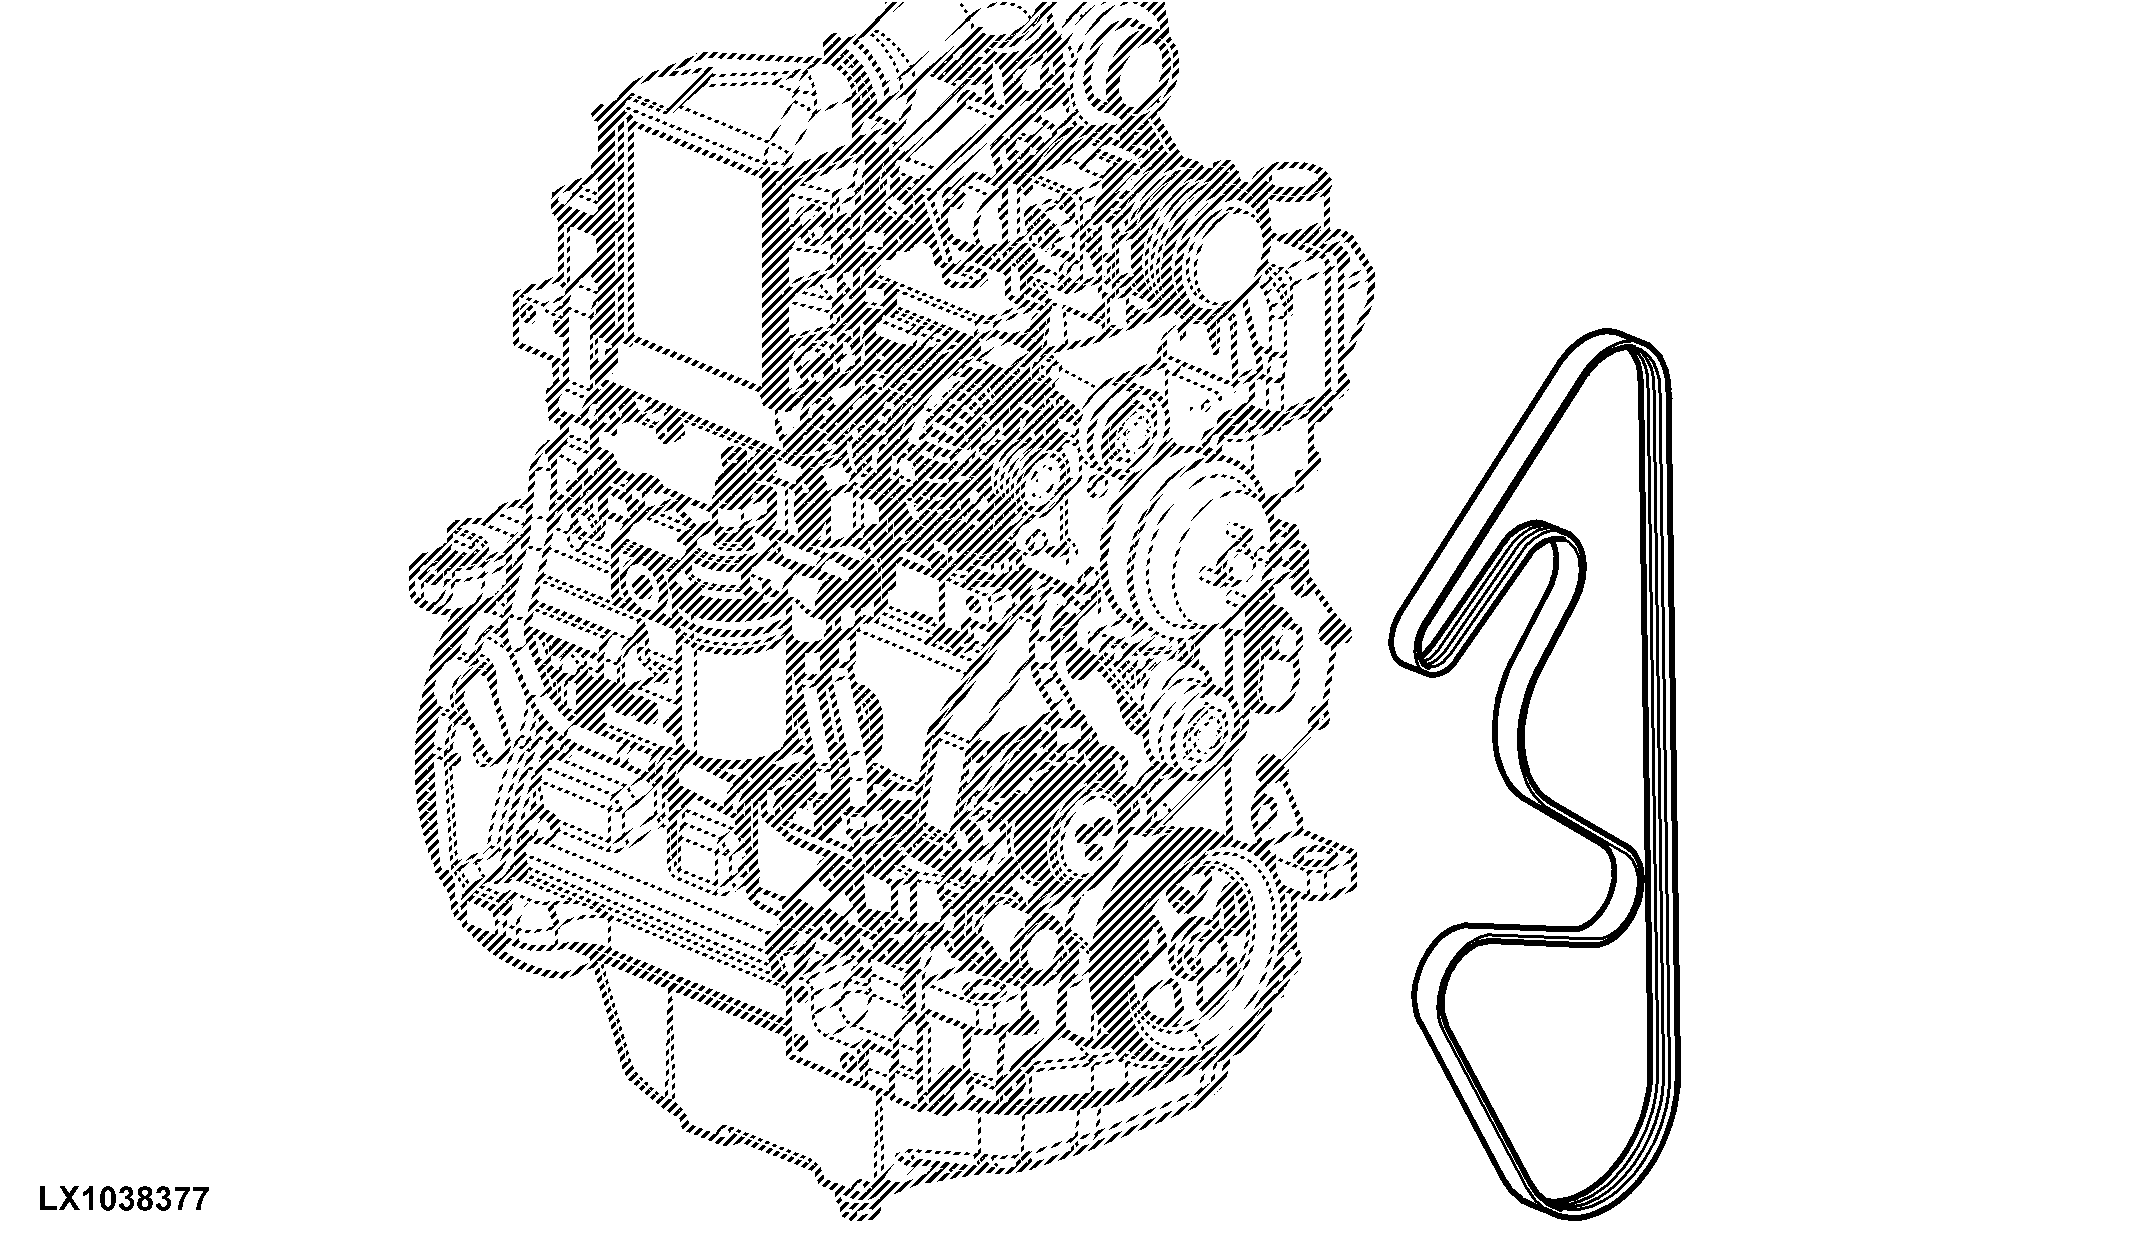
LX1038377-UN-29MAY06
|
OU12401,000148F-19-20060625 |