Operation and Entering the Diagnostic Addresses with Digital Display (Customer Level)
Diagnostic addresses relevant to the customer are displayed here.
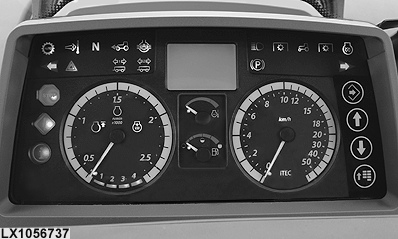
LX1056737-UN-26JUL12
Instrument Unit
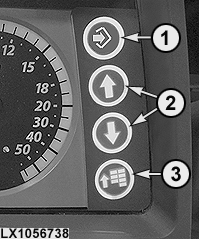
LX1056738-UN-26JUL12
Keypad
1 - Confirm Button (Confirming, Hiding, Saving and Starting)
2 - Arrow Buttons (up and down)
3 - Menu Button
Use the keypad for access to the instrument unit.
-
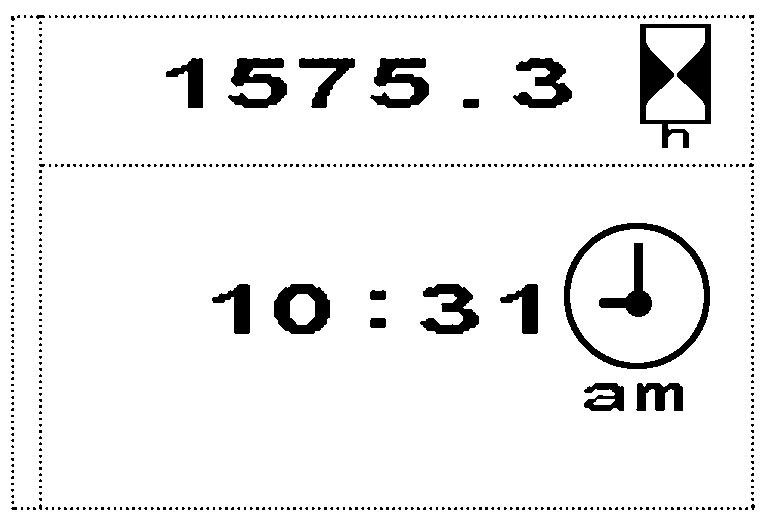
LX1054061-UN-27JUN12Home Page
NOTE: If any diagnostic trouble codes or informative messages are displayed on the instrument unit, keep pressing the confirm button until all the diagnostic trouble codes and messages are hidden.
Press the menu button.
NOTE: Order of displayed pages can vary depending on vehicle configuration.
Use the arrow buttons to scroll to the Access to Diagnostics page.
-
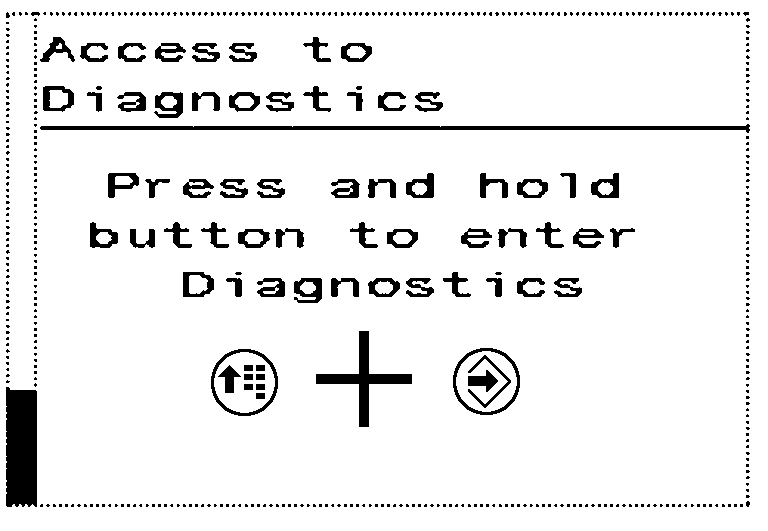
LX1054062-UN-27JUN12Access to Diagnostics
Press and hold the menu button and confirm button simultaneously until the instrument unit changes to diagnostic mode. -
Use the menu button to select the desired control software.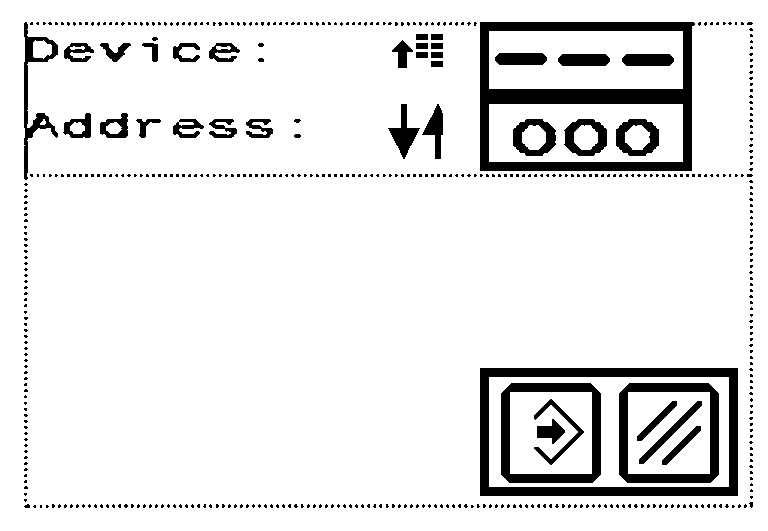
LX1054063-UN-27JUN12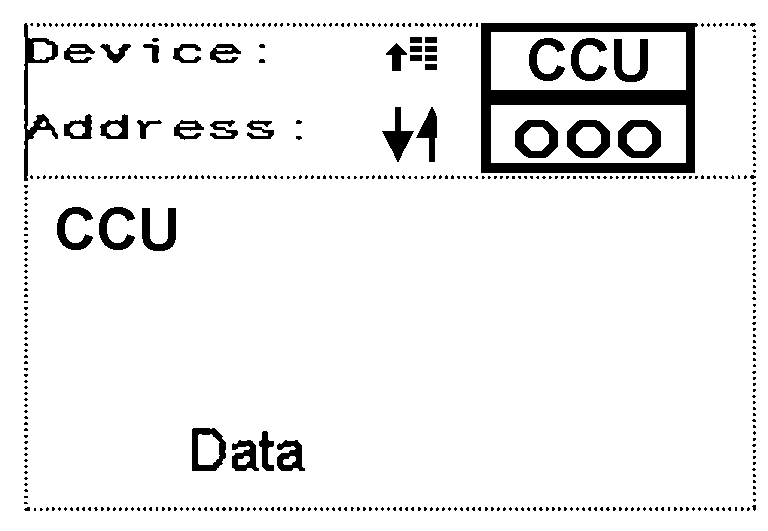
LX1058314-UN-27JUN12NOTE: Control software list can vary depending on installed options.
-
Use the arrow buttons to scroll through the address list.
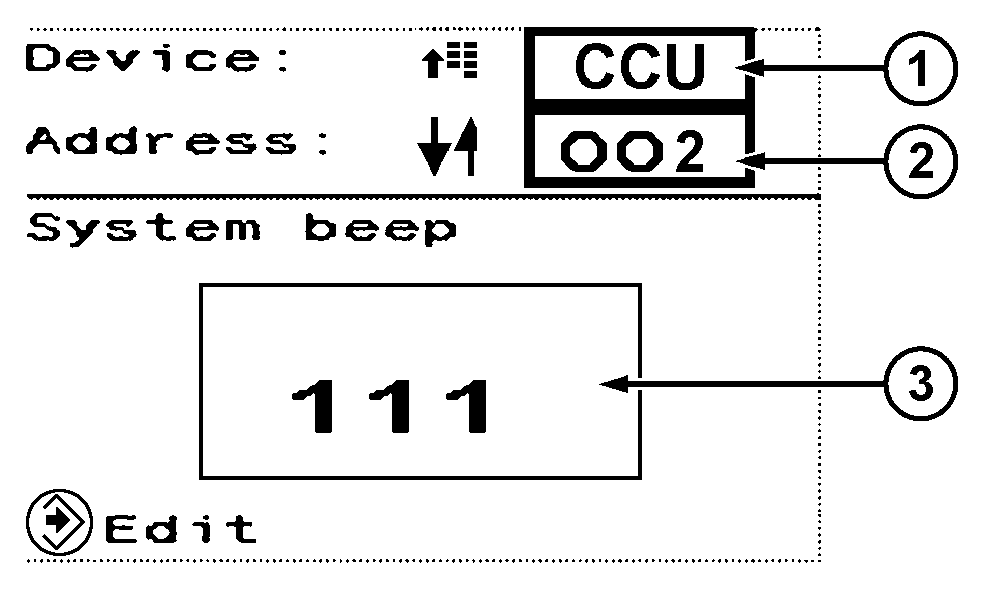
LX1058315-UN-27JUN121 - Control Software
2 - Address
3 - Value of Selected Address
-
The displayed value can only be changed in an input address.
When the value of an address is to be changed, select that address and press the confirm button.
Use the arrow buttons to set the value as appropriate, then press the confirm button.
Press and hold the confirm button and menu button to cancel or exit.
|
SS31170,00003B5-19-20120713 |