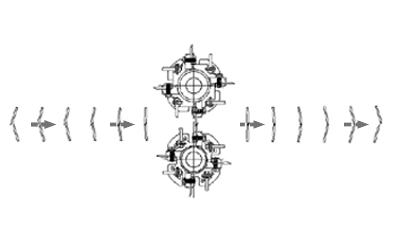
Chopper Timing Synchronization
NW271120-UN-15MAY06
Cane flow
CQ291723-UN-16APR12
CM023500100-UN-07FEB05
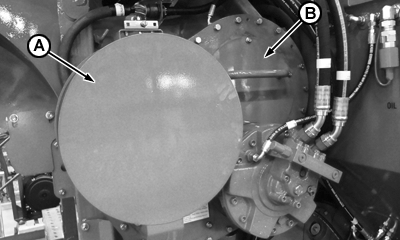
A - Flywheel
B - Inspection Cover
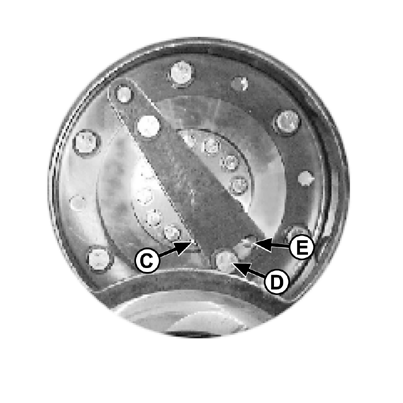
C - Adjust Point
D - Bolt
E - Bolt
 CAUTION: Before making adjustments to the chopper system, shut
off the engine, remove ignition key, and place a warning tag on the
steering wheel not to start machine.
CAUTION: Before making adjustments to the chopper system, shut
off the engine, remove ignition key, and place a warning tag on the
steering wheel not to start machine.
-
Ensure that blades are installed correctly, as shown in the picture at right. The top blade leads the bottom blade as the cane is cut into billets.
-
Turn the flywheel (A) clockwise to view normal rotation. The top blades should touch the bottom blades along the entire length of the blade with a minimum amount of impact. A mark showing the contact pattern should appear on the bottom blade. If the blades are not making proper contact, remove the small inspection (B) cover over the upper gear.
-
Loosen the six bolts located in the gear and the two bolts securing the adjustment lever.
-
Using a rubber mallet, tap the adjustment lever counterclockwise at point (C) until bolts hit end of slots in gear, or as close as possible. Tighten two opposing bolts in the gear. Repeat step 2.
-
If further adjustment is needed, remove bolt (D) and insert it into opening (E). Repeat step 4.
-
When blade contact is correct, tighten all eight bolts to 427 Nm (315 ft-lbs).
-
Replace inspection cover (B) and tighten bolts to 27 Nm (20 ft-lbs).
|
JG50163,00002A8-19-20120417 |