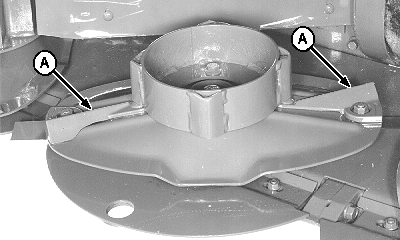
Replacing Crop AcceleratorsIMPORTANT: Accelerators must operate in direction of arrow on the part. NOTE: Crop accelerators (A) are located on end disks equipped with converging drums. 956 disk with short converging drum shown. 1. Remove converging drum and disk. (See Removing Disks or Replacing Left-Hand End or Right-Hand End Converging Disk Driver in this section.) 2. Put disk in a vise. |
|
OUCC006,000028F -19-08NOV00-1/2 |
|
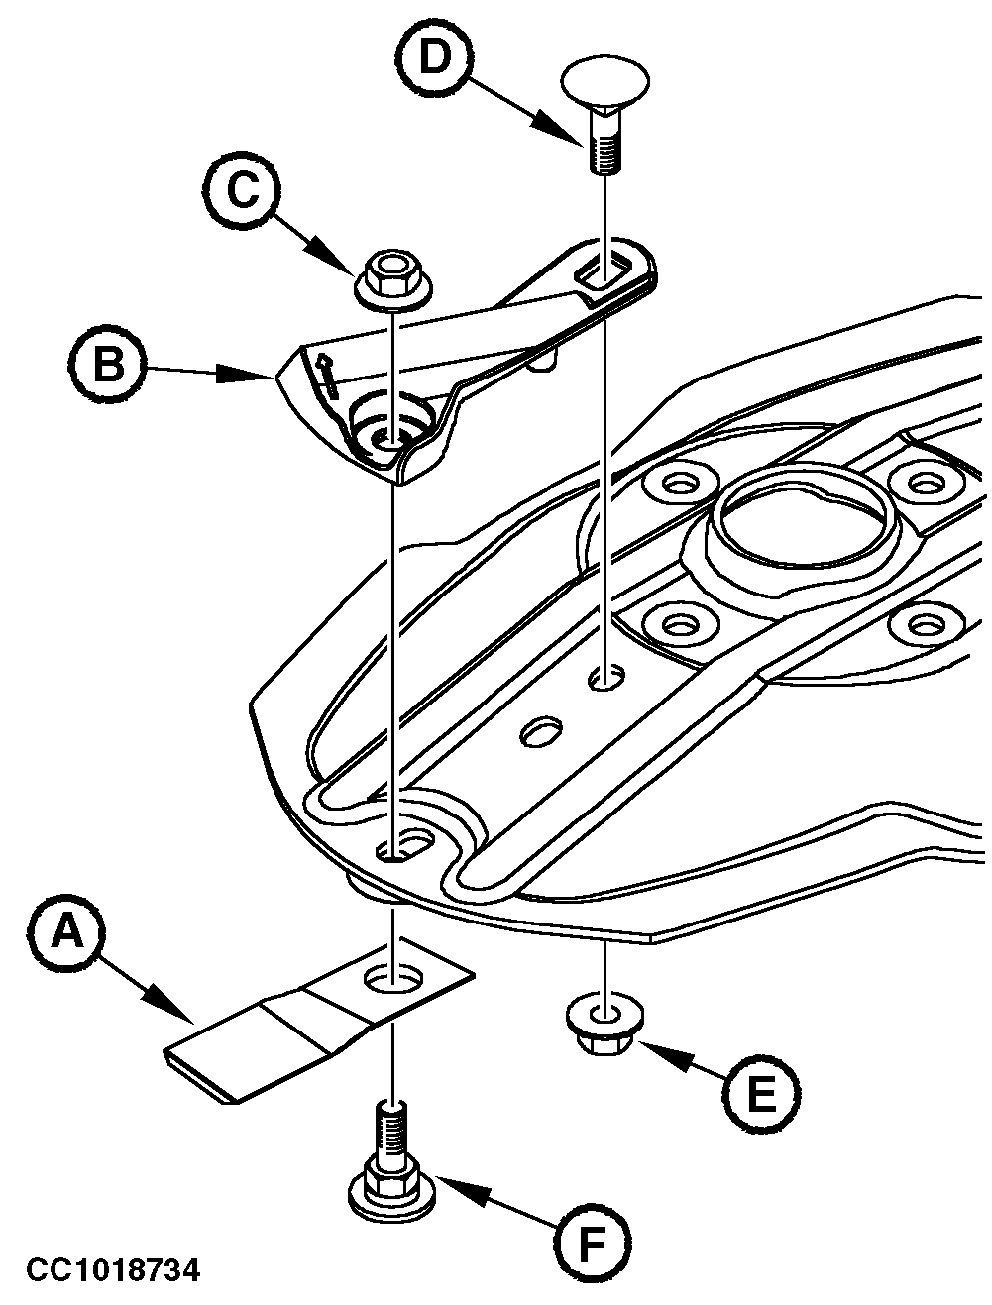
3. Remove parts (A), (C), (D), (E) and (F). 4. Remove crop accelerator (B) using a brass drift or wood block and hammer. 5. Check disk, knife, special bolt, and special lock nut before installing new crop accelerator. Replace as necessary. (See Checking Knives, Checking Knife Bolts and Checking Knife Nuts in this section.) 6. Install new crop accelerator. 7. Install knife (A) (See Installing Knife in this section). Fasten with knife bolt (F) and lock nut (C). Make sure knife bolt is correctly seated in disk hex. 8. Install carriage bolt (D) and flange nut (E). 9. Tighten lock nut (C) to specifications. Specification
10. Make sure knife rotates freely on the bolt. 11. Install converging drum and disk. (See Installing and Synchronizing Disks in this section.)
|
|
OUCC006,000028F -19-08NOV00-2/2 |

