Attaching 531, 551, 631, 651, 661, 731 and 751 Loaders
To prevent serious injury, loader must be attached by the tractor driver himself. 1. Center tractor between loader masts.Stop tractor when lower pins (A) of loader masts are in contact with the mounting frame edges (B). 2. Engage parking lock, apply handbrake and shut off engine. |
|
 CAUTION:
DO NOT allow bystanders while attaching the loader.
CAUTION:
DO NOT allow bystanders while attaching the loader.
OUCC006,00009E9 -19-14AUG03-1/10 |
|
3.
Relieve hydraulic pressure.
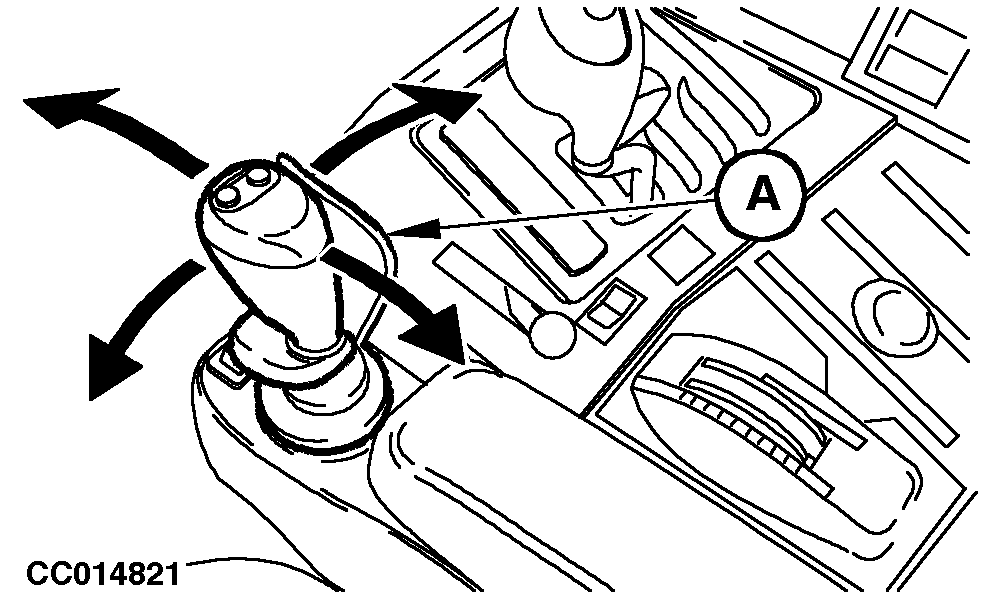
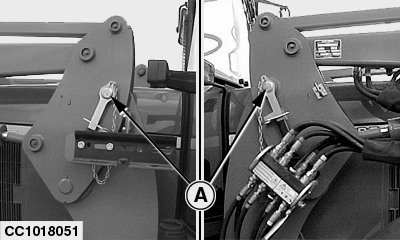
a. Tractors with armrest-integrated multi-function lever: Turn key switch on, switch on the lever and move lever forward and back, side to side. Turn key switch off. NOTE: Interlock switch actuator (A) prevents accidental actuation of the multi-function lever. The lever can be operated only when the actuator (A) is open (the operator's hand must hold it open). See your tractor operator's manual for more information. |
|
OUCC006,00009E9 -19-14AUG03-2/10 |
|
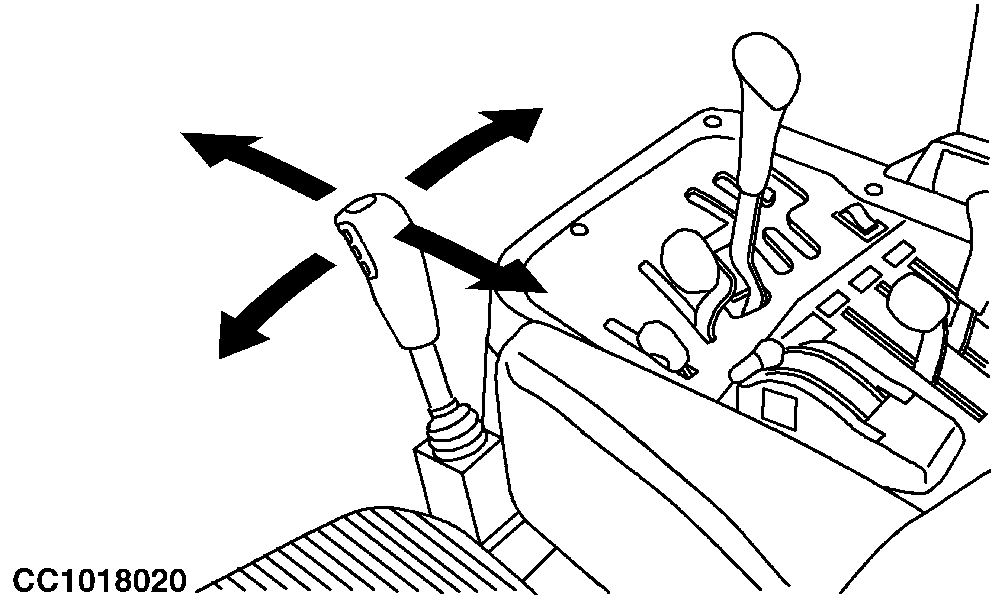
b. Tractors with multi-function lever: Move lever forward and back, side to side. |
|

OUCC006,00009E9 -19-14AUG03-3/10 |
|
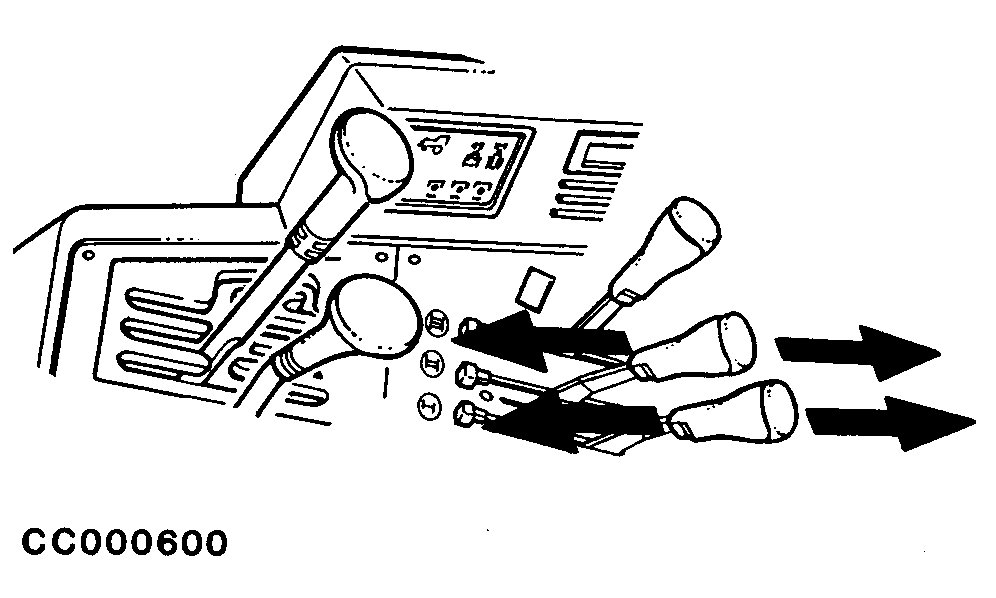
c. Tractors operating loader from SCV: Move levers forward and back. 4. Remove key and lock out controls. (See your tractor Operator 's Manual.) |
|
OUCC006,00009E9 -19-14AUG03-4/10 |
|
5.
Connect hydraulics and electrics.
a. Loader with individual couplers:
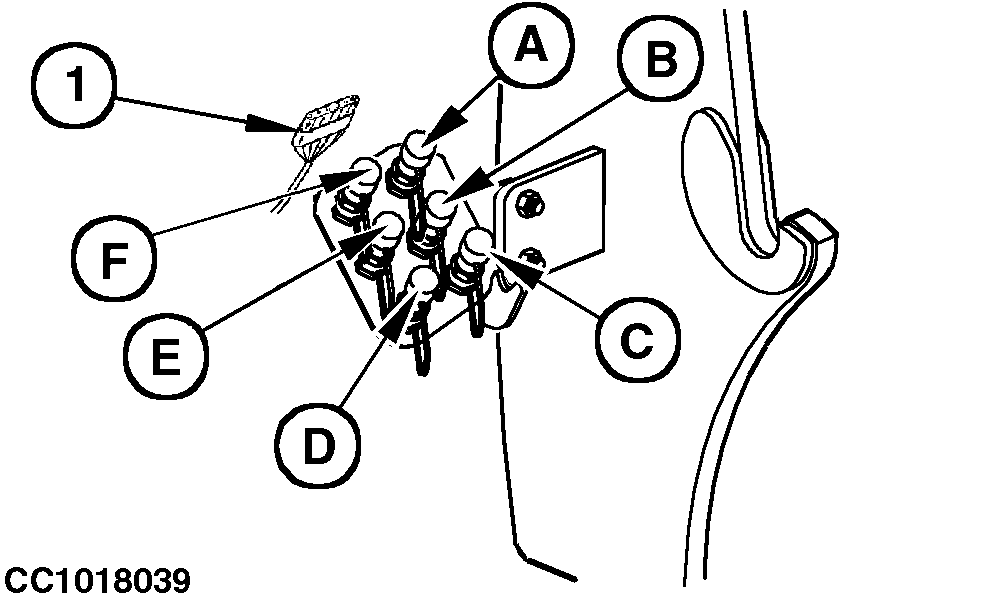
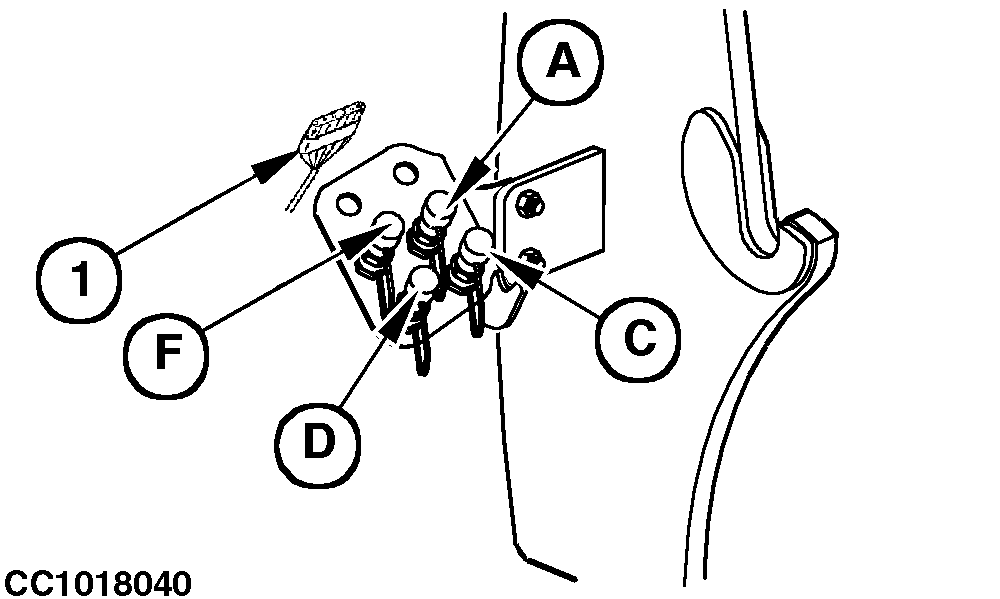
Help prevent personal injury caused by unexpected loader movement. Hose connections must be correct or loader will not respond as expected when control lever is moved. Connect hydraulic hoses using colored dust covers, identification tags or marks to match mating couplers. For couplers lacking any form of identification, see "Identifying Hose Connections" in Service Section. If equipped, connect electrical harness (1).
|
|
OUCC006,00009E9 -19-14AUG03-5/10 |
|
b. Loader with multi-coupler:
Open cover (D). Before each connection, carefully clean the mating surface of base and top case as well as guiding pins. Push on lock button (A) and simultaneously pull up lock cam lever (B). Engage top case (E) on base (C), then pull down lock cam lever (B) until lock button (A) engages, so that top case (E) is connected to base (C). |
|

OUCC006,00009E9 -19-14AUG03-6/10 |
|
6.
Start engine, release handbrake, place transmission in NEUTRAL to allow tractor movement.
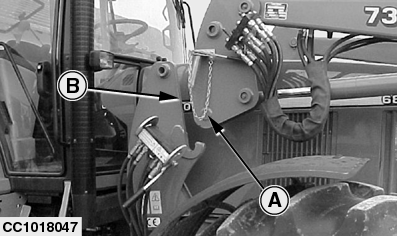
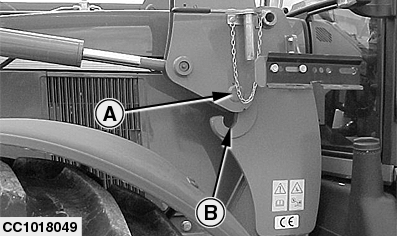
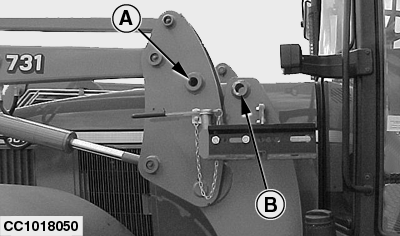
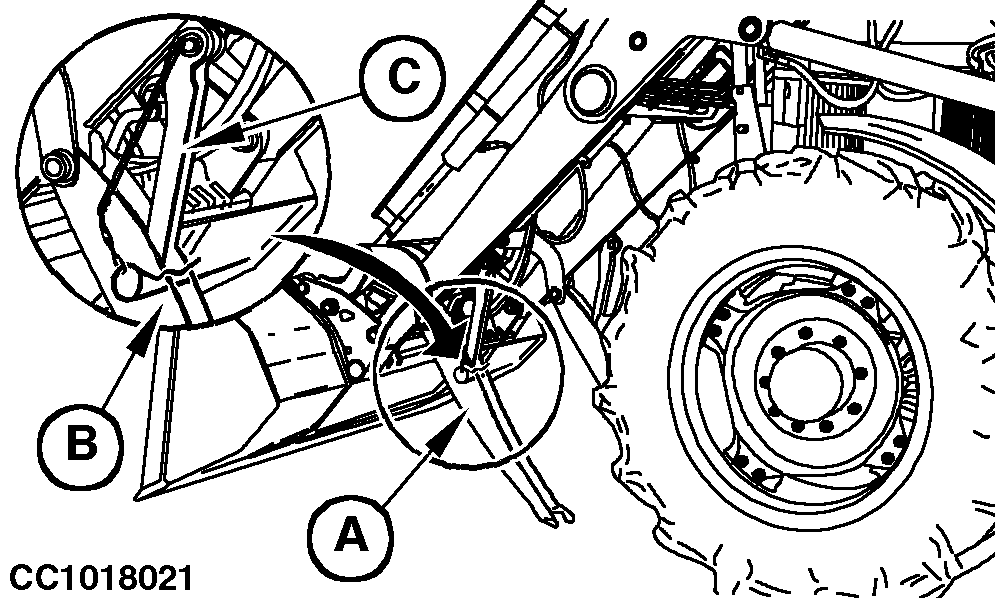
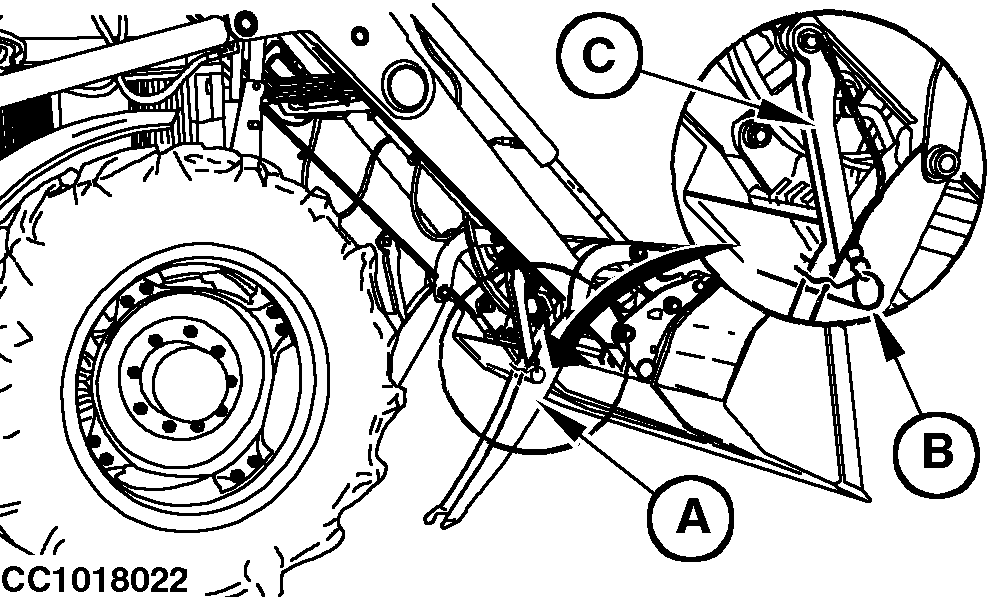
7. Dump bucket until lower pins (A) of masts are in mounting frame hooks (B).
|
|
OUCC006,00009E9 -19-14AUG03-7/10 |
|
8.
Retract lift cylinders until the tractor's front wheels are just off the ground. Bushings (A) should be aligned with bushings (B).
9. Engage parking lock, apply handbrake, shut off engine, remove key and lock loader operating levers.
|
|
OUCC006,00009E9 -19-14AUG03-8/10 |
|
10.
Install pins (A) on both sides of loader.
|
|
OUCC006,00009E9 -19-14AUG03-9/10 |
|
11.
Remove spring pins (B).
Pull back parking stand locking lever (C). Lift the parking stands (A) and lock them in their storage position with spring pins (B) on both sides.
|
|
OUCC006,00009E9 -19-14AUG03-10/10 |