Loading Net Tying
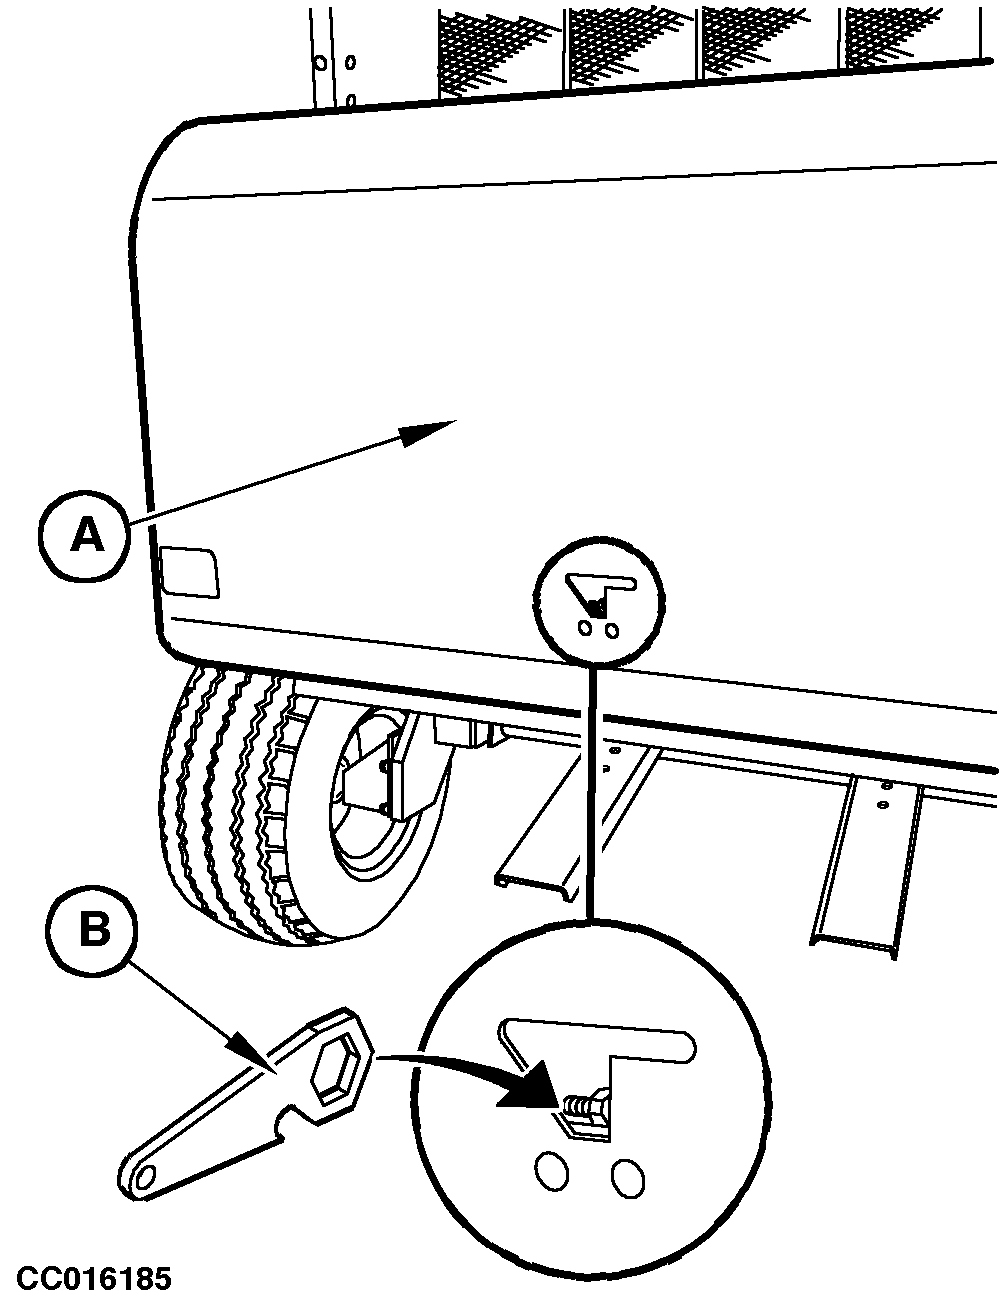
Hold cover (A) in position then unlock it by inserting tool (B) in latch slot as shown. 2. Remove all package material (staples, tape, etc.) from net roll before installing.
|
|
OUCC006,0000676 -19-29APR02-1/7 |
|
3.
Install net roll
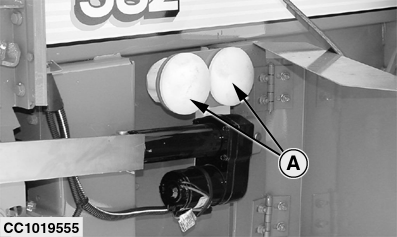
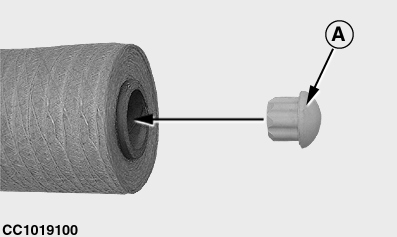
a. Net roll for standard net tying device: Remove stops (A) from their bracket. Install stops (A) on each sides of roll to position roll in the CoverEdge net tying unit. b. CoverEdge net roll: Specific CoverEdge net roll does not need stops (A).
|
|
OUCC006,0000676 -19-29APR02-2/7 |
|
4.
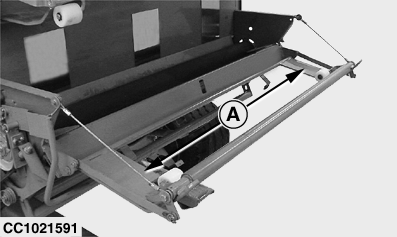
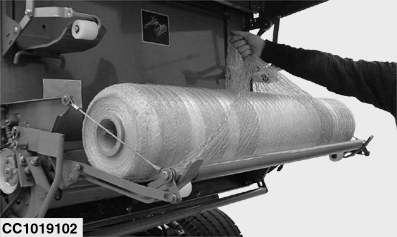
Swing lower tension arm out and place net roll to loading position (A) so material will be pulled from the top of the roll.
NOTE: John Deere nets have two large colored stripes which must be toward the right-hand side of machine.
|
|
OUCC006,0000676 -19-29APR02-3/7 |
|
5.
Release net feed roll brake to allow to rotate feed rolls.
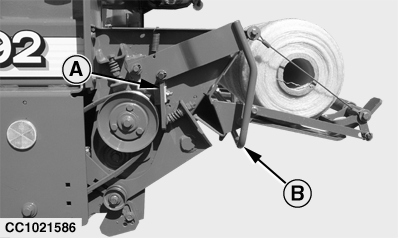
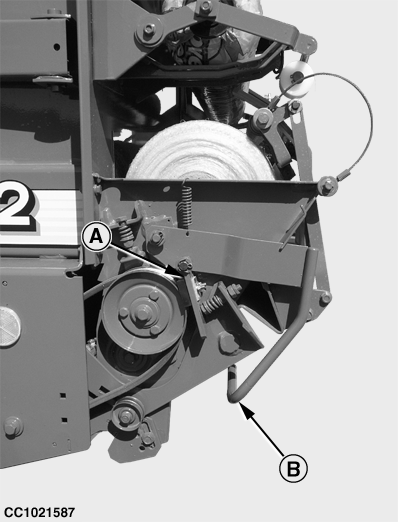
Pull lever (B) down and out, then raise it to disengage brake pad (A). NOTE: Once unlocked, lever (B) should be kept in upper position as shown.
|
|
OUCC006,0000676 -19-29APR02-4/7 |
|
6.
Unroll net and gather the loose ends of net together
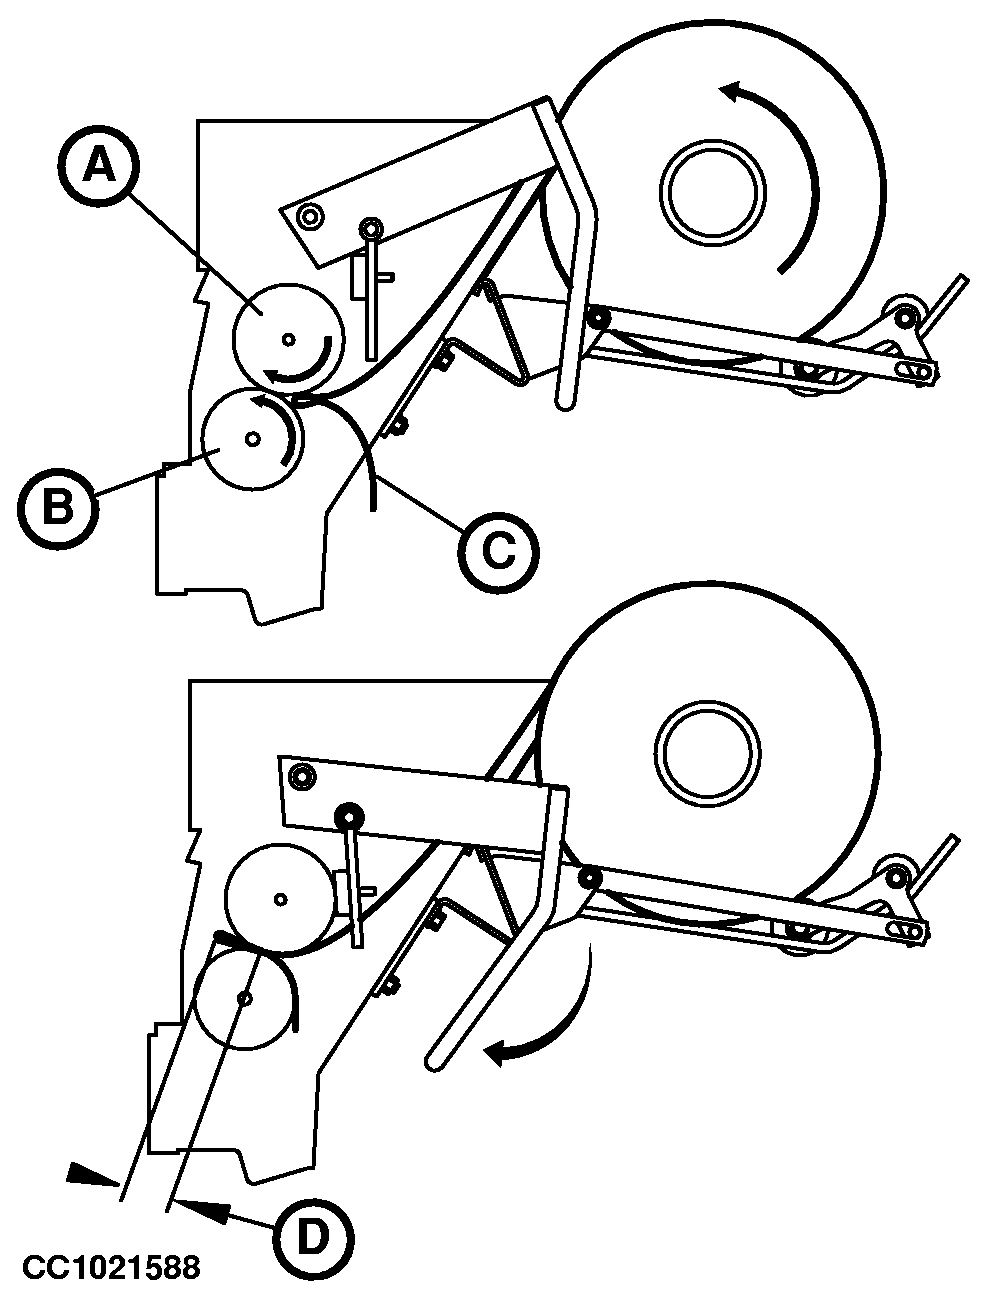
7. Fold net (C) back on itself to form a loop. Thread loop of net between rubber roll (A) and steel roll (B) as illustrated. Rotate feed rolls slightly by hand to feed material between rolls. IMPORTANT: Do not thread more than 25 mm (1 in.) of loop (D) between the two rolls as it may cause material to wrap around the rolls.
|
|
OUCC006,0000676 -19-29APR02-5/7 |
|
8.
Engage net feed roll brake. Pull lever (B) down and in. Feed rolls should not be able to rotate.
IMPORTANT: If feed rolls can still be rotated with brake engaged, readjust or replace brake pad (A). See "Checking Net Feed Roll Brake (Test 6)" in "Service" section.
|
|
OUCC006,0000676 -19-29APR02-6/7 |
|
9.
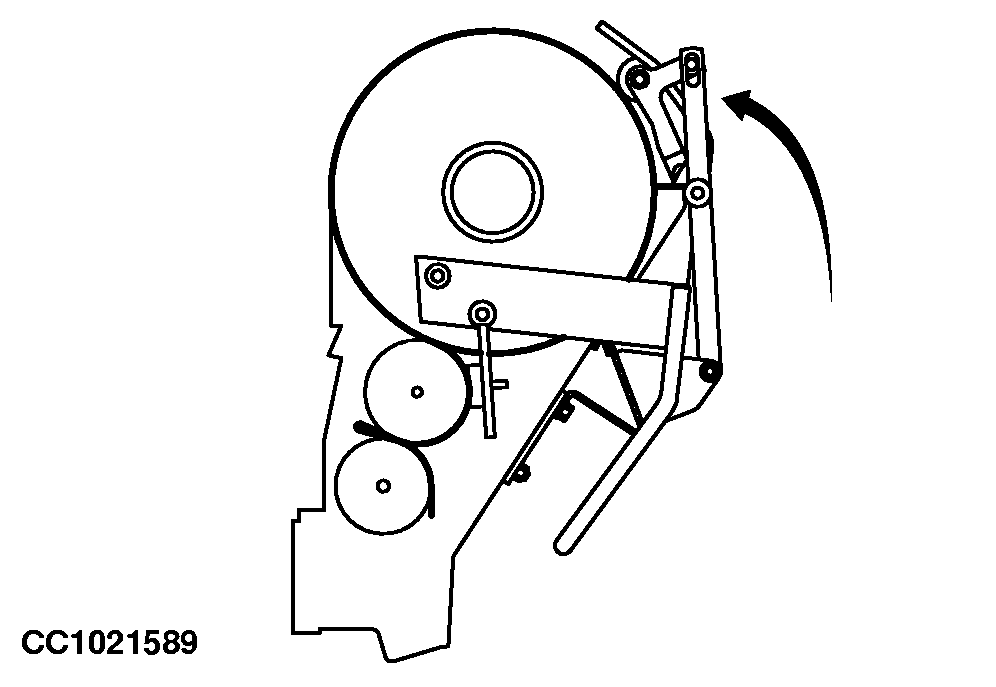
Swing lower tension arm up and lift the net roll on the rubber roll, against the stainless steel plates
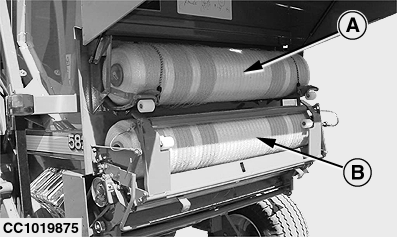
10. Rotate net roll to remove slack. 11. Cut excessive material off. 12. Rear net box can contain two net rolls. One for the net tying process (B) and an additional net roll (A) stored on the top. 13. To close cover, pull it down until latch is engaged. IMPORTANT: It is advisable to take net material off feed rolls at the end of each day! This will avoid net material rubber feed roll incrustation thus avoiding start-up problems. Take net material off feed rolls each time baler is used for twine tying mode.
|
|
OUCC006,0000676 -19-29APR02-7/7 |
 CAUTION:
Disengage PTO, engage parking brake and/or place transmission in "PARK", shut off tractor engine and remove key before opening cover.
