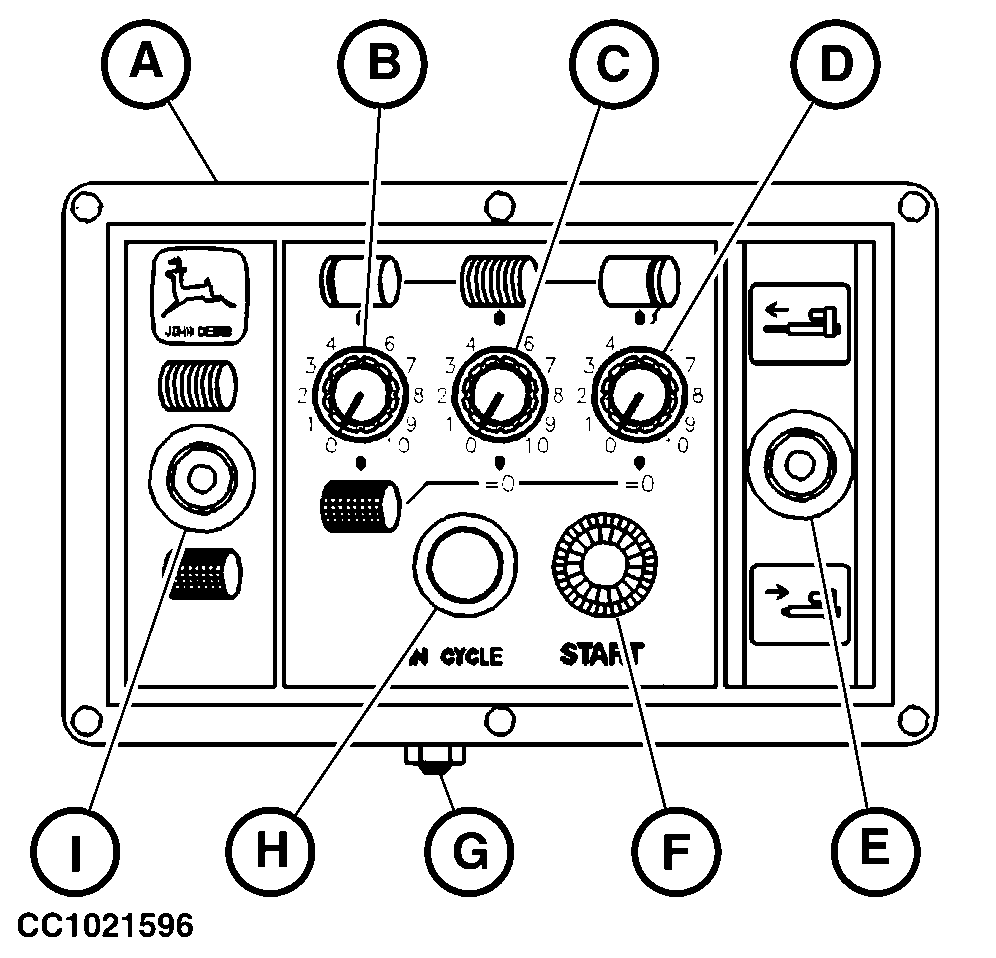
Operating ELC Plus Monitor in Net Tying ModeMove switch (I) to "Net" symbol. The ELC Plus Monitor allows an automatic or manual net tying. Automatic Net TyingTurn potentiometer (B) to set the number of net turns as follows:
IMPORTANT: ALWAYS set the potentiometers (C) and (D) to "0" position when using monitor in net tying mode. Failure to do so will result in erratic tying cycle. NOTE: "START" button (F) can be pressed to activate the programmed mode if tying cycle requires to be started before the bale has reached the desired diameter. See "Starting Manually an Automatic Tying" in this Section. Manual Control switch (E) can be used to interrupt the programmed mode at any time. The manual mode is then ready to be used. See "Tying a Bale Manually" in this Section. |
|
OUCC006,00006DE -19-12JUN02-1/2 |
|
Manual Net Tying
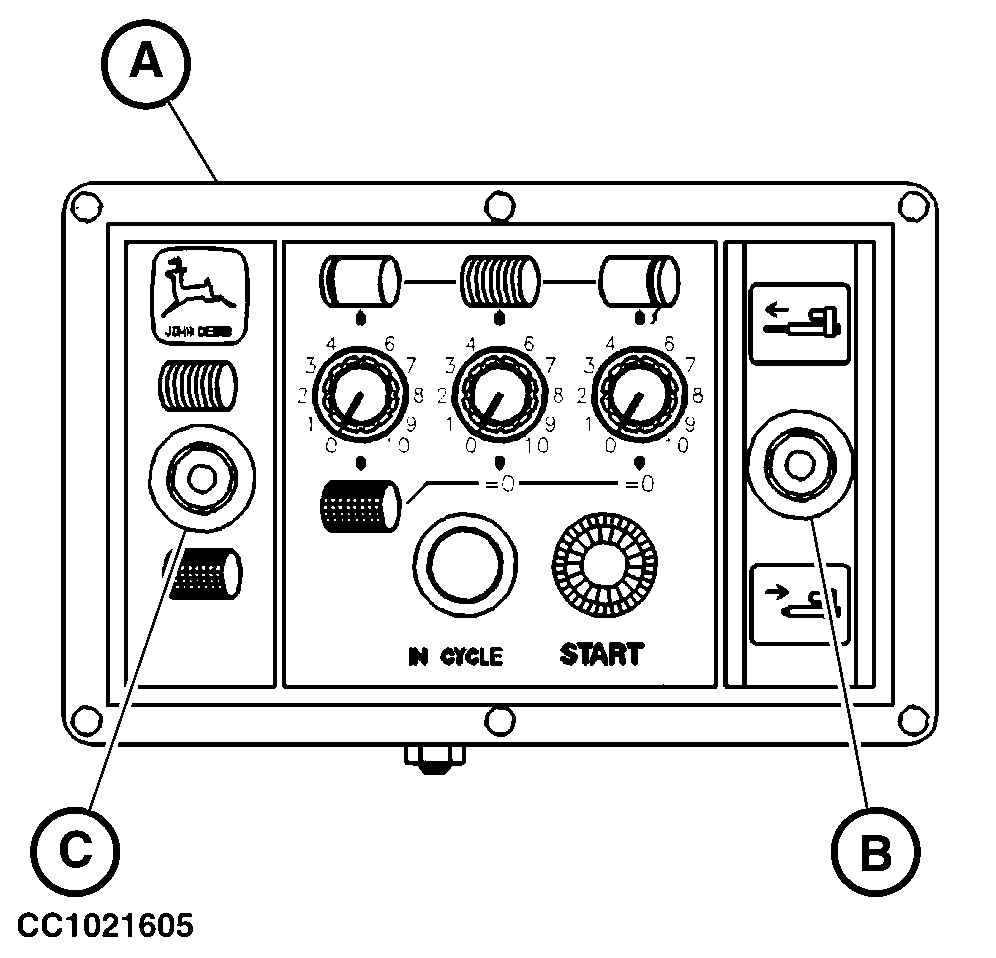
Use the manual control switch (B) to adjust the desired number of net turns (see "Tying a Bale Manually" in this Section). IMPORTANT: Monitor is protected by a circuit breaker. If control switch (B) is actuated with the net knife arm actuator fully extended or fully retracted, circuit breaker will trip. In this case, wait a few seconds for the breaker to cool down and then reset by switching monitor OFF and ON again.
|
|
OUCC006,00006DE -19-12JUN02-2/2 |

