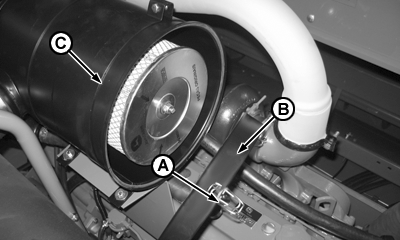
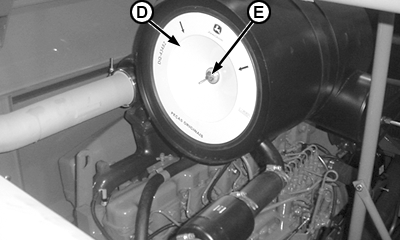
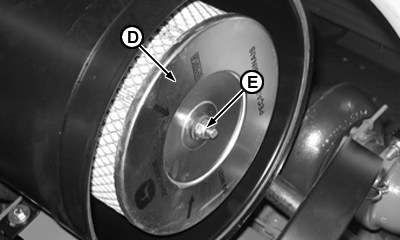
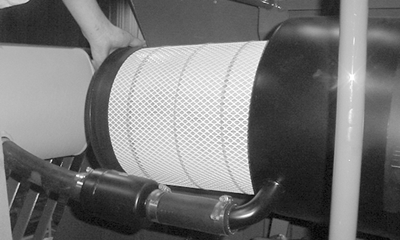
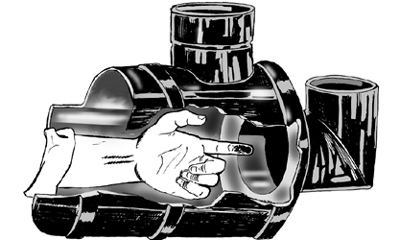
Removing Engine Air FilterPerform service on the air filter in combines only when the air filter indicator light remains permanently on. The air filter has two filter inserts: filter insert and internal insert. IMPORTANT: When cleaning or changing air filter, shut off engine and remove starter key. Removing Filter Insert: 1. Only for 1450 model combines: Remove cover (B) from air filter housing (C) releasing latches (A). 2. To free the filter insert (D) remove nut (E) by turning it counterclockwise, remove also the backing washer. 3. Grip the sides of the filter insert (D) and pull it out with hands. 4. Clean the inside of the housing with a dry rag and afterwards with a rag moistened in water. Also clean the rubber seal around the edge of the filter insert.
|
|
ML70882,00003E9 -19-11AUG04-1/2 |
|
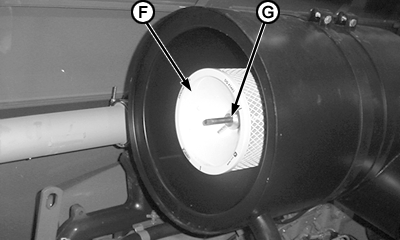
Removing Internal Insert: NOTE: Remove internal insert (F) only when filter insert has been cleaned for the third time. NEVER clean the internal insert. Always replace it if removed. 1.
Loosen nut (G) by turning it counterclockwise.
IMPORTANT: NEVER run the engine without the filters installed. Use only genuine John Deere parts
|
|
ML70882,00003E9 -19-11AUG04-2/2 |