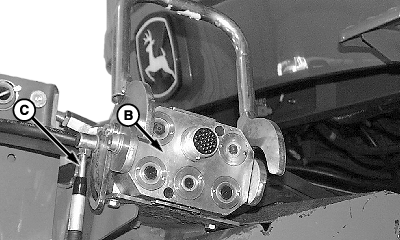
Multiple Connection for 600 -CWS/WTS Series Feeder House (option)This mechanism automatically locks the header in place by means of the locking cable (C). NOTE: If the combine is not equipped with locking cable (C), the locking pins must be locked in place by hand. Procedure: 1. Remove cover and clean surface of multiple connector (B). |
|
OU83340,00003FB -19-11AUG04-1/3 |
|
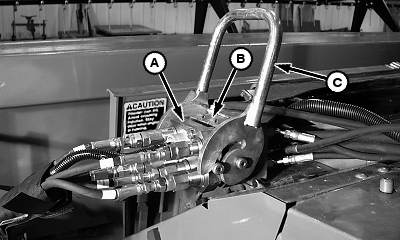
NOTE: A shear bolt is attached to the handle in order to avoid damage to the locking cable. Any attempt to move the locking pins with the header on the ground will cause the handle bolts to shear off. 2. Install the multiple connector (A) on housing (B) of the feeder house and close handle (C).
|
|
OU83340,00003FB -19-11AUG04-2/3 |
|
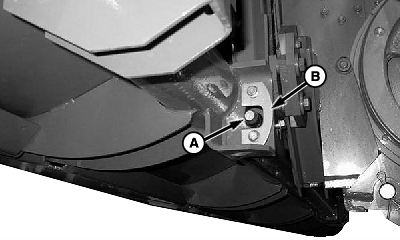
NOTE: With the header in place, the locking pins should freely slide through the corresponding entry holes on the header. If the locking pins do not move check if header locking plates are correctly adjusted. 3. The locking pins (A) shall slide through the feeder house locking plates (B) when the multiple connector is locked in place. 4. Install the multiple connector cover in the header storage position. NOTE: If the shear bolt breaks, there are another three of them. IMPORTANT: ONLY use genuine shear bolts because any change in bolt quality may damage the mechanism. |
|
OU83340,00003FB -19-11AUG04-3/3 |