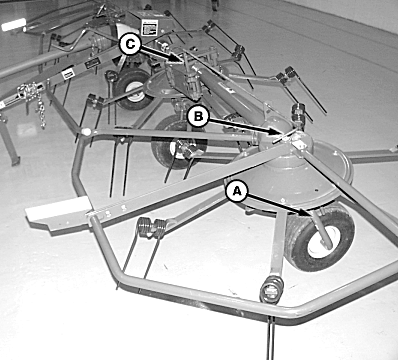
Preparing Hay Tedder for Field Operation1. Release tine arm (A) from clip (B) on each outside rotor.2. Make sure drive shafts are in alignment and outer rotor tine arms engage exactly in the middle of the inner rotor tine arms.
|
|

EX,945IJ,A -19-24MAY99-1/4 |
|
756 Tedder Field Position
1. Unlatch outer rotor lock (A) and turn rotor (B) 180° until tines are facing outside of machine. Make sure rotor is locked in field position.
|
|
EX,945IJ,A -19-24MAY99-2/4 |
|
2.
Activate the tractor hydraulics to put hydraulic cylinder under pressure.
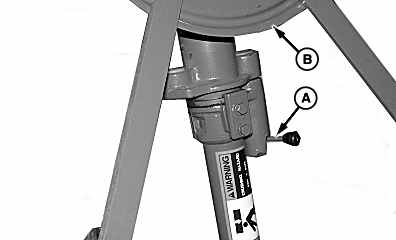
3. Release locks (A) from tractor seat by pulling cord (C). 4. Lower outside rotors in working position by releasing pressure. 5. Use the detent valve to maintain position "release", or select free floating position to allow the outer wings to travel up and down with contour of the ground. 6. Adjust rotor angle by cranking handle (B) so that tines lightly skim the ground at the front of rotor. |
|
EX,945IJ,A -19-24MAY99-3/4 |
|
754 Tedder Field Position
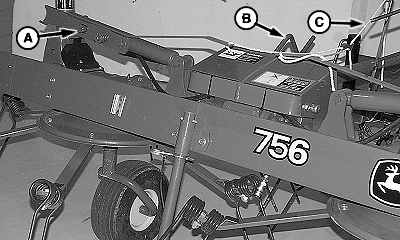
1. Unlatch wheel (A). 2. Release latch (C) by pulling handle (B). Pull unit towards front of machine until latching into field position.
|
|
EX,945IJ,A -19-24MAY99-4/4 |