Operating Wrap Control-Electric Actuated Twine Arm(s)IMPORTANT: Wrap cycle should be started while traveling forward and baling. This allows twine to catch on the bale. Start wrapping when the first audible alarm stops, indicating full size bale, and before the second alarm, indicating oversize bale. |
AG,OUO6077,918 -19-08AUG00-1/2 |
|
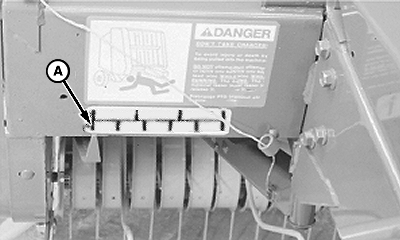
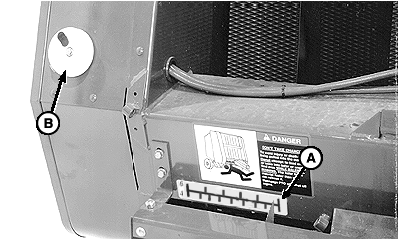
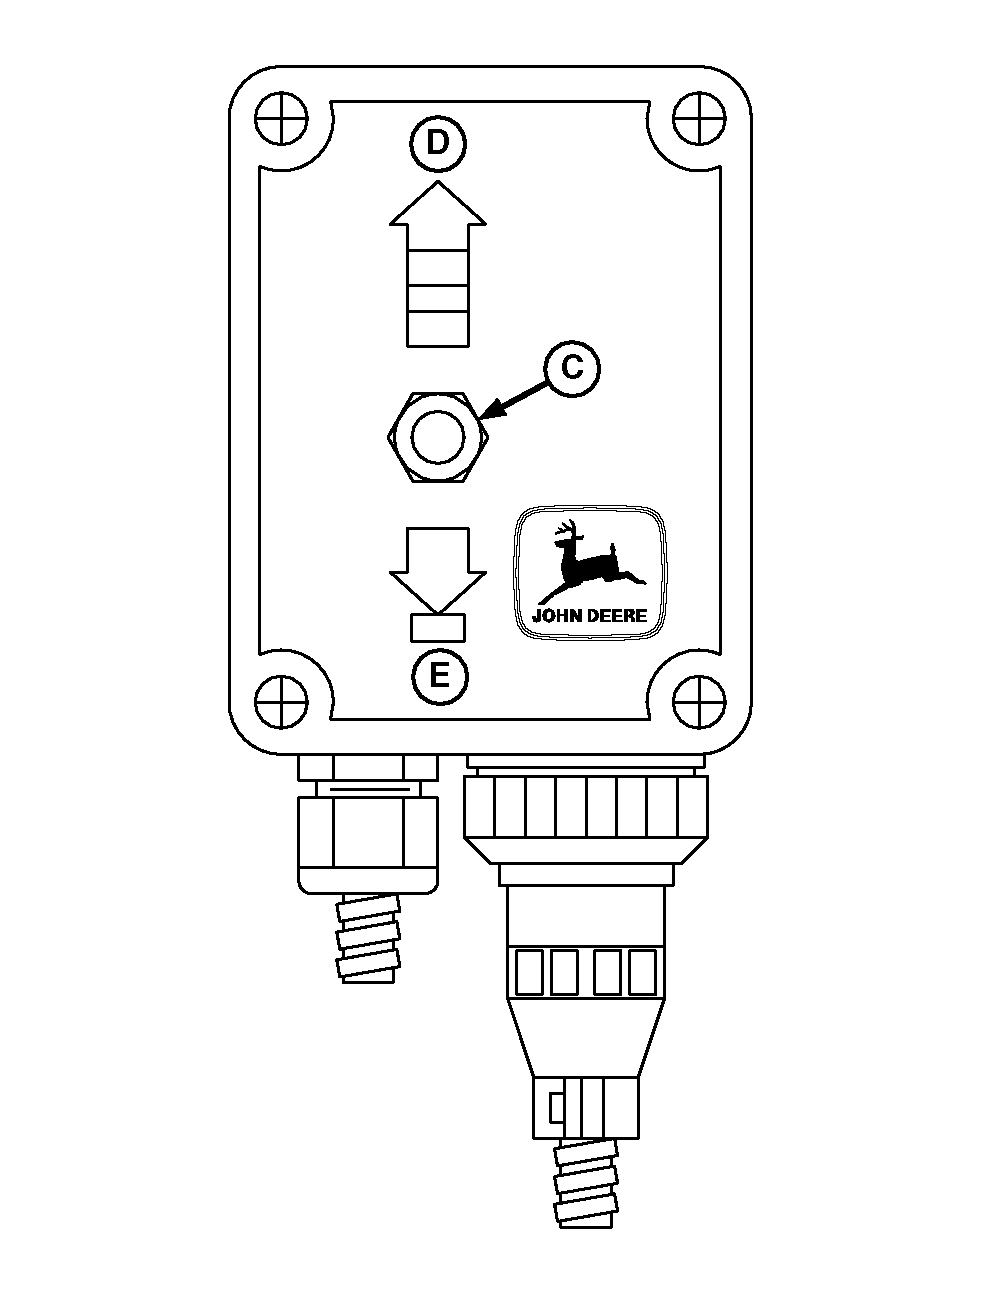
NOTE: Keep engine speed constant while wrapping. Varying engine speed will change number of twine wraps and their spacing across the bale. When baling dry straw, it will be desirable to quickly place twine across full width of bale to prevent straw from coming out of feed opening while tying. 1. Push and hold actuator switch (C) forward (D) to advance pointer to position (A). Stop forward travel when spinner(s) (B) show twine is caught on bale and moving. 2. Release switch for four to six seconds to apply right-hand end wraps. When baling dry straw:
3. Operate switch in opposite direction (E), stopping pointer at each index mark for approximately two seconds to equally space wraps. If equipped with single twine arm, each pause will space twine approximately 175 mm (7 in.) apart. 4. When pointer reaches last index mark, release switch for four to six seconds to apply left-hand end wraps. 5. Pull down and hold switch to move twine arm(s) to cutoff and home positions. Look at spinner(s) to check that twine has cut. 6. If equipped with double twine arms; Adjust twine spacing as necessary. (See ADJUSTING TWINE SPACING FOR ELECTRIC DOUBLE TWINE WRAP in Preparing the Baler section.)
|
|
AG,OUO6077,918 -19-08AUG00-2/2 |