Adjusting Twine Wrap Sensor (Channel 03-With Sound)
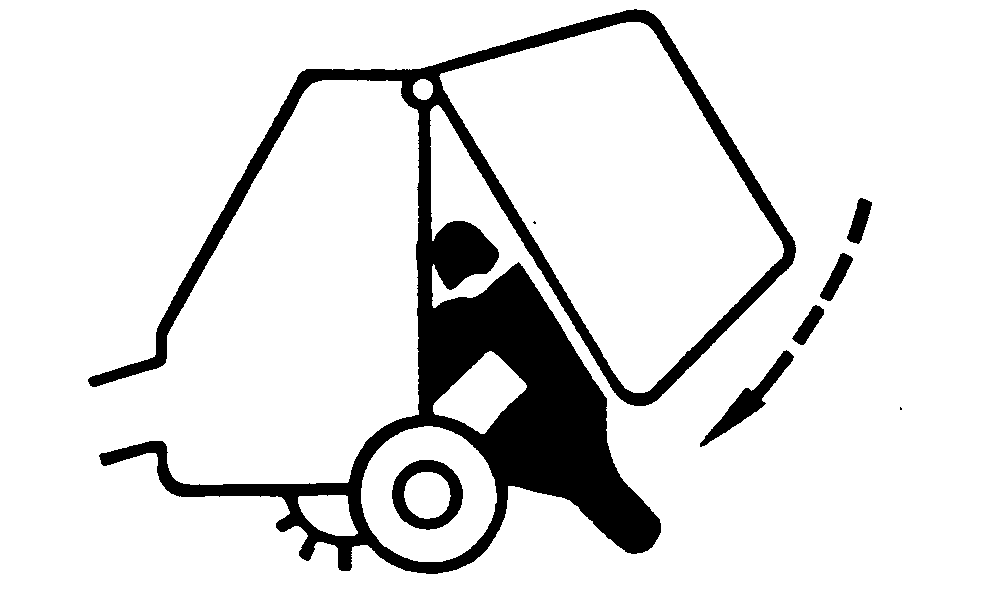
If there is crop material which is holding twine arms from moving freely during twine arm cycle, it is recommended that twine arms be manually positioned to release any "hold" they may have on the crop material. Turn off power to twine arms. This will help to make the unplugging operation easier and prevent twine arms from moving unexpectedly while your hands may be in the path of the twine arms. Stay out of the path of twine arms at all times when power to twine arms is ON. To avoid injury or death caused by unexpected lowering of the gate, engage gate lock before working on, around, or under gate in raised position. 1. Raise and lock gate. Shut off tractor engine. 2. Turn tractor key to ON position. Do not start engine. 3. Set selector switch toward TWINE symbol to turn monitor-controller ON. 4. Lower pickup to prevent twine arms from bending pickup teeth. |
|
 CAUTION:
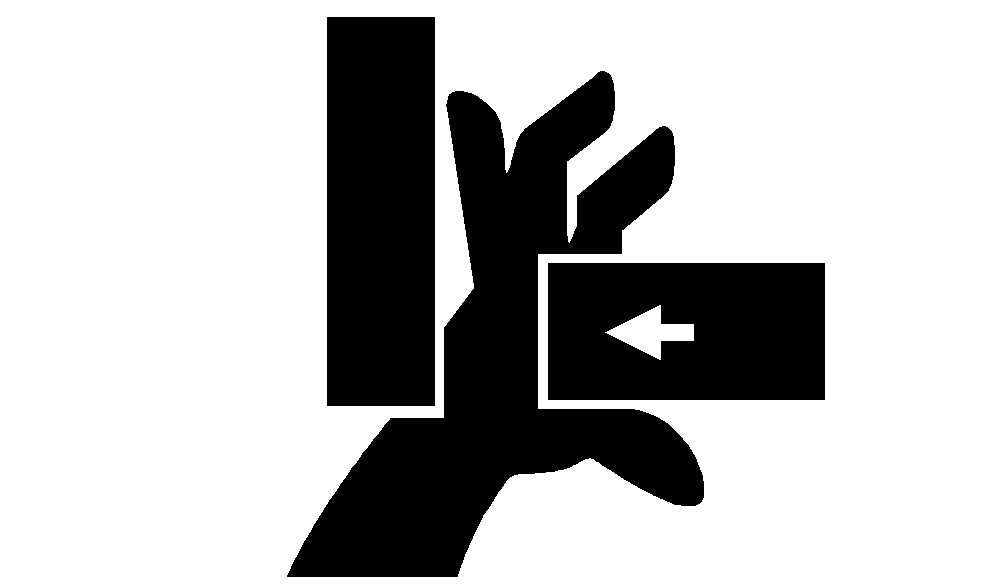
Twine arms can move unexpectedly when twine arm power is on. Stay out of the path of twine arms at all times when twine arm power is on. During service or adjustment procedures for twine arms or twine cutter mechanism, turn off power to twine arms BEFORE placing your hands in the path of twine arm travel.
CAUTION:
Twine arms can move unexpectedly when twine arm power is on. Stay out of the path of twine arms at all times when twine arm power is on. During service or adjustment procedures for twine arms or twine cutter mechanism, turn off power to twine arms BEFORE placing your hands in the path of twine arm travel.
OUMX005,0000090 -19-02OCT00-1/5 |
|
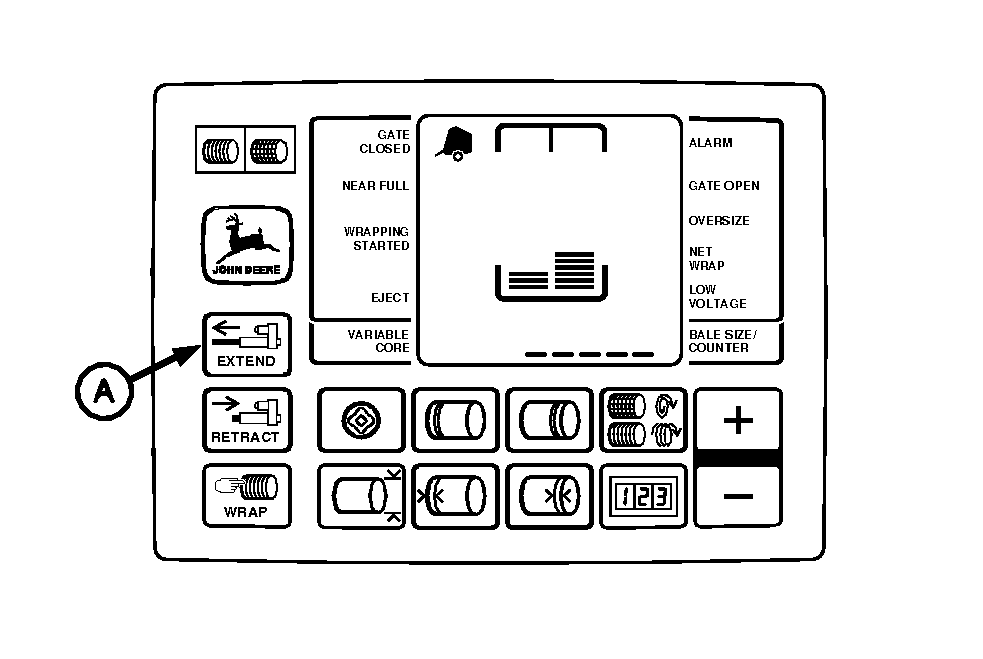
5. Press monitor-controller EXTEND key (A) and move twine arms to right-hand side of baler, past center position.
|
|
OUMX005,0000090 -19-02OCT00-2/5 |
|
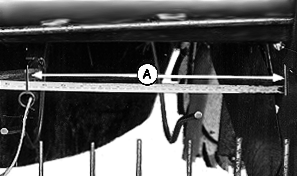
NOTE: Twine arms have a short range of free travel when stationary. Setting should be made with arm position with slack removed toward right-hand sidesheet. Twine arm viewed from rear of baler. Dimension (A) is the distance between the center of the rear twine arm and the right-hand sidesheet. 6. Using the RETRACT key on the monitor-controller, move twine arms to the left until dimension (A) is to distance specified. NOTE: If dimension (A) is exceeded while moving twine arms to the left, stop, move back to the right past dimension, then left again to dimension.
7. When twine arm is at specified position, set monitor-controller selector switch to OFF (centered) position. |
|
|||||||
OUMX005,0000090 -19-02OCT00-3/5 |
|
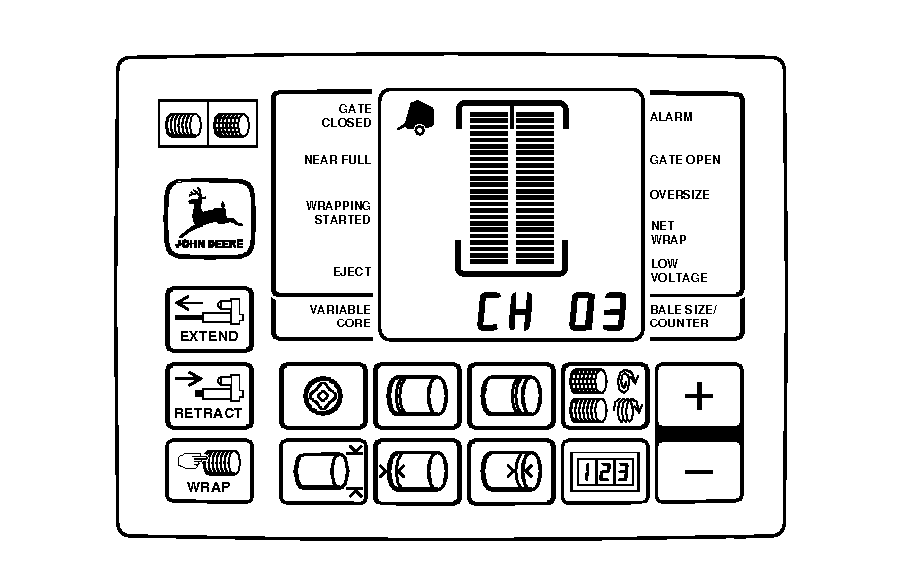
8. Press and hold DEERE key while setting selector switch toward TWINE symbol to turn monitor-controller ON. Continue to hold DEERE key and press PLUS key until "CH 03" appears in the digital display. |
|
OUMX005,0000090 -19-02OCT00-4/5 |
|
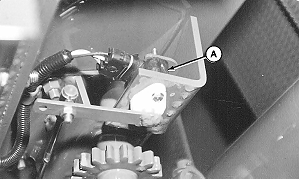
9. If buzzer does not emit a "setup tone" and display readout is above or below specified setup value, twine wrap sensor (A) is out of adjustment.
10. To adjust sensor, loosen mounting cap screws. Rotate sensor until buzzer emits a tone and the specified setup value shows in the digital display. Tighten mounting cap screws. 11. Move twine arms back to "home" position. Unlock and lower gate. 12. Set monitor-controller selector switch to OFF (centered) position. Turn tractor key to OFF position. Remove key. |
|
|||||||||||||
OUMX005,0000090 -19-02OCT00-5/5 |