Adjusting Twine Tension
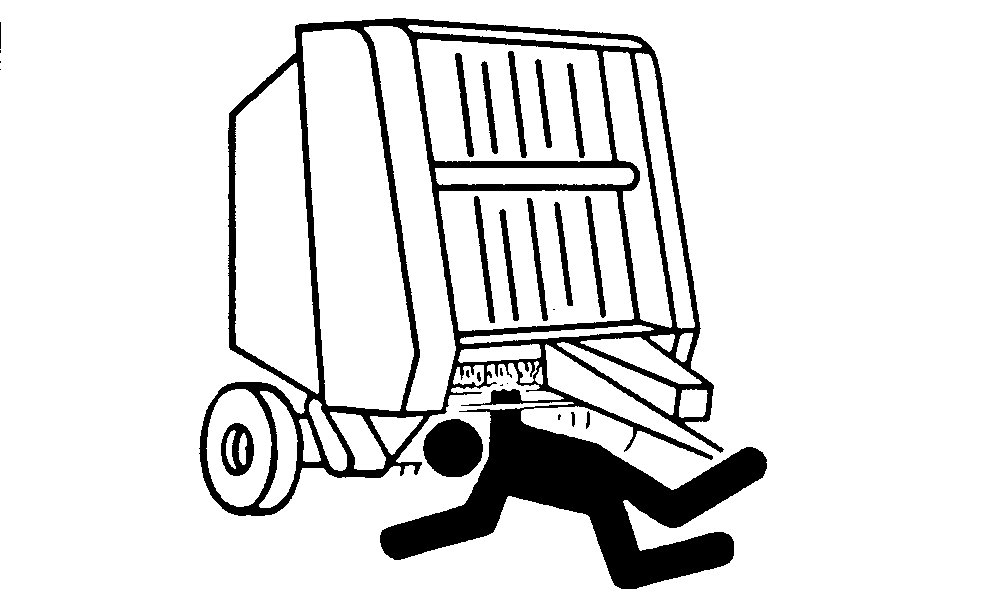
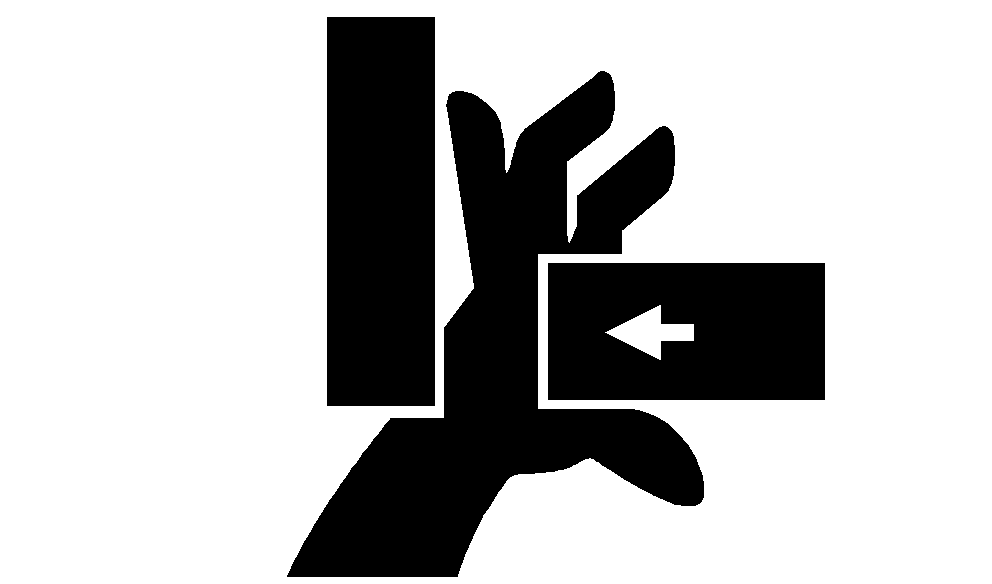
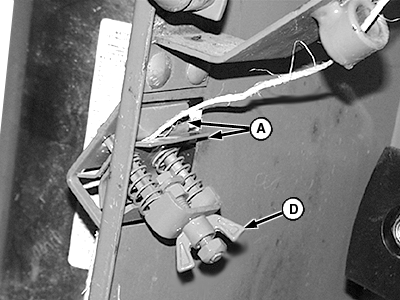
DO NOT attempt to feed twine into baler or pull twine from twine arms WHILE BALER IS RUNNING. The baler feeds material faster than you can release it. Disengage PTO and shut off tractor engine. Twine arms can move unexpectedly when twine arm power is on. Stay out of the path of twine arms at all times when twine arm power is on. During service or adjustment procedures for twine arms or twine cutter mechanism, turn off power to twine arms BEFORE placing your hands in the path of twine arm travel. If there is crop material which is holding twine arms from moving freely during twine arm cycle, it is recommended that twine arms be manually positioned to release any "hold" they may have on the crop material. Turn off power to twine arms. This will help to make the unplugging operation easier and prevent twine arms from moving unexpectedly while your hands may be in the path of the twine arms. Stay out of the path of twine arms at all times when power to twine arms is ON. NOTE: It may be necessary to adjust twine tension when changing to a different size twine or when changing from sisal to plastic. Left-hand side (front arm) shown. Right-hand side (rear arm) tension plates are the same. Twine tension is controlled by spring-loaded tension plates (A). Adjust twine tension while pulling twine perpendicular to end of twine tube.
|
|
AG,OUMX005,1314 -19-18MAR00-1/3 |
To adjust twine tension: Lower pickup to avoid twine arm from bending pickup teeth. Move twine arms to home position. Make sure twine is routed correctly. (See ROUTING TWINE-RIGHT-HAND SIDE [REAR ARM] and LEFT-HAND SIDE [FRONT ARM] in Preparing the Baler section.) |
|
AG,OUMX005,1314 -19-18MAR00-2/3 |
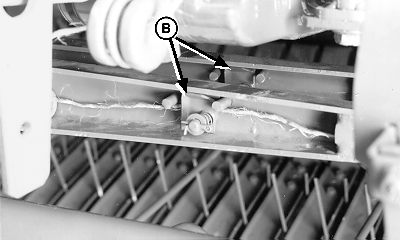
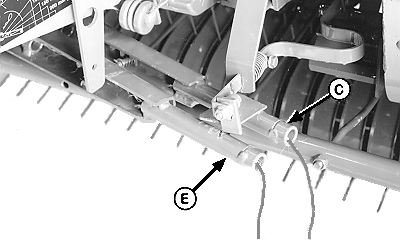
Remove crop buildup from tension plates (A) located on door bands and from tension plates (B) located on twine arms. Attach spring scale to twine from rear twine arm (C). Pull twine perpendicular to the twine arm. Twine pull should be within specifications. Specification
Repeat Step 4 to adjust twine tension for front twine arm (E). Cut twine 305-381 mm (12-15 in.) beyond end of twine arms (C and E)
|
|
AG,OUMX005,1314 -19-18MAR00-3/3 |
 CAUTION:
To avoid injury or death by being pulled into the machine:
