Removing and Installing Bale Ramp (If Equipped)1. Raise gate fully and lock gate. |
OUO6059,000003E -19-05SEP00-1/3 |
|
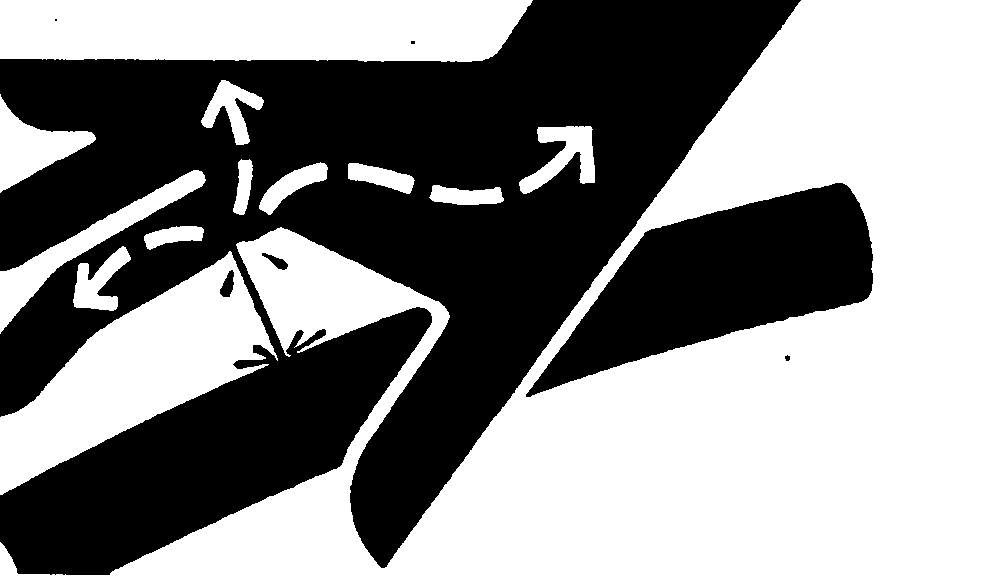
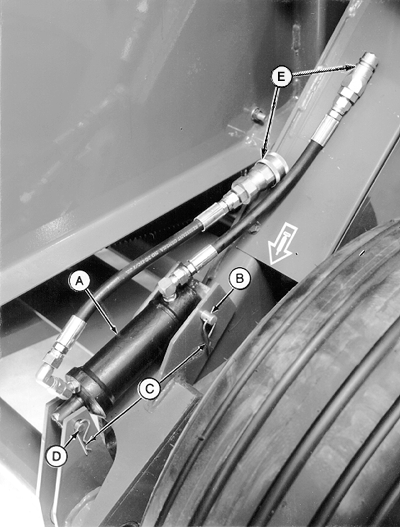
If an accident occurs, see a doctor immediately. Any fluid injected into the skin must be surgically removed within a few hours or gangrene may result. Doctors unfamiliar with this type of injury should reference a knowledgeable medical source. Such information is available from Deere & Company Medical Department in Moline, Illinois, U.S.A. 2. Disconnect hydraulic hoses at quick couplers (E). 3. Remove spring clips (C) and drilled pins (B and D). 4. Remove bale ramp cylinder assembly (A).
|
|
OUO6059,000003E -19-05SEP00-2/3 |
|
|
|
|
|
|
|
|
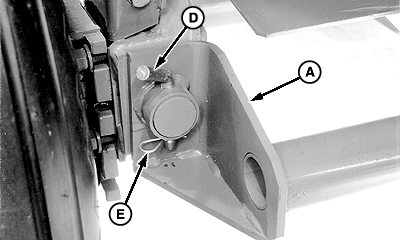
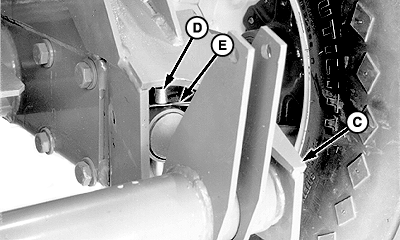
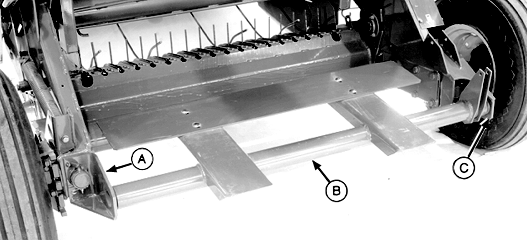
5.
Remove spring clips (E) and pins (D).
6. Remove ramp assembly (B) from baler. 7. Remove brackets (A and C). 8. Install bale ramp in reverse order of removal using the following special instructions:
|
IMPORTANT: Cylinder drilled pins must be installed with spring clips located at right-hand side of mounting bracket |
OUO6059,000003E -19-05SEP00-3/3 |
 CAUTION:
Escaping fluid under pressure can penetrate the skin causing serious injury. Avoid the hazard by relieving pressure before disconnecting hydraulic or other lines. Tighten all connections before applying pressure. Search for leaks with a piece of cardboard. Protect hands and body from high pressure fluids.
