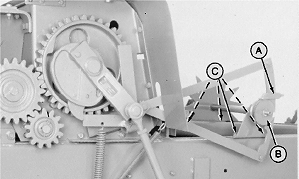
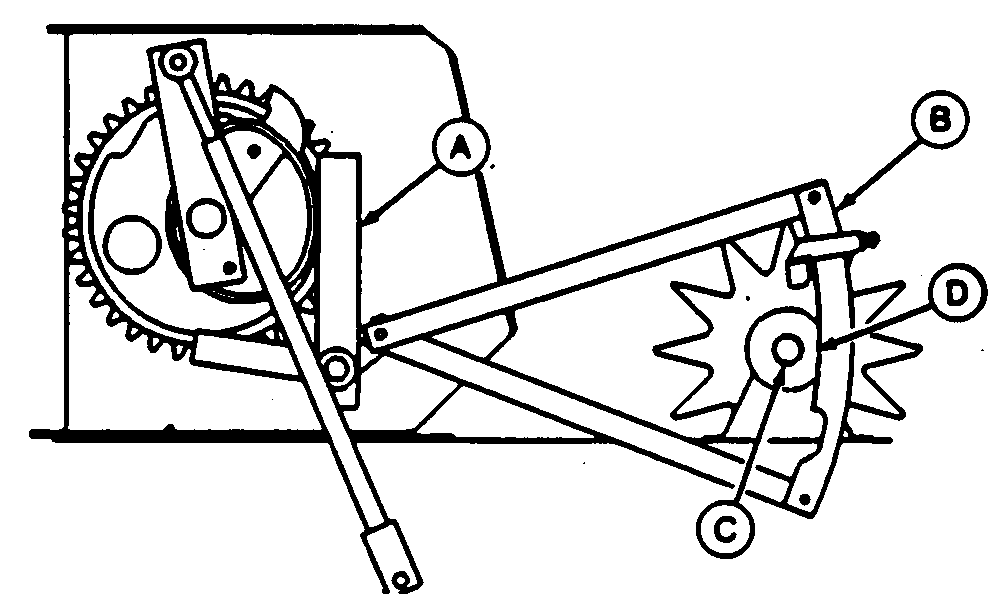
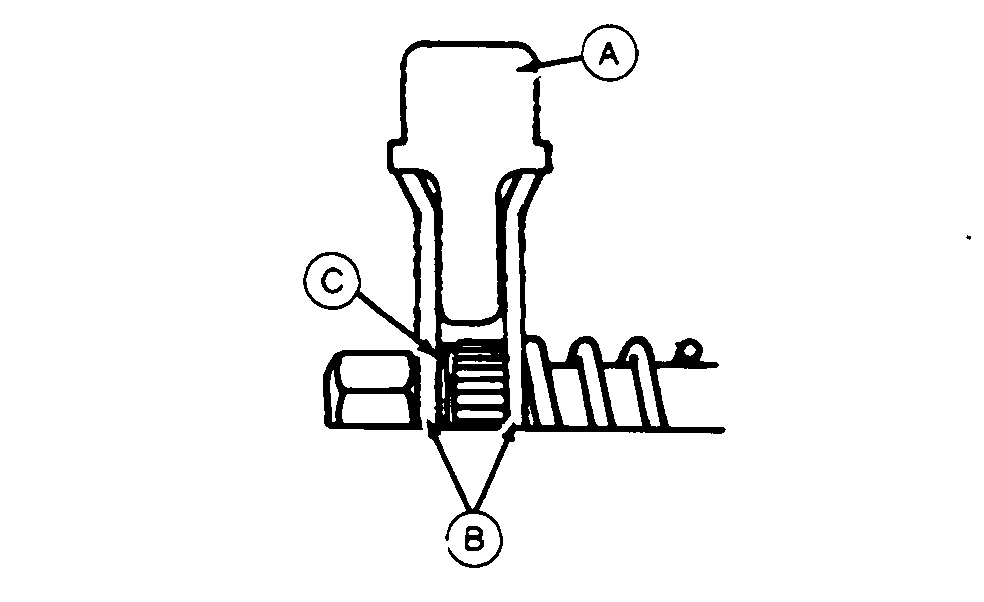
Adjusting Bale Measuring Control1. Locate needles in home position as shown with measuring arm stop (A) resting on measuring wheel shaft sheave (B).2. Slightly loosen four measuring wheel mounting cap screws (C).
|
|
OUO6038,0000089 -19-01NOV06-1/5 |
|
IMPORTANT: Same amount of adjustment must be made on BOTH sides of measuring wheel mounting to prevent binding. 3. Move measuring wheel mounting forward or rearward slightly until top corner of trip arm (A) is flush with top corner of flat surface of trip dog (B). 4. Tighten measuring wheel mounting cap screws securely.
|
|
OUO6038,0000089 -19-01NOV06-2/5 |
|
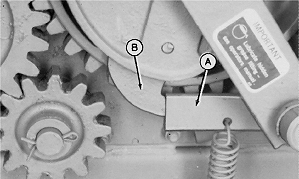
5. Rotate flywheel until needle lift shaft arm (A) is on high point of cam and arm (B) drops. Minimum clearance (D) between arm (B) and roller (C) must be within specification. Specification
|
|
 CAUTION:
Arm (A) is spring loaded, use extreme caution.
CAUTION:
Arm (A) is spring loaded, use extreme caution.
OUO6038,0000089 -19-01NOV06-3/5 |
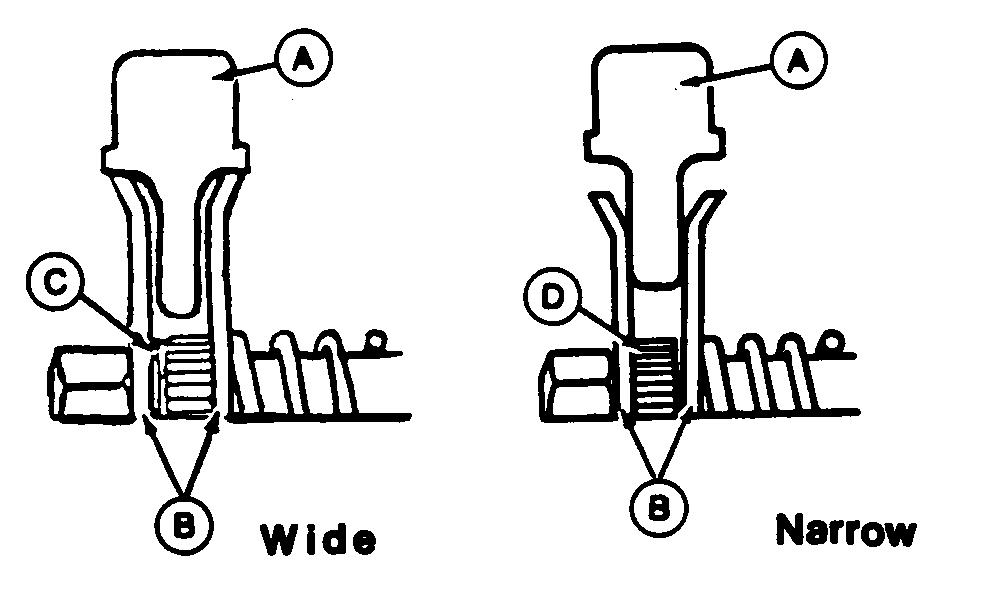
IMPORTANT: Sheave with larger diameter hole must be next to spring and over spacer. |
|
OUO6038,0000089 -19-01NOV06-4/5 |
|
|
OUO6038,0000089 -19-01NOV06-5/5 |