Adjusting Conditioner Roll PressureOptimum conditioning for lequme-type crops, such as alfalfa and clover, occurs when 90 percent of the stems show some conditioning. Stems should be crimped with minimum leaf damage. To check for correct conditioner roll pressure: Cut a pass through the field at normal ground speed with tractor engine operating at rated PTO rpm. Stop and check crop for conditioning effect. Stems should be crimped or slightly crushed. Healthy leaves should be intact on the stem and not smashed or bruised. Overconditioning causes the leaves to dry faster and break off before stems are dry. Overconditioning also increases horsepower requirements and causes components to wear faster.
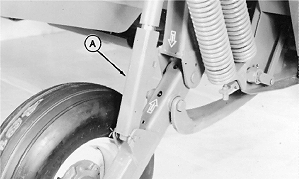
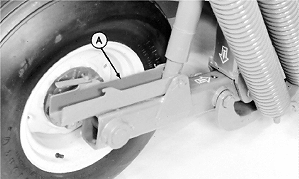
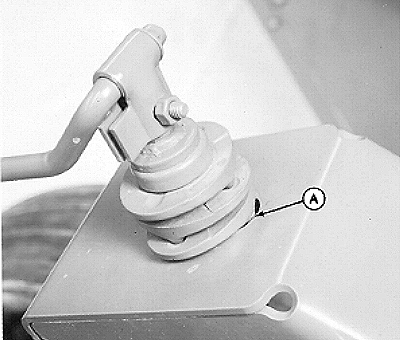
To adjust: 1. Raise machine. 2. Engage cylinder stop (A). Repeat on opposite side. 3. Put blocks under outer gauge shoes. (This step is not mandatory. However, putting blocks under gauge shoes will reduce the number of turns required to release float spring pressure.) |
|
 CAUTION:
To avoid a serious crushing injury, extend lift cylinders completely and engage BOTH cylinder stops before working under machine.
CAUTION:
To avoid a serious crushing injury, extend lift cylinders completely and engage BOTH cylinder stops before working under machine.
EX,820J,Q -19-20JAN95-1/3 |
|
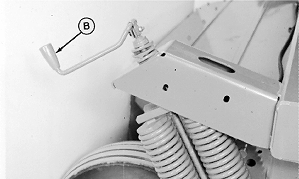
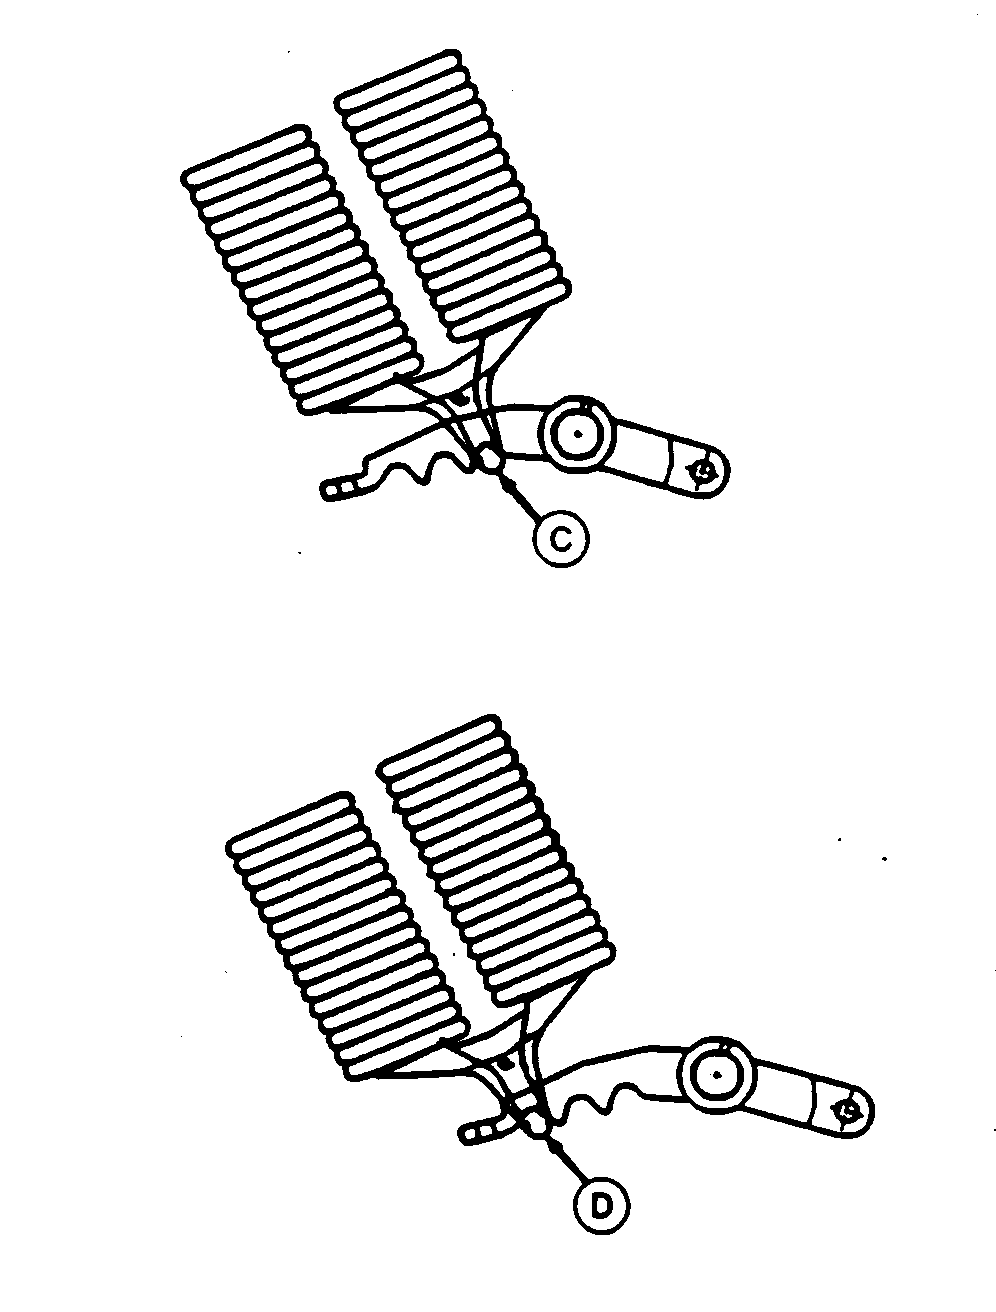
4. Lower cylinder stop (A). Repeat on opposite side. 5. Lower machine. 6. Turn crank (B) counterclockwise until spring pressure is released. NOTE: Roll pressure at location (D) is twice the pressure of location (C). 7. Put springs in location (C) to decrease roll pressure, or location (D) to increase roll pressure.
|
|
EX,820J,Q -19-20JAN95-2/3 |
|
8. Make sure rocker plate tabs (A) are inside oval slot. Tabs on remaining rocker plates should be recessed in adjoining parts. 9. Make sure crank lubrication fitting is to the outside for easy access. 10. Turn crank clockwise to tension spring. 11. Raise machine. Raise cylinder stops. 12. Remove blocks. 13. Lower cylinder stops and lower machine. 14. Adjust platform float. (See Adjusting Platform Float in this section.) 15. Visually check roll clearance. Make sure there is no contact between upper and lower rolls. (See Adjusting Roll Spacing in this section.) |
|
EX,820J,Q -19-20JAN95-3/3 |