Adjusting Net Wrap Counterknife1. Turn tractor key to ON position. Do not start tractor engine. Press ON/OFF key to turn monitor-controller ON.2. Press and briefly hold TWINE/NET key to select NET mode. 3. Press WRAP key and return counterknife arm to home position (retract actuator). |
OUO6085,0000730 -19-25JUN07-1/7 |
|
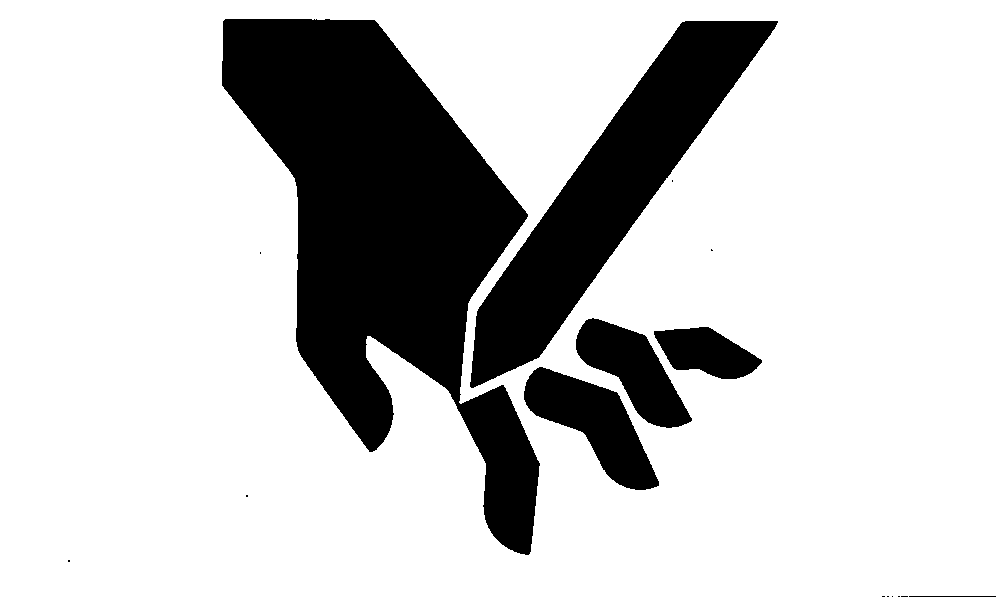
Knife is sharp. Use care when working around the knife. 4. Turn monitor-controller OFF. Turn tractor key to OFF position. Remove key. Disconnect monitor-controller power plug from tractor convenience outlet. 5. Open net wrap cover. |
|
 CAUTION:
To avoid personal injury from unexpected knife movement, disconnect net actuator wiring connector or power plug.
CAUTION:
To avoid personal injury from unexpected knife movement, disconnect net actuator wiring connector or power plug.
OUO6085,0000730 -19-25JUN07-2/7 |
|
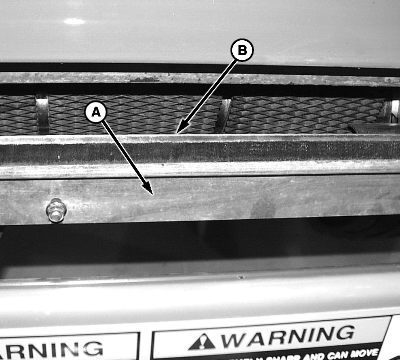
NOTE: Roll removed for photographic purpose only. 6. Remove brush (A) to see alignment between knife (B) and counterknife.
|
|
OUO6085,0000730 -19-25JUN07-3/7 |
|
7.
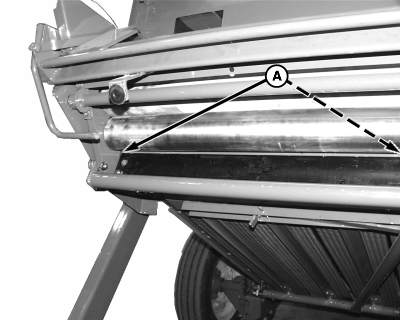
Counterknife angle must contact knife within 100 mm (3.93 in.) of each end (A).
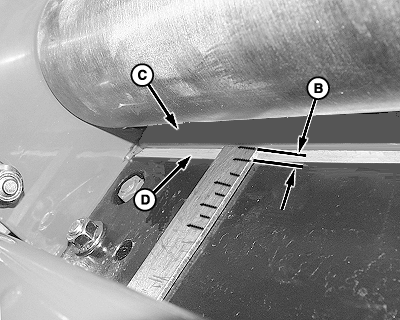
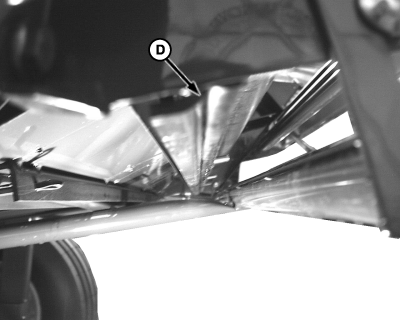
Counterknife (C) should be sitting against beveled edge of knife (D), NOT on knife's sharp edge. Measure distance from counter knife edge (A), where it makes contact with bevel (D) on the stationary knife. Distance (B) should be 6-16 mm (0.236-0.63 in.). This distance must be the same on each end of knife.
|
|
OUO6085,0000730 -19-25JUN07-4/7 |
|
8.
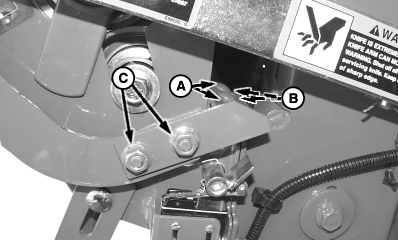
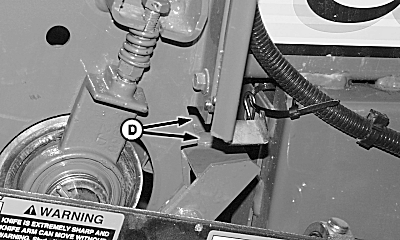
To adjust counterknife, loosen flange nuts (A) and (D) on both sides of counterknife. Move in slotted holes (B) until adjustment is made and tighten flange nuts (A) and (D). If additional adjustment is needed, loosen nuts (C) and move in slots. Tighten nuts (C).
|
|
OUO6085,0000730 -19-25JUN07-5/7 |
|
9.
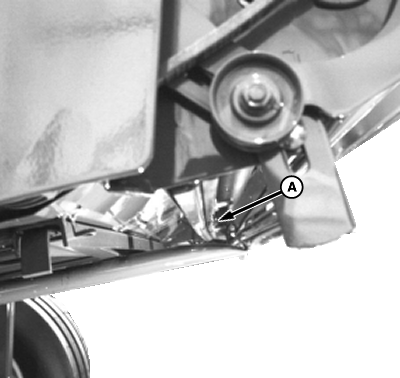
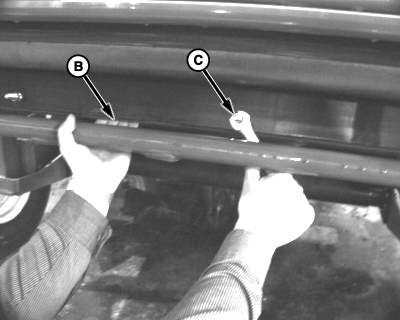
On left side of baler, look at knife and counterknife. If an inward bow (A) is present, an adjustment will be needed.
10. To obtain proper contact between knife and counterknife, first adjust counterknife to both ends as described in previous steps, then follow procedure below.
|
|
OUO6085,0000730 -19-25JUN07-6/7 |
|
11.
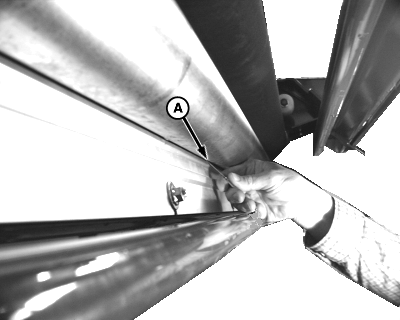
Install brush. Using a feeler gauge (A), set clearance between steel roll and aluminum brush holder bracket to dimension.
Specification
12. Tighten hardware. 13. Rotate rolls to ensure clearance remains within specification. 14. Check net wrap switch adjustment. (See ADJUSTING NET WRAP SWITCH in this section.) 15. Close net wrap cover. |
|
OUO6085,0000730 -19-25JUN07-7/7 |