Replacing Intermediate Disk Drivers
-
Remove disk. (See REMOVING DISKS in this section.)
-
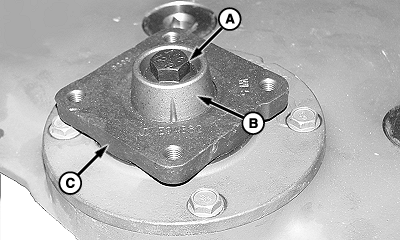
E47726-UN-28JAN00A - Cap Screw
B - Special Washer
C - Disk Driver
Remove cap screw (A), special washer (B) and disk driver (C). -
If splines have been sheared, remove loose pieces of splines.
-
IMPORTANT: It is critical that mating surfaces of the bearing, driver, and special washer be free of dirt and crop material before installing special hardened cap screw. If these areas are not thoroughly cleaned, the cap screw can come loose and cause cutterbar failure.
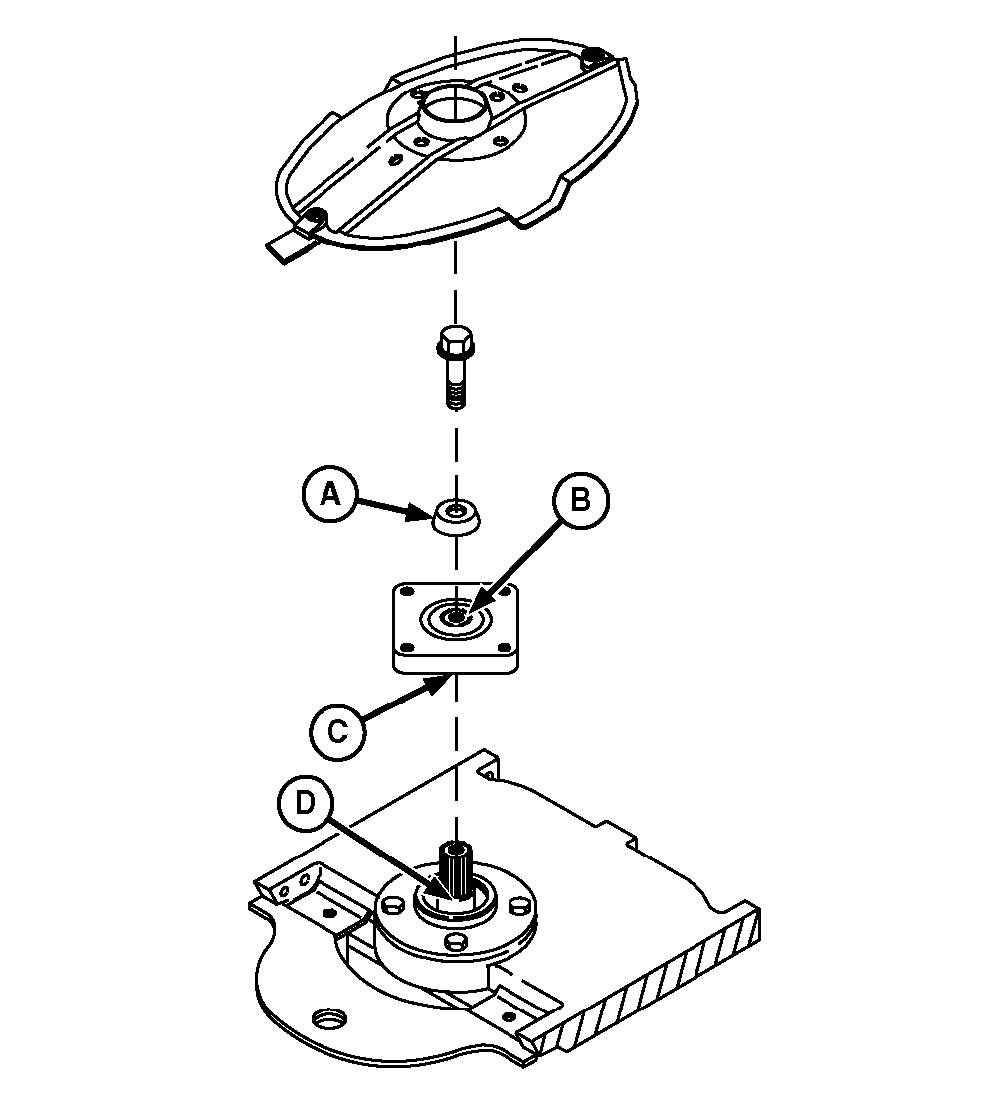
E44404-UN-02JUL98A - Special Washer
B - Top of Driver
C - Bottom of Driver
D - Top of Bearing
Clean the following areas before installing disk driver:- Special washer (A)
- Top (B) of driver
- Bottom (C) of driver
- Top of bearing (D)
-
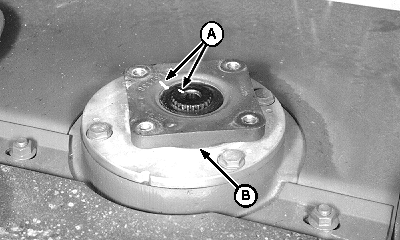
E41455-UN-10FEB97A - Timing Marks
B - Driver
Align timing marks (A) and install new driver (B) on pinion shaft. -
E47726-UN-28JAN00A - Special Cap Screw
B - Special Washer
C - Disk Driver
Align timing mark on special washer (B) with mark on driver. Install washer. -
IMPORTANT: To avoid machine damage, use new special cap screw (A) treated with thread-locking compound. Replace cap screw anytime disk driver is replaced.
Replace special hardened cap screw with genuine John Deere part specified for this application.
Lubricate cap screw with light oil before installation. Failure to lubricate could allow cap screw to come loose and cause machine damage.
Lubricate special cap screw (A) with a light oil.
-
Install and tighten to specification.
Item Measurement Specification Disk Driver-to-Pinion Gear Cap Screw Torque 340 N˙m (250 lb-ft) -
Install disk. (See INSTALLING AND SYNCHRONIZING DISKS in this section.)
|
AG,OUMX005,1215-19-20060615 |