Bale Long, Stiff, Cane-Type Crops
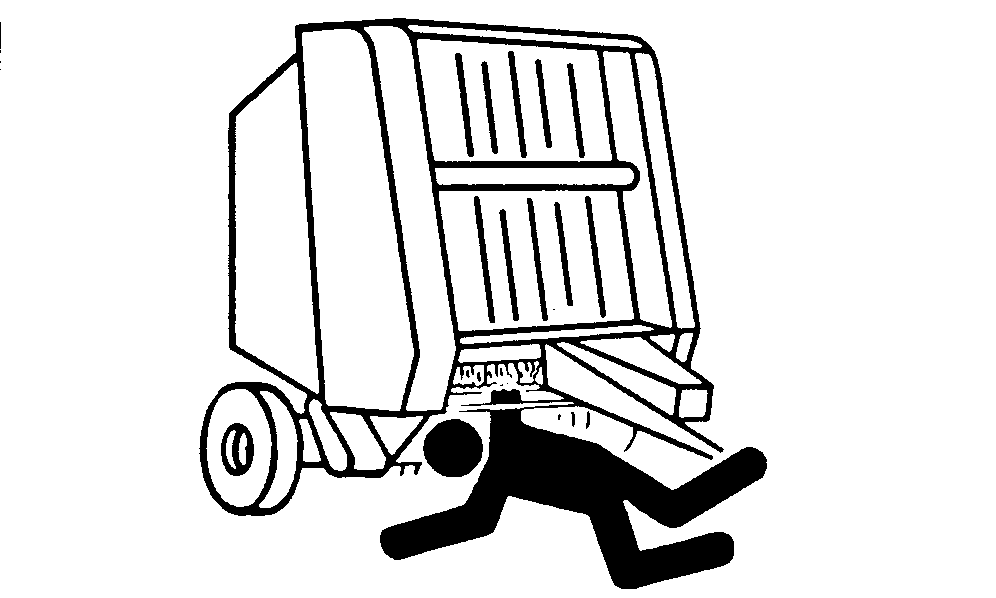
 CAUTION:
TS679-UN-28SEP89
Do not attempt to feed crop or twine into baler or unplug feed area while baler is running. The baler feeds material faster than you can release it.
Disengage PTO and shut off engine.
If bales fail to start rotating due to crop wedging into top of starting chamber, try the following suggestions:
-
Regular Pickup; Check pickup belt tension and condition. (See ADJUST PICKUP BELT IDLER in Service—Baler section.)
MegaTooth™ and MegaWide™ Plus Pickup; Check pickup slip clutch. (See CHECK PICKUP SLIP CLUTCH TORQUE in Service—Baler section.)
-
Condition crop as much as possible so stems will bend and form bale core without wedging.
-
Make windrows narrower than bale chamber width.
-
Approach windrow with crop centered in pickup.
- Avoid getting crop under crop dividers.
-
Approach windrow at an angle and immediately turn and drive forward.
- This allows stems to bend and start bale core.
- Avoid getting crop under crop dividers.
-
If equipped with hydraulic pickup lift, raise and lower pickup during bale starting. This is usually done at reduced ground speed.
-
Travel forward at least 3 m (10 ft.) without stopping to allow enough crop into baler to start rolling.
-
Use variable core feature, if equipped, to form bale core with less belt tension.
-
Surface moisture on bottom of windrow causes crop to slip more easily against forming belts. Turn windrows with a rake or tedder to improve bale starts.
-
NOTE: Recommended Wraps
Bales stored with less than two wraps of net can be damaged by handling or weather conditions.
Different crops require a different number of wraps for effective baling.
Minimum recommendations are:
- 2 Wraps for Hay
- 3 Wraps for Straw, Wheat Hay, and Cereal Grains
- 4 Wraps for Corn Stalks, Sudex, Hay Grazer, and Milo Stalks
NOTE: Since the baler is equipped with slip clutch alert, and it is turned on, net and twine wrapping is automatically adjusted as rpm is changed. Thus, no change is needed on the monitor.
Reduce bale density or use variable (soft) core feature. (See ADJUST BALE DENSITY or ADJUST VARIABLE (SOFT) CORE DIAMETER in this section.) Reduced belt tension allows belts to deflect and start bale.
-
If machine rpm is less than rated PTO speed, use the following charts as a guideline for desired wraps.
NET WRAP CHART
Engine RPM
Desired No. Of Wraps
Approximate Monitor Setting Needed
Rated PTO
2
2
3
3
1800 RPM
2
2.4
3
3.6
1500 RPM
2
2.9
3
4.3
1300 RPM
2
3.3
3
5.0
TWINE WRAP CHART
Engine rpm
Mechanical Setting
Monitor-Controller Setting
Rated Speed
10 cm (4.0 in.)
10 cm (4.0 in.)
1800 rpm
10 cm (4.0 in.)
9 cm (3.5 in.)
1500 rpm
10 cm (4.0 in.)
8 cm (3.0 in.)
1300 rpm
10 cm (4.0 in.)
6 cm (2.5 in.)
|
PP98408,0001059-19-20130321 |