Adjust Belt Tracking
-
IMPORTANT: Check belt tracking before making any belt tracking adjustments.
If belts are new and have not been used, add baby powder to simulate crop dust and allow belts to track freely.
NOTE: Check belt tracking with PTO engaged and tractor at lowest rpm. Hold tractor hydraulic lever in gate closing position to apply tension to belts while checking.
NOTE: Light contact with belt guides is acceptable, but belts must not curl against guide straps.
If an adjustment is needed, slack belts by doing the following procedure:
-
Raise gate fully so tension arm is against stop.
-
Lower gate slowly until belts are slack.
-
Lock the gate.
-
Shut off tractor and remove key.
-
-
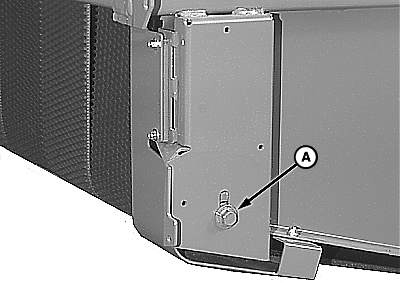
E54427-UN-17OCT05Without COVER-EDGE™ Net Wrap
A - Cap Screw
Loosen cap screw (A) and adjust No. 8 roll in slot with small movements. Let baler run at least 30—40 seconds to observe tracking between adjustments. -
NOTE: Check clearance between washer (B) and guide (C) before adjusting belt tracking. (See CHECK AND ADJUST LOWER NET WRAP GUIDE in this section.)
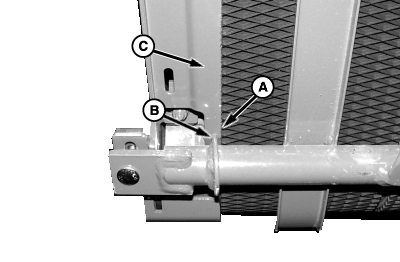
E55290-UN-22JUN07A - Outside Belt
B - Guide Washer
C - Guide
Check tracking of outside belts (A) relative to guide washers (B). There must be clearance between outer edge of belt and guide washer on both sides of baler. Some occasional contact between belt and washer is allowable, but continuous contact is not allowable. -
E40605-UN-26JUN96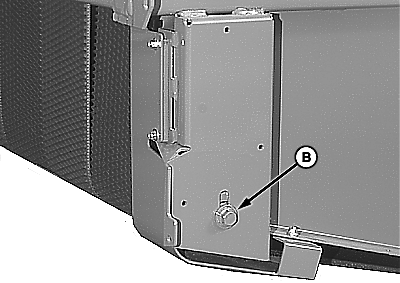
E48783-UN-10AUG00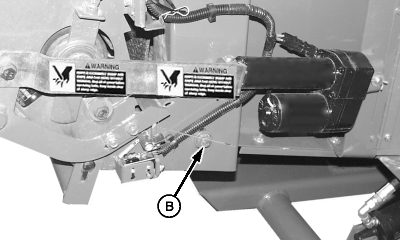
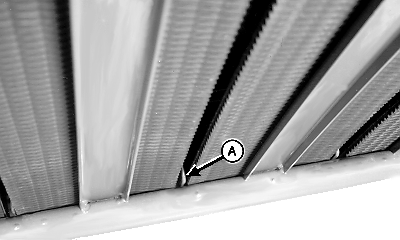
E48252-UN-08JAN02With COVER-EDGE™ Net Wrap
A - Lower Belt Guide
B - Cap Screw
If belts are not centered at lower belt guide (A), make the following adjustments:- If belts track to the left:
-
Loosen cap screw (B) at right side.
-
Raise RIGHT end of lower rear gate roll.
-
Tighten cap screw (B).
- If belts track to the right:
-
Loosen cap screw (B) at right side.
-
Lower RIGHT end of lower rear gate roll.
-
Tighten cap screw (B).
NOTE: After adjustment, be sure neither belt contacts guide washers continuously as described previously.
Light contact with belt guides is acceptable, but belts must not curl against guide straps.
-
Tighten cap screw (B) to specification.
Item Measurement Specification Cap Screw Torque 140 N·m (105 lb.-ft.) -
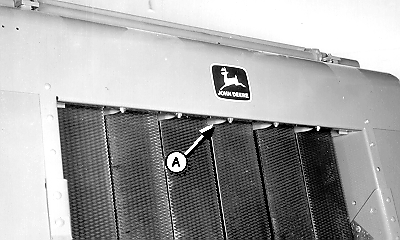
E39723-UN-09FEB96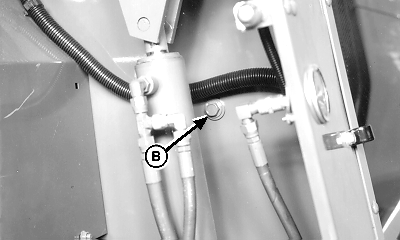
E39722-UN-09FEB96A - Front Belt Guide
B - Front Idler Roll
If belts are not centered at the upper front belt guide (A), make the following adjustments:- If belts track to the right:
-
Loosen cap screw (B) at right-hand side.
-
Raise RIGHT end of front idler roll.
-
Tighten cap screw (B).
OR
-
Loosen cap screw at left-hand side.
-
Lower LEFT end of front idler roll.
-
Tighten cap screw.
- If belts track to the left:
-
Loosen cap screw (B) at left-hand side.
-
Raise LEFT end of front idler roll.
-
Tighten cap screw.
OR
-
Loosen cap screw at right-hand side.
-
Lower RIGHT end of front idler roll.
-
Tighten cap screw (B).
-
Tighten cap screw (B) on both ends of roll to specification.
Item Measurement Specification Mounting Cap Screw Torque 140 N·m (105 lb.-ft.) -
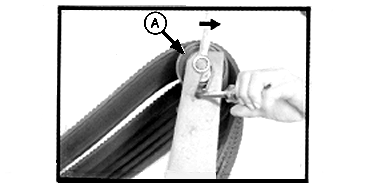
E39725-UN-09FEB96A - Take-Up Roll
If belts are not centered at the upper rear guide, make the following adjustment:- If belts track to the right, move RIGHT end of take-up roll (A) (in direction shown) in short leg of L shaped slot.
- If belts track to the left, move LEFT end of take-up roll (A) (in direction shown) in short leg of L shaped slot.
-
Tighten cap screw to specification.
Item Measurement Specification Mounting Cap Screw Torque 140 N·m (105 lb.-ft.)
-
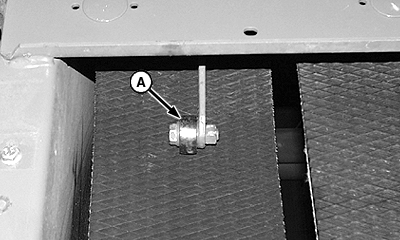
E47618-UN-07JAN00Left-Hand Side Shown
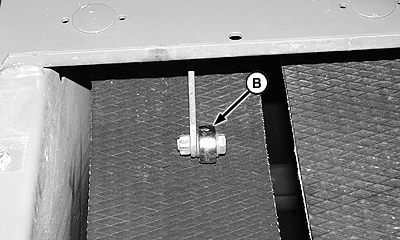
E47619-UN-07JAN00A - Roller (Normal Outside Position)
B - Roller (Inside Position)
If outside belts track to the outside, rubbing the lower belt guide or side of baler, adjust as follows:- Move roller from the normal outside position (A) on the sender arm to inside position (B). The belt will track towards the middle of the baler.
|
PP98408,00010C0-19-20130211 |