Adjust Bale Diameter Sensor (Channel 005)
-
E39729-UN-14FEB96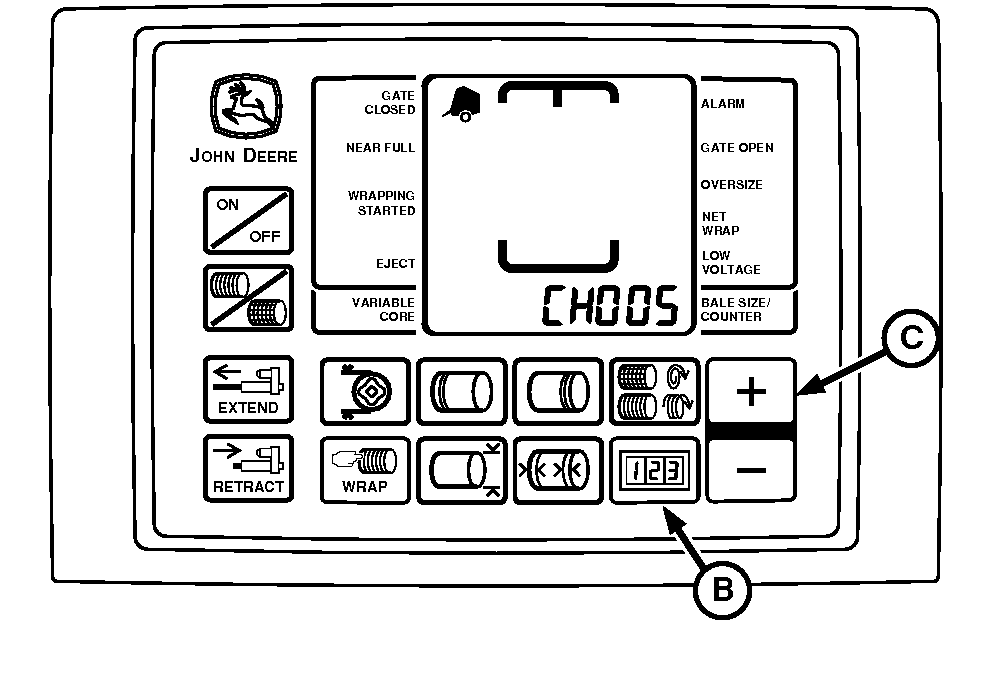
E52526-UN-02JUN08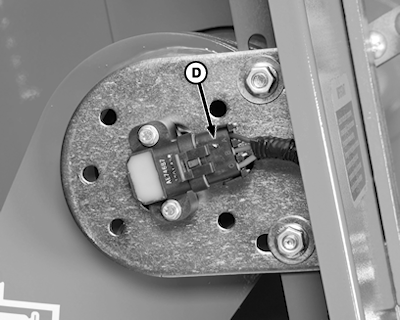
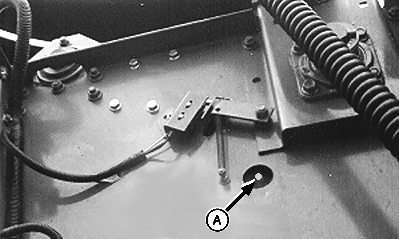
E66770-UN-17JUL12A - Calibration Hole
B - COUNTER Key
C - PLUS Key
D - Sensor
Lock gate in closed position. -
Start tractor engine.
-
IMPORTANT: Calibration hole is an open hole, not one with a cap screw.
Using tractor selector valve, raise belt tension arm until calibration hole (A) in tension arm is centered in baler access hole.
NOTE: If calibration hole in tension arm goes past baler access hole while raising tension arm, lower tension arm and repeat Step 3 as necessary.
-
Engage tractor parking brake and place transmission in Park.
-
Shut off tractor engine.
-
Turn tractor key to ON position. Do not start tractor engine.
-
Press and hold COUNTER key (B) while turning monitor-controller ON.
-
Continue to hold COUNTER key (B) and press PLUS key (C) until CH005 appears in digital display. Release COUNTER key (B) and view bale size sensor number.
-
Loosen mounting hardware and rotate sensor (D) fully clockwise. Rotate sensor counterclockwise until 208 is displayed and a steady tone sounds.
-
NOTE: If 208 is exceeded while rotating sensor counterclockwise or while tightening screws, rotate sensor clockwise and repeat Steps 9 and 10 as necessary.
Tighten sensor mounting screws.
-
To check adjustment:
- Lower belt tension arm using tractor selector valve.
- Raise belt tension arm until calibration hole appears at bottom of baler access hole.
-
NOTE: If tension arm is raised too fast and monitor-controller
setting goes above 208, the steady tone
will not sound at the correct time.
Continue very slowly raising tension arm and STOP raising tension arm when 208 is displayed on monitor-controller or a steady tone sounds.
-
Turn monitor-controller OFF. Turn tractor key to OFF position.
-
Lower belt tension arm using tractor selector valve.
-
Unlock gate.
|
PP98408,00010DC-19-20130211 |