Net Wrap Use After Extended Storage
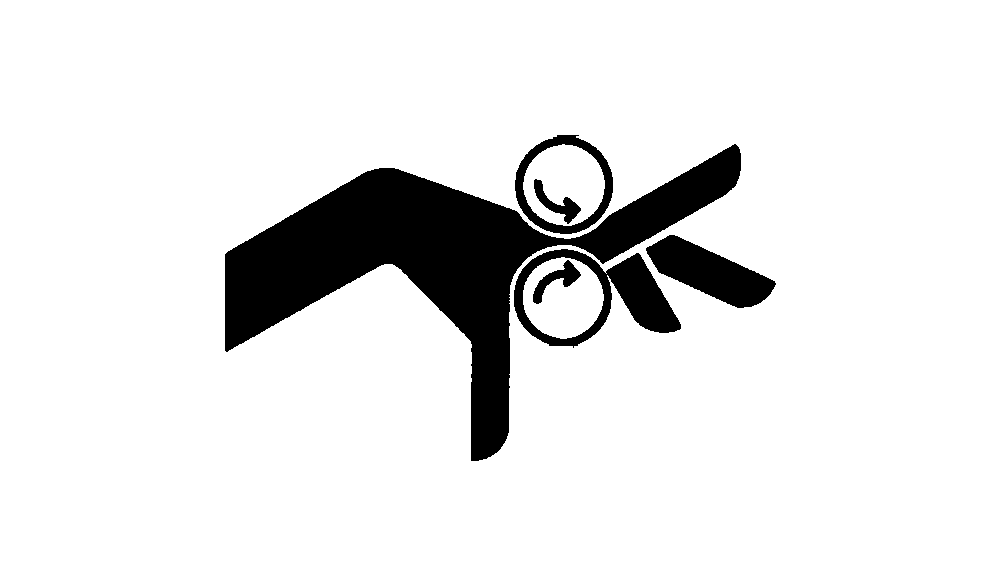
 CAUTION:
E40200-UN-08JUL96
To minimize start-up problems after storage or after extended twine wrapping operation:
-
Raise net wrap cover. (See OPEN AND CLOSE NET WRAP COVER in Preparing Baler for Net Wrap section.)
-
CAUTION:
Be careful when working around the knife. It is sharp.
TS268-UN-23AUG88Be sure that bystanders stand clear before operating net wrap.
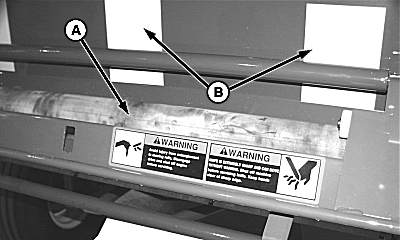
E48261-UN-28JUN00A - Feed Roll
B - Stainless Steel Plates
Remove net wrap and wipe excessive dust or crop material from feed roll (A) and stainless steel net roll supports (B) with a dry cloth. -
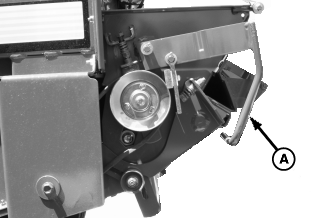
E54535-UN-01MAY06A - Brake Lever
If new wrap is installed in baler, pull lever (A) out and up. -
Move lever up and down one time to rotate the rolls to keep net from wrapping the roll. Place brake lever in locked operating position
-
Close net wrap cover.
-
IMPORTANT: Do not lower gate with the lower net wrap guide detached from the belt guide or damage to the guide will result.
Do not operate the baler belts with the lower net wrap guide detached from the belt guide, or belt damage can result.
Start tractor engine.
-
Raise gate fully, then lower gate until lower front gate roll is approximately 1 m (3-1/3 ft.) above the ground.
-
Shut off tractor engine and remove key.
-
Lock gate.
-
CAUTION: Guide will swing back when lower lock nuts are removed.
DO NOT let guide swing back freely, can cause machine damage.
E48474-UN-21JUL00Left-Hand Shown
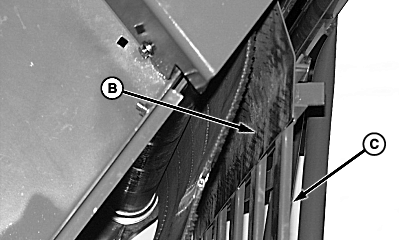
E48313-UN-28JUL00A - Lock Nut
B - Sheet Metal Area
C - Guide Channels
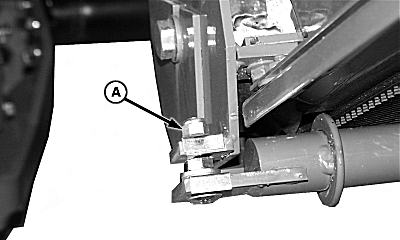
Remove lock nut (A) holding front corners of lower net wrap guide. -
Repeat on opposite side.
-
Swing front of guide away from gate roll.
-
Polish all of sheet metal area (B) and tops of channels (C) until smooth using SCOTCH-BRITE ® or ultra-fine sandpaper. When using sandpaper, polish marks must be parallel to movement of net.
-
Check sheet metal area (B) for holes made from wear. Holes can be caused by excessive net pan pressure against belts. (See CHECK AND ADJUST NET PAN PRESSURE in this section.)
-
If sheet metal has holes worn in it, replace guide. (See your John Deere dealer.)
-
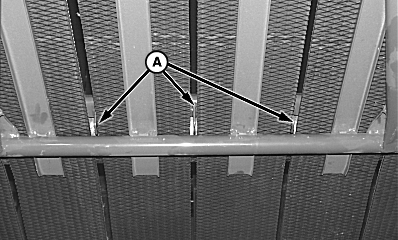
E48475-UN-21JUL00A - Guide Straps
Position belts between guide straps (A). -
Swing front of assembly toward the bottom front roll.
-
E48474-UN-21JUL00A - Lock Nut
Align the holes and install lock nut (A). -
IMPORTANT: If belt guide strap clearance is more than 5 mm (3/16 in.), damage to baler belts can occur.
If belt guide strap clearance is less than 3 mm (1/8 in.), slitting of net material during feeding can occur.
NOTE: To reduce net material slits while baling cornstalk, milo, or sorghum, adjust clearance to 4—5 mm (0.16—0.20 in.).
Check and adjust clearance between ends of all belt guide straps and the bottom cross-member. (See CHECK AND ADJUST LOWER NET WRAP GUIDE in Service—Net Wrap section.)
-
Tighten lock nut (A) on each side.
-
Start tractor engine.
-
Unlock gate and lower fully.
-
Shut off tractor engine.
-
IMPORTANT: If Steps 24 through 26 are not followed, net wrap will be fed continuously during the next bale.
Connect monitor-controller power plug to tractor convenience outlet. Turn tractor key to ON position. Set monitor-controller selector switch to NET.
-
Press WRAP key to return net knife arms to home (forward) position.
-
Turn tractor key to OFF position. Remove key. Turn monitor-controller OFF.
|
SCOTCH-BRITE is a registered trademark of the 3M Company. |
PP98408,00010F0-19-20130211 |