Baler Error Codes and Troubleshooting
E78055-UN-16JAN15
If one of the following error code banners appear on monitor, stop the machine and correct the issue before baling is resumed.
|
■Problem |
■Cause |
■Remedy |
|---|---|---|
|
CCI / VT50 Terminal |
||
|
Buttons do not react anymore or are continuously activated. |
The buttons are polluted, no protective film present on the front of the terminal. Pollution behind the protective film, the protective film is damaged or scratched. The terminal or touchscreen is broken. |
Replace the protective film. Replace the damaged or scratched protective film. Contact your dealer. |
|
Electronics |
||
|
No message at the electronic control box. |
No power to the electronic control box. |
Switch on the electronic control box. Check if the electronic control box is connected to the 12V power supply at the tractor. Check all electrical wiring. Check fuses. Before replacing a fuse, find out what caused the melted fuse. Solve this problem first. |
|
Non-identifiable signs or messages at the electronic control box. |
The machine or electronic control box is too close to a strong electromagnetic field. Internal problem. |
Switch OFF all electronic devices on machine immediately. Move machine away from the electromagnetic radiation source. (Or move the electromagnetic radiation source away from the machine). Switch on the electronic control box. If no errors, non-identifiable signs, or messages appear, you can continue operating. Contact your dealer. |
|
Pre- and Running Error Codes |
||
|
(1) E:0—Function-stop button pressed. |
Function-stop button is being pressed on the terminal. |
Release Function-stop button. |
|
Baler Error Codes |
||
|
(2) E:120—One or more outputs could not be activated. |
Following components can cause this problem:
|
Cycle the control box power. Test functions individually. |
|
(3) E:121—Bale chute alarm. |
The bale chute is closed while in operating display and PTO speed is above 100 rpm minimum. |
Stop baler and lower bale chute. |
|
(4) E:140—Voltage to actuator/outputs is less than 8.9 V. |
Load on the tractor alternator is too high, lights, and so on. |
Lower load on alternator. |
|
Bad battery on tractor. |
Measure battery voltage. |
|
|
Bad cables or connections on tractor. |
Check cables and connections. |
|
|
Fuse blown. |
Check fuses and replace if necessary. |
|
|
Short circuit in the hydraulic valve coil. |
Check coils of the hydraulic valve. |
|
|
(5) E:141—Sensor and micro control unit power is less than minimum of 9.0 V. |
The terminal is activated while starting tractor. |
Switch OFF terminal. Verify that tractor engine is running and switch ON terminal. |
|
Tractor voltage is too low. |
Reduce electric power consumption at tractor. Check with the tractor operator’s manual. |
|
|
Bad electrical connections. |
Check the connections and the wiring of the 12 V out (2.5 mm² wire). |
|
|
Fuse blown in the machine box. |
Disconnect all outputs from the machine control box to the hydraulic valve block. Replace fuse. Connect outputs to the hydraulic valve block one-by-one to find the problem. Solve the problem and/or repair machine. |
|
|
The fuse in the power cable of the ECU is blown. |
Find the cause of the problem and/or repair the machine. |
|
|
(6) E:143—Memory has been defaulted. |
When the system is set to the default settings (factory settings). |
Set all specific settings of the machine. |
|
(7) E:145—Twine motor alarm. Sensor not at HOME position. |
Notch of the electric binding motor did not stop at the sensor but after the time limit exceeded. |
Check if sensor is moved or defective. |
|
No power supply to the electric motor. |
Check electric wires and electric motor. Check fuse (10 A) in power wire of TMO inside the electronic control box. |
|
|
(8) E:147—5 V output voltage is less than 4.5 V. |
Short circuit in a 5 V sensor (analog). |
Sequentially disconnect analog sensors until error code disappears from monitor. |
|
(9) E:149—Version mismatch secondary system. |
Version of the secondary system has wrong software version. |
Update secondary system software to the right software version. |
|
Twine detection and blower speed monitoring are not working properly. |
||
|
(10) E:149—Version mismatch humidity (moisture) sensor. |
Version of the humidity sensor software has wrong software version |
Update the humidity sensor software to the right version. |
|
(11) E:160—Grease sensor alarm. |
Greasing sensor is not active after the time that has been set. |
Check sensor located in the primary divider block. |
|
Primary divider block does not function. |
Check if block is clogged. |
|
|
(12) E:162—Machine load sensor not connected. |
No machine load sensor. |
Check machine load sensor and harness. |
|
Machine load sensor broken. |
||
|
Cable to the machine load sensor is broken. |
||
|
(13) E:166—Needle shear bolt alarm. |
The needle frame shear bolt is broken at TOP needle position. |
Stop immediately. Switch off the PTO. |
|
Check sensors. Check needle frame shear bolt. Replace shear bolt if necessary. |
||
|
The needle extractor cannot push needle frame back. |
Remove obstacles from the plunger and knotter. Activate the tying process. |
|
|
Wrong bale dimension activated in the dealer menu. |
Enter correct dimension in the dealer menu. |
|
|
(14) E:167—Machine load too high alarm. Pressure drops automatically and increases when there is no Machine Load overload within a short period. |
The plunger load becomes too high, due to: Bale chamber pressure set too high. |
> Press - 5 bar button to decrease the bale chamber pressure. If the alarm persists, reduce the preset pressure. |
|
Obstacles. Changed conditions (material, weather, and so on.) |
Take away the obstacles. |
|
|
(15) E:169—Flywheel brake engaged. |
Mechanical flywheel brake is in braking position while the baler is running. Terminal is in operating display. |
Disengage the flywheel brake. The flywheel brake can be acknowledged but becomes active again when:
|
|
(16) E:170—Feeder fork feeds continuously alarm. |
Per the plunger stroke, the feeder fork makes 2 filling strokes, due to: Wrong timing adjustment of the feeder fork mechanism. Mechanical fault at the timing mechanism of the feeder fork switching mechanism. |
Check timing rod. Check Locking Pin. |
|
(17) E:171—Feeder fork overload, feeder fork is running too slow alarm. During this alarm, the bale pressure drops automatically to prevent start-up problems of the tractor. After bale growth, the pressure increases automatically to the preset pressure. |
Due to: Disengaged feeder fork cam clutch. |
Stop immediately. Decrease the rpm of the PTO until the blockage is removed. |
|
The feeder fork is blocked. |
When the blockage cannot be removed: Switch OFF PTO. Switch OFF tractor engine. Remove ignition key. Remove blockage manually. |
|
|
Rotor speed set incorrectly in the dealer menu |
Check and adjust rotor speed. |
|
|
(18) E:172—Rotor overload or running too slow alarm. |
Due to: The rotor is blocked. |
Stop immediately. Decrease rpm of the PTO until blockage is removed. |
|
The rotor overload clutch is activated. |
When blockage cannot be removed: Switch OFF PTO. Switch OFF tractor engine. Remove ignition key. Remove blockage manually. If a rotor blockage with the knives in use occurs, the knives go immediately to the rest position. When the blockage is removed and the rotor and feeder fork speed is normal the knives come back automatically. |
|
|
Rotor speed set incorrectly in dealer menu 1. |
Check and adjust rotor speed. |
|
|
(19) E:173—Incorrect bale length alarm. |
The bale length is more than the length set +0.40 m (16 in). |
Check bale length settings. |
|
Needle frame shear bolt is broken. |
Find the cause and solve it. Mount a new shear bolt if broken. |
|
|
During a tie cycle, the signal of the tying sensor is missed. |
Adjust the tying sensor position. Replace the tying sensor. |
|
|
In the case of electric binding: In operation display, one of the conditions to start electric binding was not met. |
Check conditions. (See Operating the Baler section.) |
|
|
The bale length reaches length set +0.40 m (16 in). |
||
|
At the start-up of the operating screen, the actual bale length is more than the set bale length. |
Check actual bale length in bale chamber and start first binding using the button at required length. |
|
|
During the use of the bale pusher, the actual bale length has exceeded the set bale. |
||
|
(20) E:174—Knives retracted while they are engaged alarm. |
The knives are not coming in within 1 minute after engagement. The knives button has been activated or when knives are out while they are in, probable causes: |
|
|
The shutoff valve is closed. |
Open shutoff valve. |
|
|
An obstruction in the cutting unit. |
Take away obstruction in the cutting unit. |
|
|
Dirty knives. |
Clean knives. |
|
|
Sensor fault. |
Check sensor. |
|
|
(21) E:175—Knives engaged while they are retracted alarm. |
The knives are not coming out within 1 minute after the retract knives. The button has been activated or when the knives are in while they are out, probable causes: |
|
|
The knives are in and shutoff valve is closed. |
Open shutoff valve. |
|
|
An obstruction in the cutting unit. |
Take away obstruction in the cutting unit. |
|
|
Pollution of the knives. |
Clean knives. |
|
|
Sensor fault. |
Check sensor. |
|
|
(22) E:176—PTO rpm too high alarm. |
PTO speed is above 1150 rpm. An increase of risk of damaging the machine. |
Decrease tractor engine rpm. Check rotor and feeder fork sensor. |
|
(23) E:178—Filling alarm. |
The bale is growing without filling strokes of the feeder fork. Loss of crop between feeding channel and bale chamber. |
Check measuring plates. Check to see if material is slipping by measuring plates into bale chamber. |
|
Wrong adjustment or defective fill sensor. |
Check fill sensor. |
|
|
The feeder fork does not make a filling stroke due to a mechanical fault. |
Check feeding system. |
|
|
(24) E:179—Machine load out of range alarm. |
Machine load sensor has moved too far and is out of range. |
Calibrate machine load sensor. |
|
(25) E:185—Communication with auxiliary ECU lost. |
Auxiliary ECU is not running. |
Check that the auxiliary ECU is running (blinking run LED). |
|
Wiring between both ECU is defective |
Check wiring between both ECUs. |
|
|
(26) E:190—Electric binding sensor (TMO) alarm. |
Electric binding sensor is not active when operating screen is activated. |
Check electric binding sensor. |
|
(27) E:192—Electric binding (TMO) PTO is 0 alarm. |
Electric binding cannot start because PTO is OFF. |
Start PTO, run baler. |
|
No signals from rotor and feeder fork sensor. |
Check rotor and feeder fork sensor. When the problem is solved the manual bind softkey blinks. A manual bind action must be activated before electric binding can start automatically. |
|
|
(28) E:193—Electric binding (TMO) pressure 0 alarm. |
Pressure is set to 0. |
Increase pressure or machine load setting. When the problem is solved the manual bind softkey blinks. A manual bind action must be activated before electric binding can start automatically. |
|
(29) E:194—Electric binding (TMO) lock alarm. |
Electric binding wants to start a tying process due to the actual bale length, but the display is not in operating mode. |
Activate display operating mode. When the problem is solved the manual bind softkey blinks. A manual bind action must be activated before electric binding can start automatically again. |
|
(30) E:195—Work in lock alarm. |
The baler is running (PTO) and bale growth is detected while display is not in operating mode. |
Activate display operating mode. |
|
(31) E:201-E:206—Twine tension sensor 1—6 error. |
The sensor or connection is defect. |
Check connection and sensor, replace if necessary. |
|
Sensors need calibration |
Calibrate sensors. |
|
|
(32) E:210—Twine stuck in the knotter CRITICAL error, STOP baling. |
The twine is stuck in knotters. It can appear:
|
Check twine and applicable knotter that causes the problem. |
|
(33) E:212—Lost twine tension. |
Slack-arm is up or goes up after 70 cm (28 in), before the next bale is tied. |
|
|
Low tension of the twine |
Increase twine tension. |
|
|
Out of twine or twine is broken |
Place new twine or fix broken twine. |
|
|
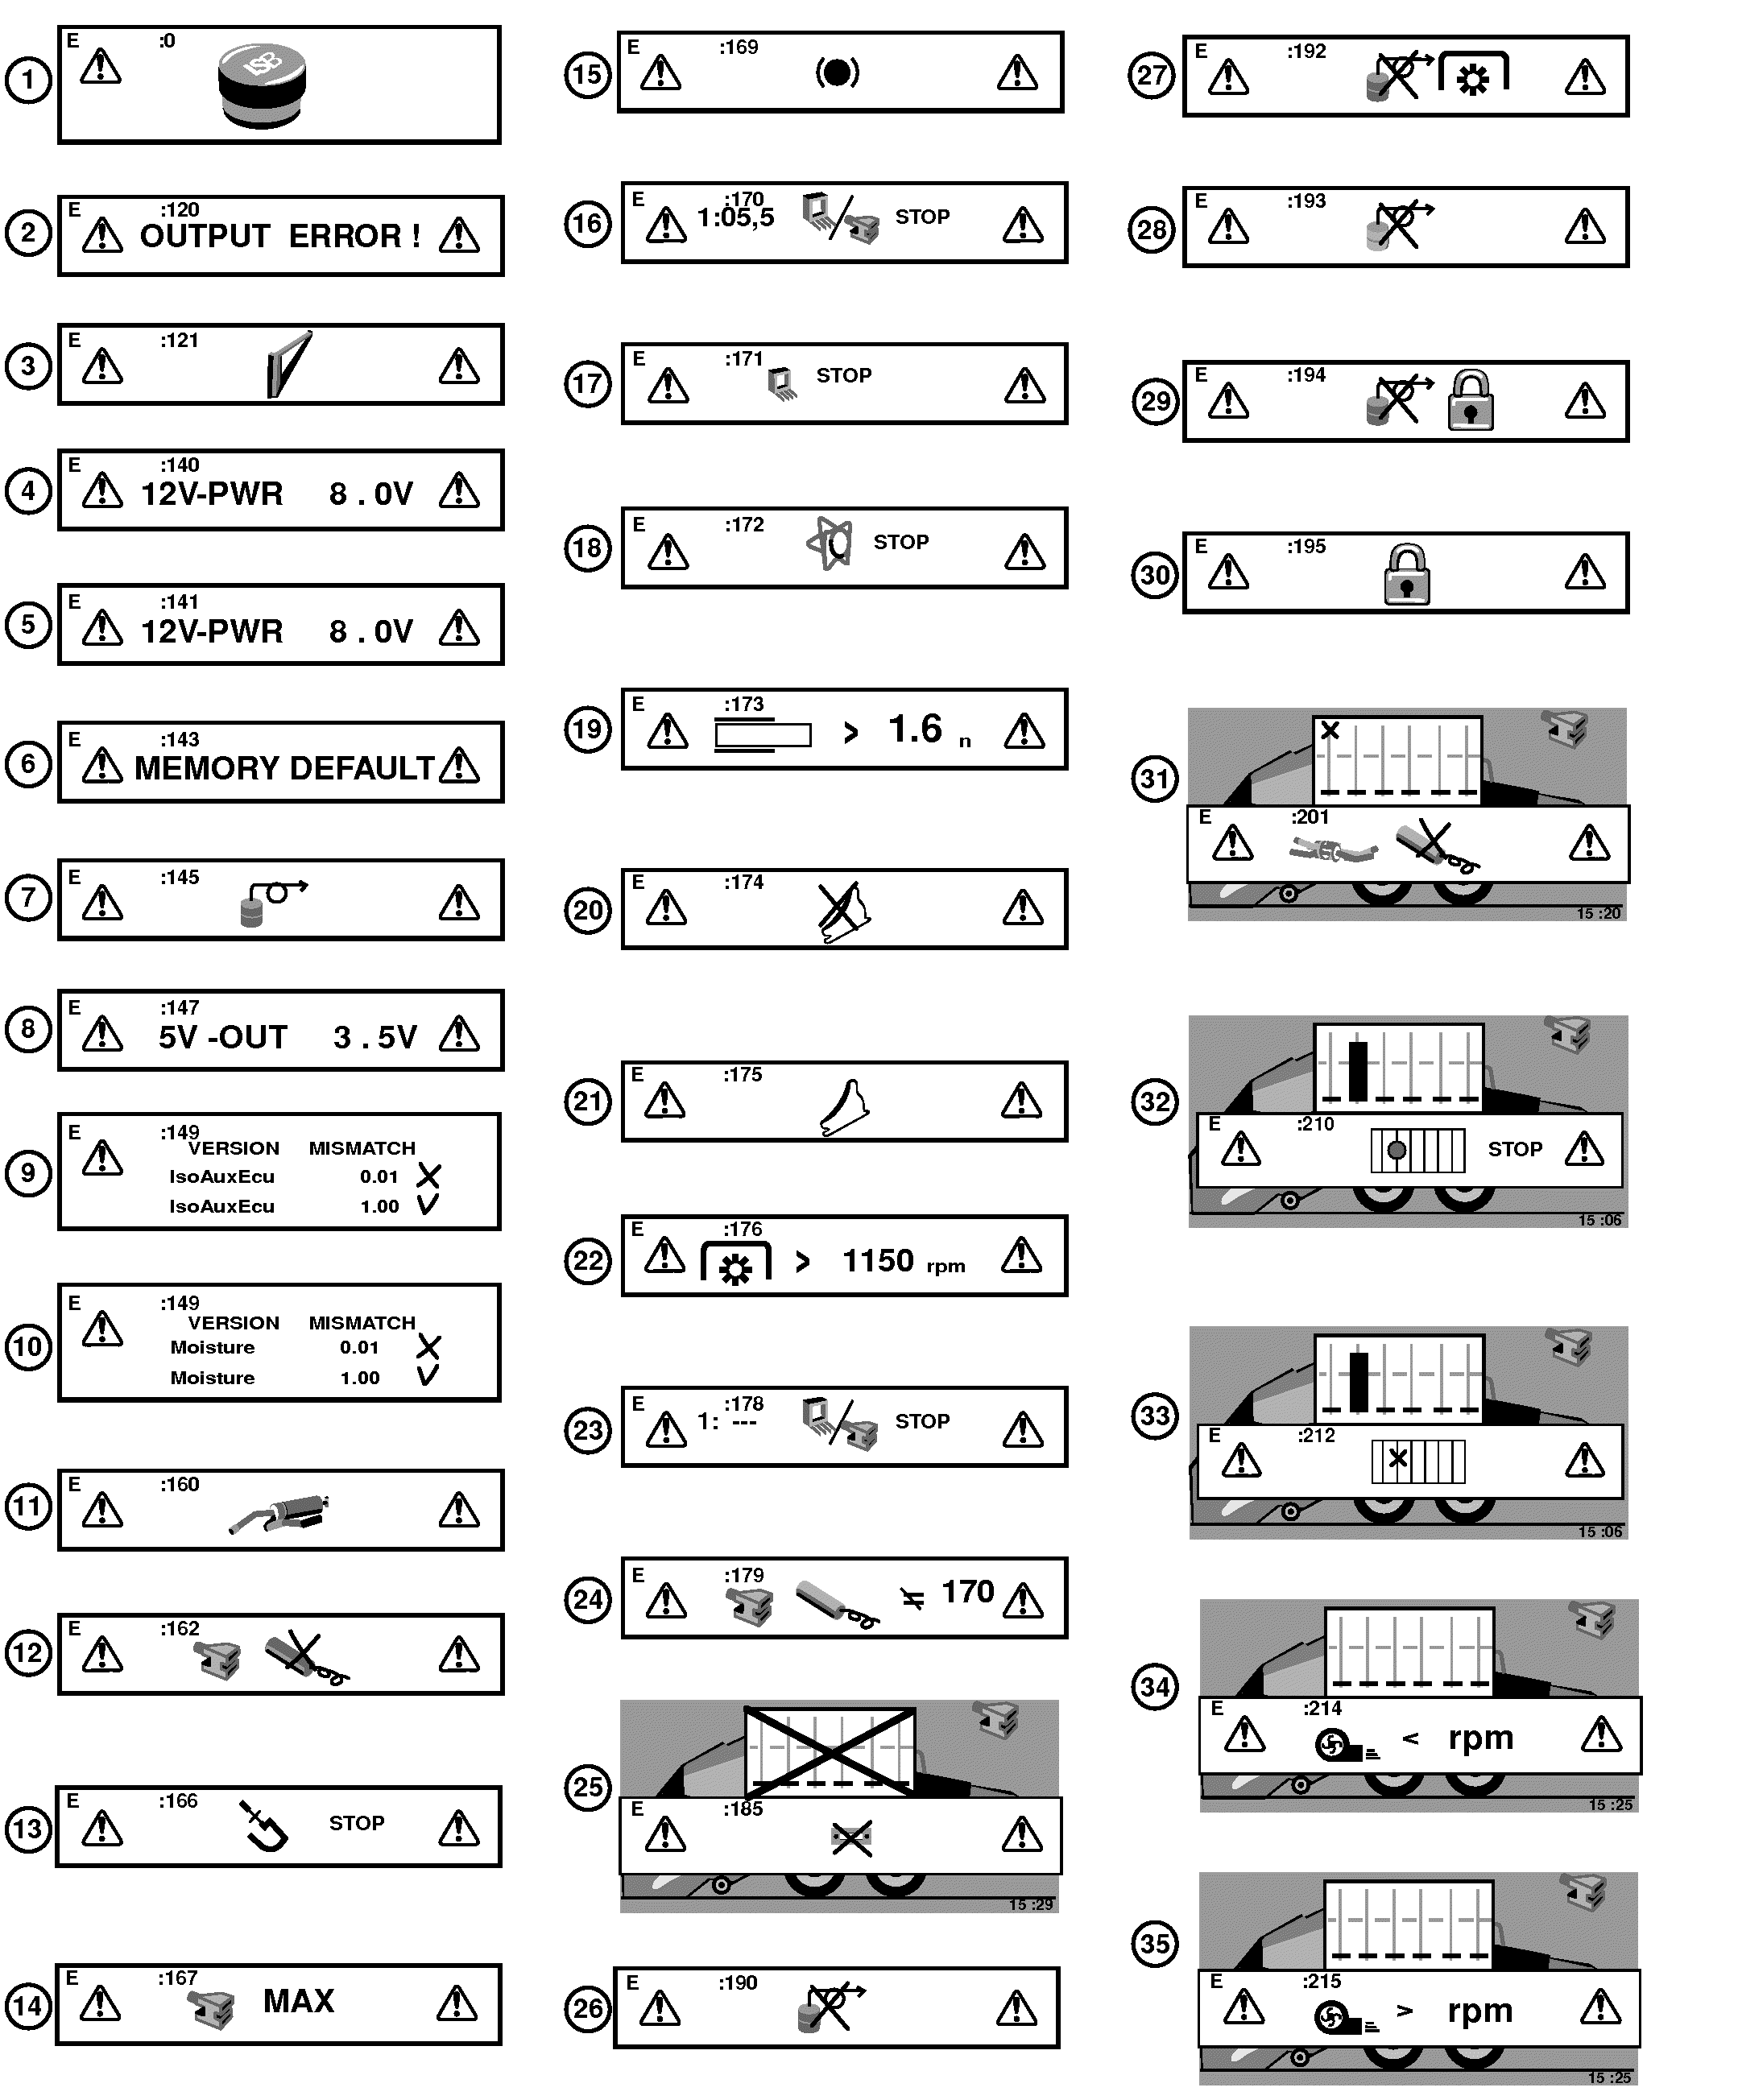
(34) E:214—Fan speed too low. |
The speed of blower (fan) is too low. |
Check functioning of blower, oil flow, and so on. Check:
|
|
(35) E:215—Fan speed is too high. |
The speed of blower (fan) is too high. |
Check knotter fan function, oil flow, and so on. |
|
OUO6064,0001A46-19-20170605 |