Install Belts
-
See illustration for location of long and short belts. Install belts with diamond portion of the belt to the outside. Make sure that belts are installed through the individual guides.
See Specification section for proper length of belts.
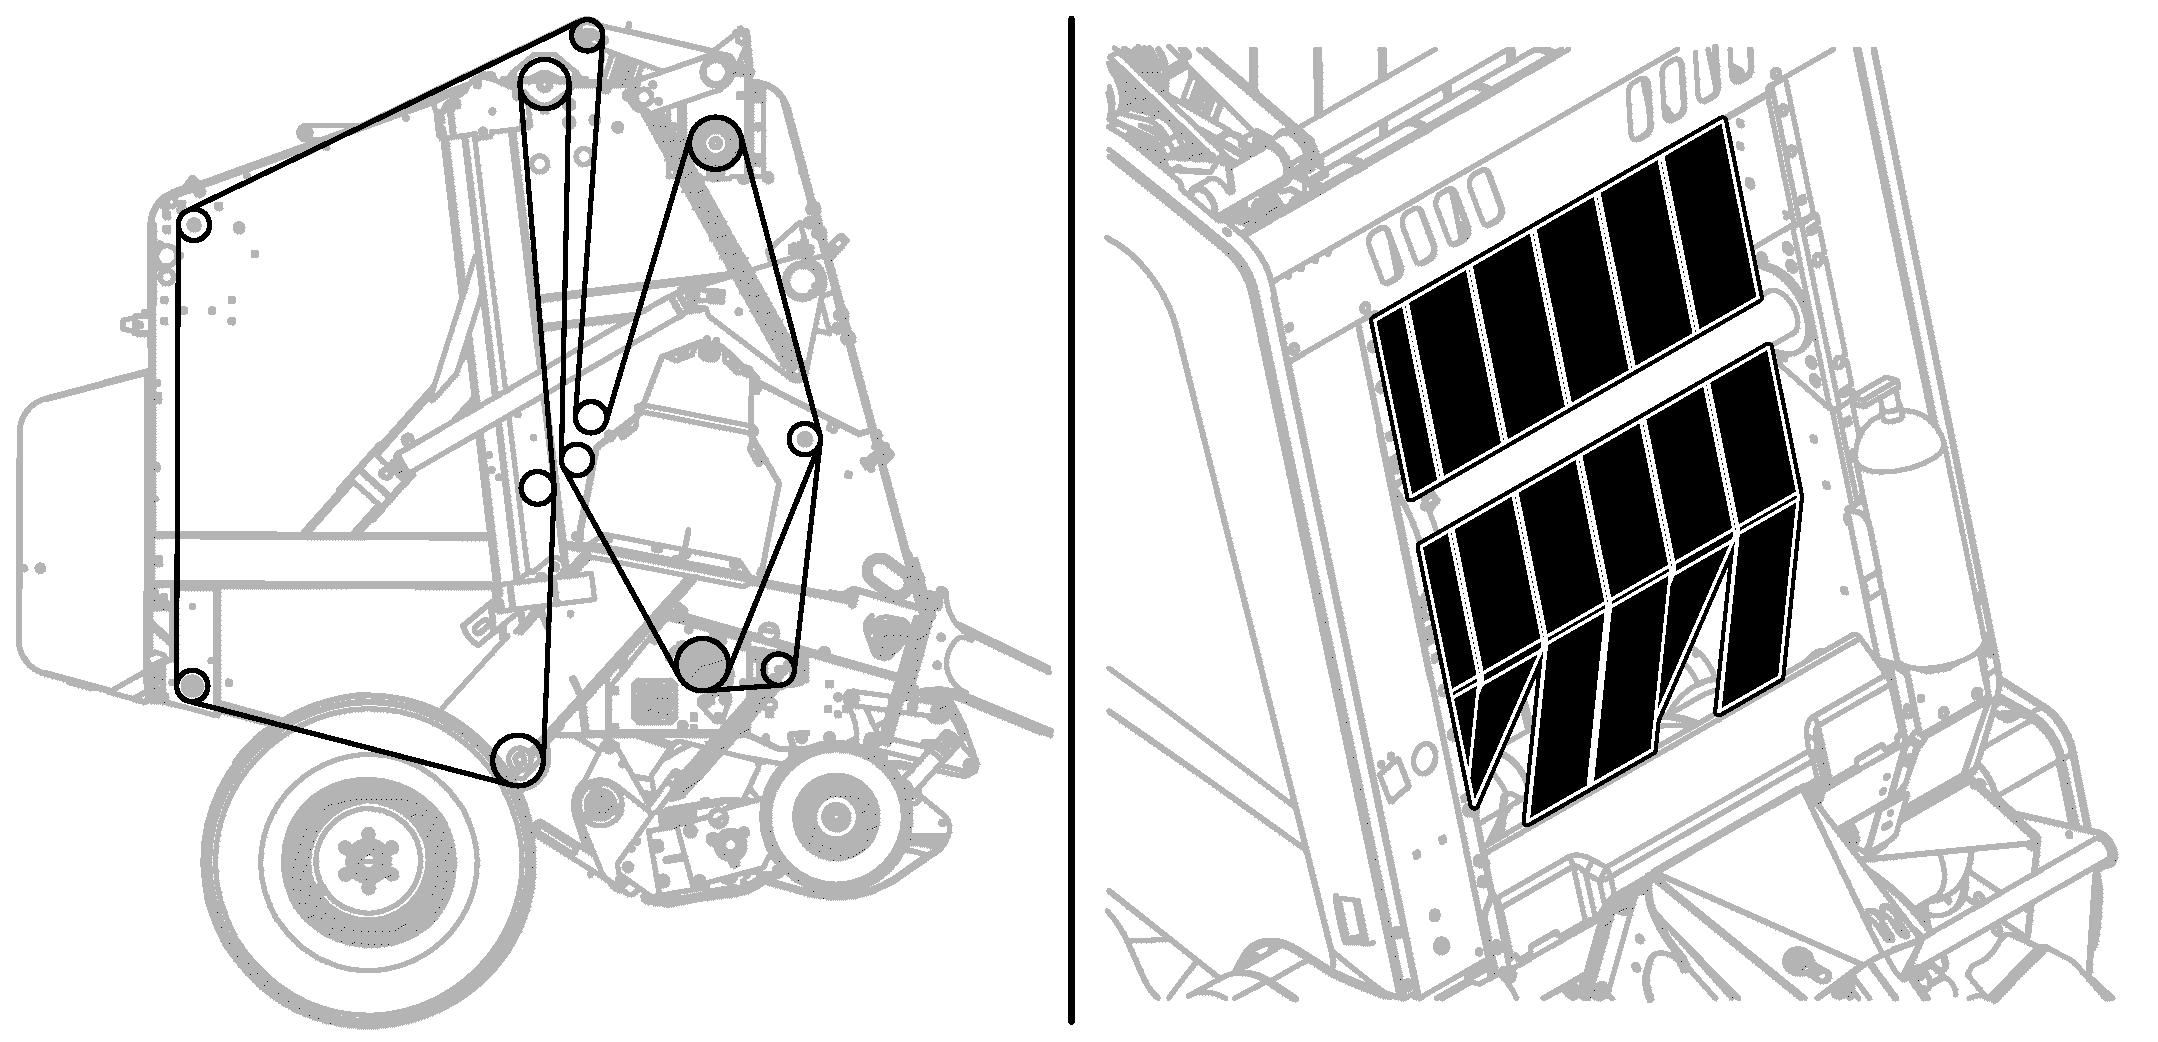
E83435-UN-14JUN17460R Baler
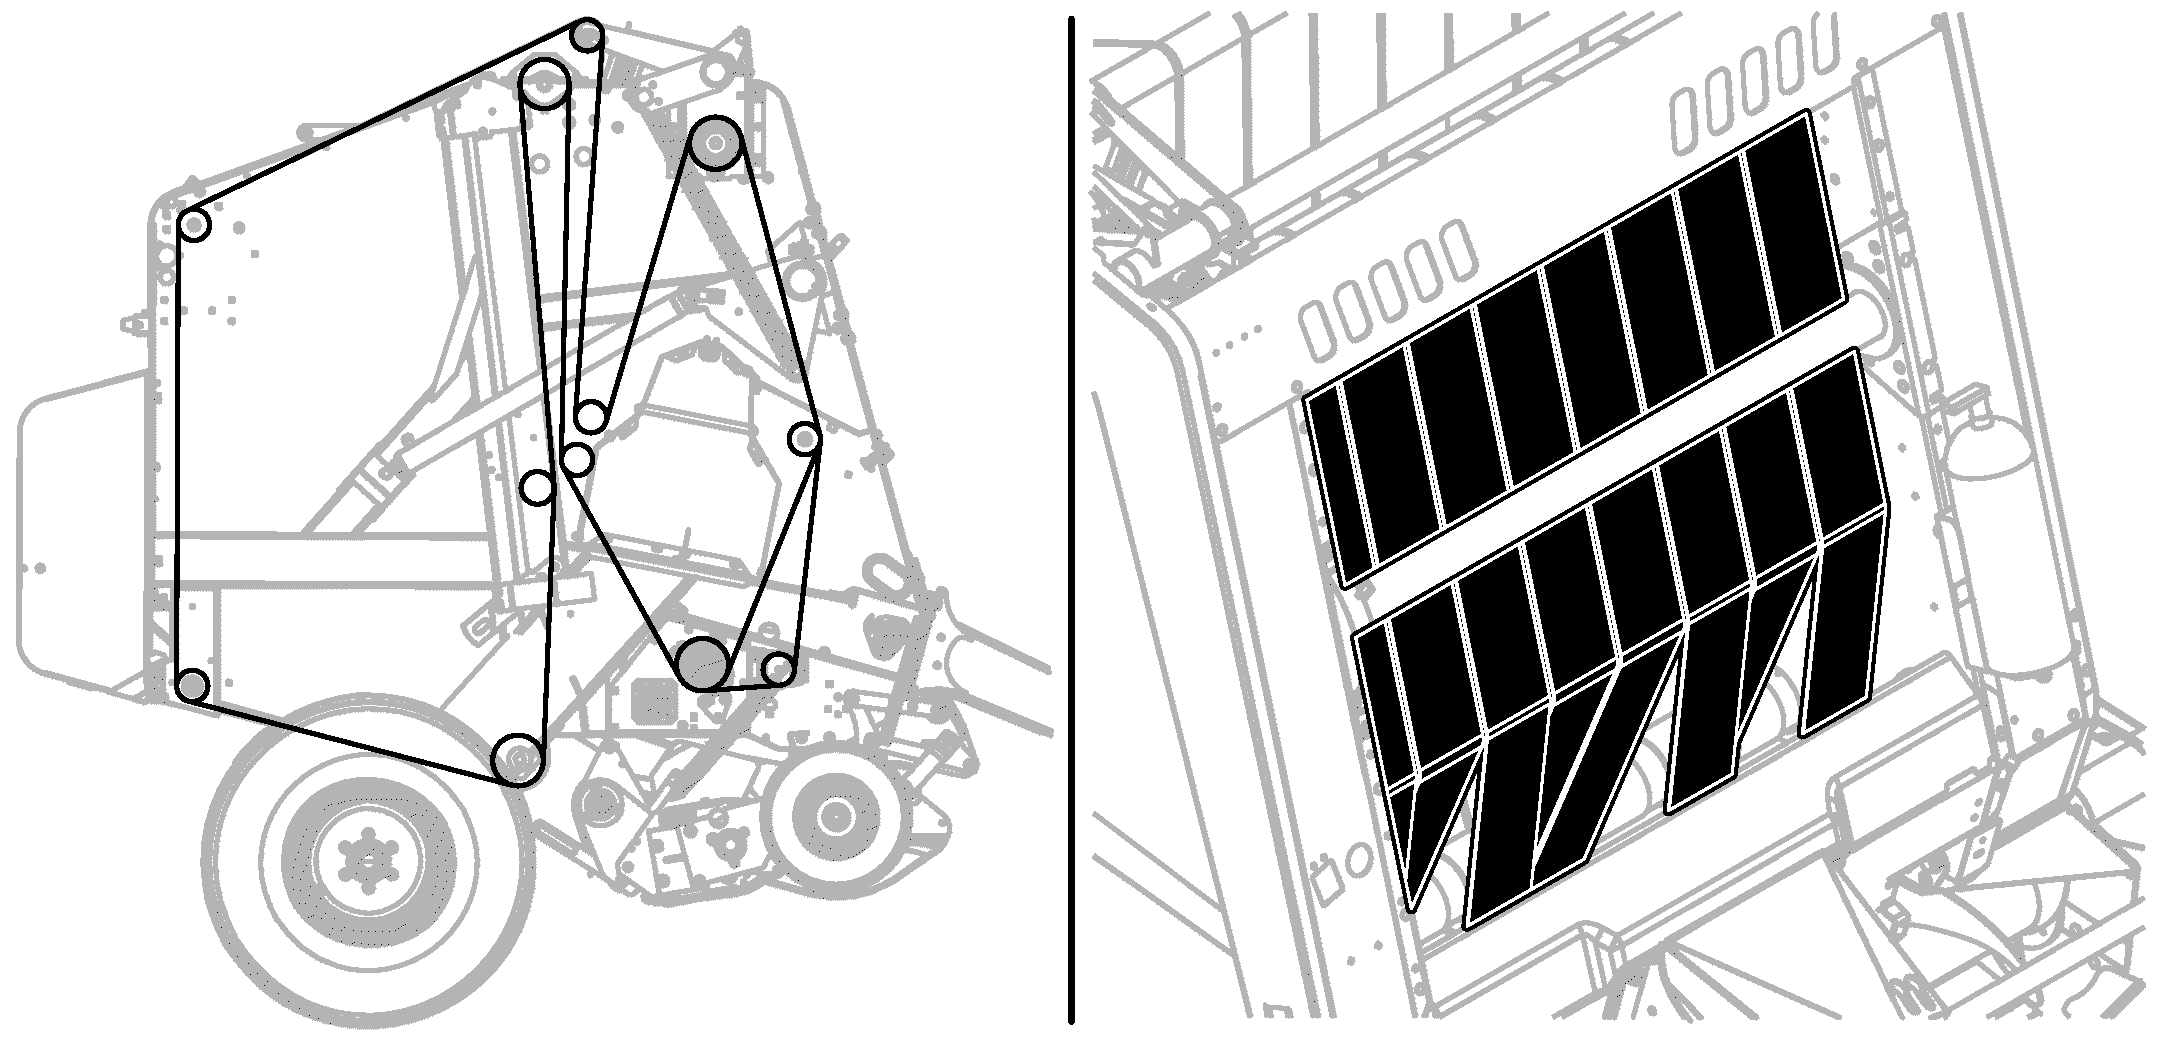
E83436-UN-14JUN17560R Baler
Open the gate fully. Lock the gate. -
Using the tractor hydraulics, lower the tension arm to tighten the belts.
-
Engage the PTO and rotate the belts until the splice appears between the bottom gate roll and the tension arm roll.
-
Raise the tension arm to loosen the belts.
- If the optional auxiliary take-up roll is installed, unlock the gate and lower the gate slowly until the belts are slack. Lock the gate.
-
Shut off the tractor engine and remove the ignition key.
-
Remove the splicing pin. Hook the trimmed end of the new belt to the square end of the old belt with the splicing pin. Pull the new belt through the baler using the old belt.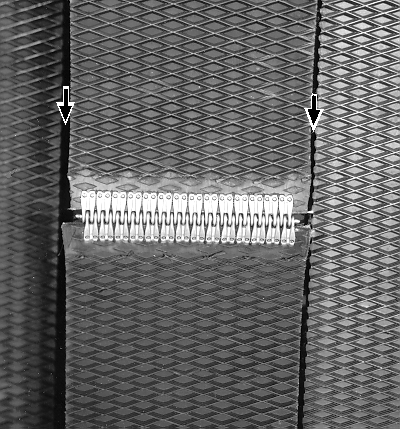
E39737-UN-16FEB96Thread the belts so that when viewed in the direction of travel (see illustration), the square cornered end of the belt leads the end with trimmed corners.
-
Fasten belt ends together with new pin. Make sure that belt sides are correctly aligned when installing pins. Do not deform ends of lacing pins during installation. Laces are slightly offset to allow alignment of the belt ends.
-
Repeat Steps 2—7 for other belts.
-
Unlock and close gate.
|
DP99999,0000E1F-19-20170911 |