Remove and Install Knife
-
Turn tractor ignition key to the ON position. Turn the monitor-controller ON.
-
Ensure that the monitor is in the NET mode. Turn the monitor OFF.
-
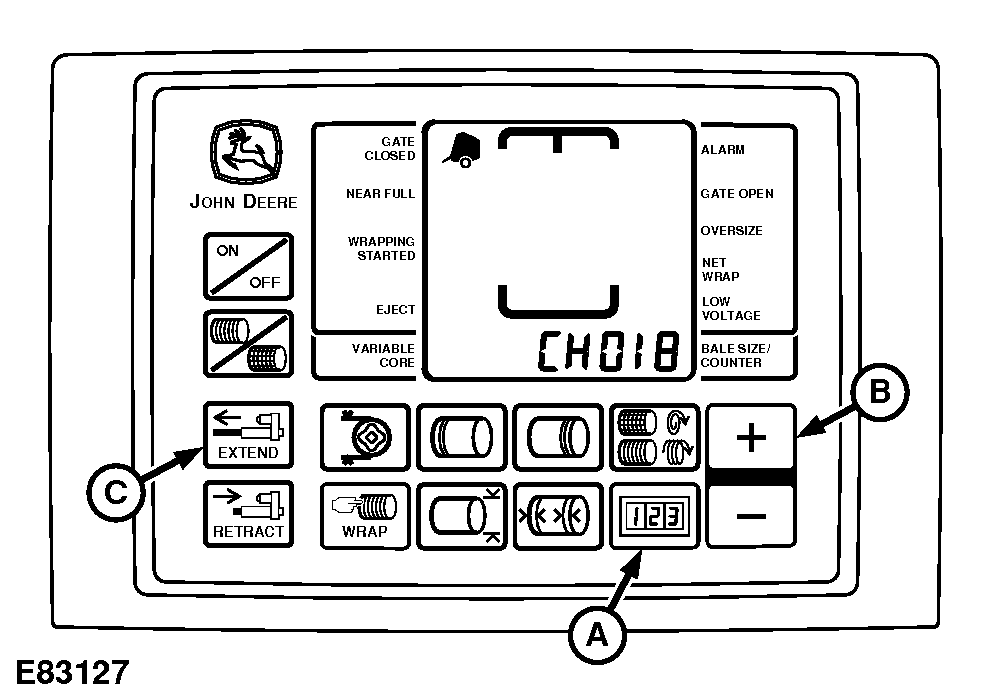
E83127-UN-11MAY17BaleTrak™ Pro Monitor
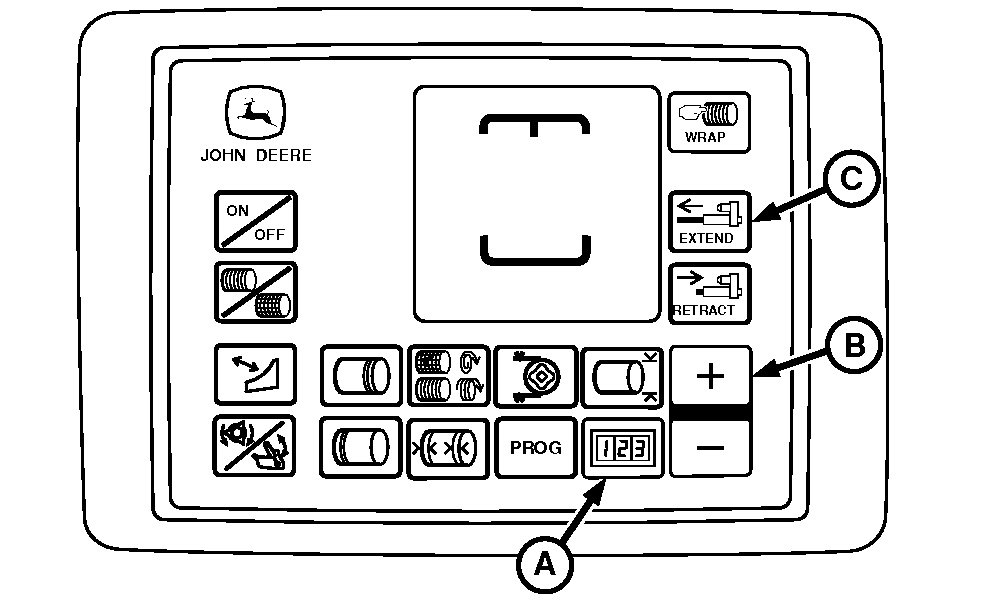
E84425-UN-06SEP17BaleTrak™ Plus Monitor
A - COUNTER Key
B - PLUS Key
C - EXTEND Key
Press and hold the COUNTER key (A) while turning the monitor-controller ON. CH001 appears on the display. -
Continue to hold the COUNTER key and press the PLUS key (B) to advance to CH018. Release the COUNTER key.
-
Press and hold the EXTEND key (C) to move the counterknife to the up position.
-

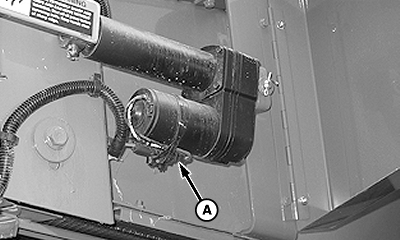
E82724-UN-02MAY17A - Connector
To avoid personal injury from unexpected knife movement, disconnect the net wrap actuator wire connector or power plug when performing adjustment or working in area.Turn the monitor-controller OFF. Turn the tractor ignition key to the OFF position and remove key. Disconnect the monitor-controller power plug from the power source or disconnect the net wrap wire harness connector (A).
-
Cut-off knife is sharp. Wear gloves when handling cut-off knife.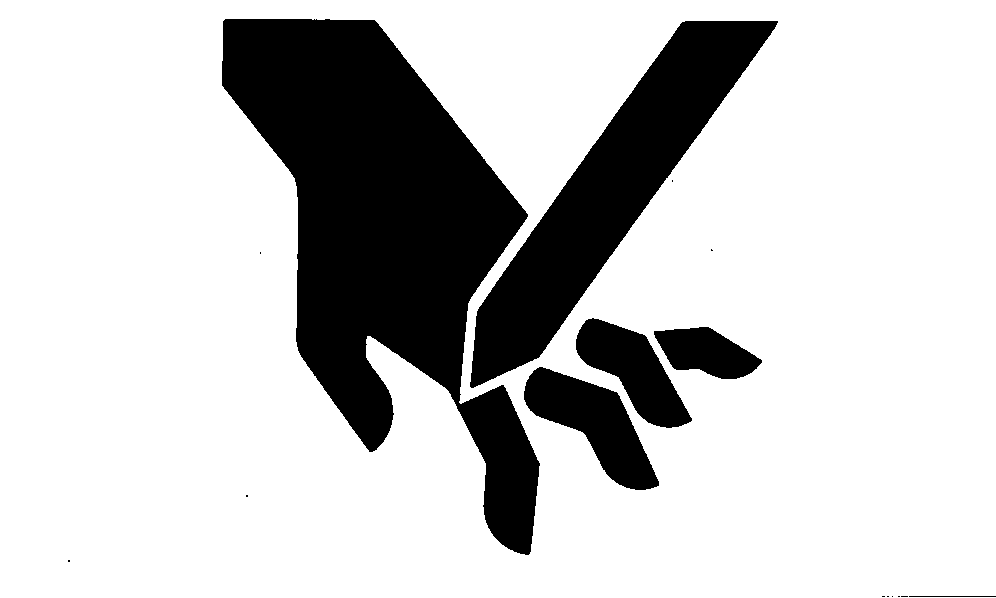
TS268-UN-23AUG88Roll removed for illustration only.
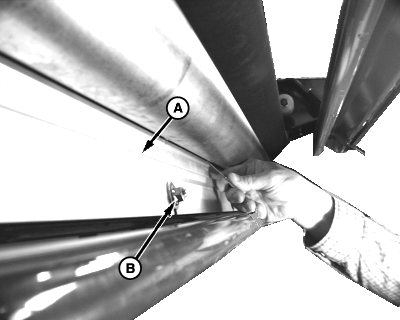
E57769-UN-24JUL09A - Brush
B - Nuts
Remove brush (A) from knife by removing four nuts (B) and washers. -
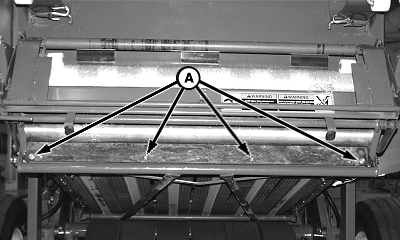
E55845-UN-26JUN08A - Bolts, Washers, and Nuts
Remove four round-head bolts, washers, and nuts (A) on the cut-off knife. Remove knife from the knife bracket. -
Repair or replace knife as necessary.
-
Install knife with the beveled surface up and facing the rear of machine.
-
Install previously removed round-head bolts, washers, and nuts (A) with the round heads facing the front of the machine. Tighten to specification.
Knife-to-Knife Bracket Torque 55 N·m (40 lb·ft) -
Check proper knife-to-counterknife angle contact. (See ADJUST NET WRAP COUNTERKNIFE in this section.)
-
Install brush to knife by using previously removed washers and nuts. Do not tighten at this time.
-
Adjust brush clearance. (See INSTALL AND ADJUST NET WRAP BRUSH in this section.)
-
Connect net actuator wire connector.
-
Make sure to move net wrap counterknife fully downward to home position. If the baler is operated with the counterknife at the up position, net feeds continuously during baling.
Turn tractor key to ON position.
-
Press WRAP key on the monitor-controller to move the counterknife fully downward to the home position.
-
Turn tractor key to OFF position. Remove key. Turn OFF monitor-controller.
-
Close net wrap cover.
|
DP99999,0000D52-19-20170906 |