Remove and Install Precutter Knives (If Equipped)
 To avoid injury or death from a knife cut, always wear
gloves when handling knives.
To avoid injury or death from a knife cut, always wear
gloves when handling knives.
Precutter knives are sharp and can move without warning. To avoid serious injury, shut off all power and engage the lockout valve before servicing the knives or unclogging the baler.
To operate the BaleTrak™ Monitor-Controller, see the Operating the Baler section.
Knives can be removed to change cutting length or for sharpening. Remove and install knives as follows:
-
To remove knives, raise and lower the drop floor with the knives engaged (raised). The raising and lowering action helps remove debris from the knife slots and frees the knives for easier removal.
Lower the drop floor and knives. (See Operate Drop Floor in the Operating the Baler section.)
-
Lower the knives. (See Operate Precutter Knives in the Operating the Baler section.)
-
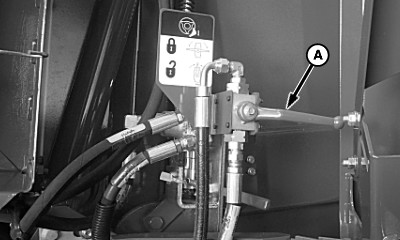
E83348-UN-06JUN17A - Knife Cylinder Lockout Valve Lever
Open the left-hand side door and rotate the valve lever (A) to the locked position. -
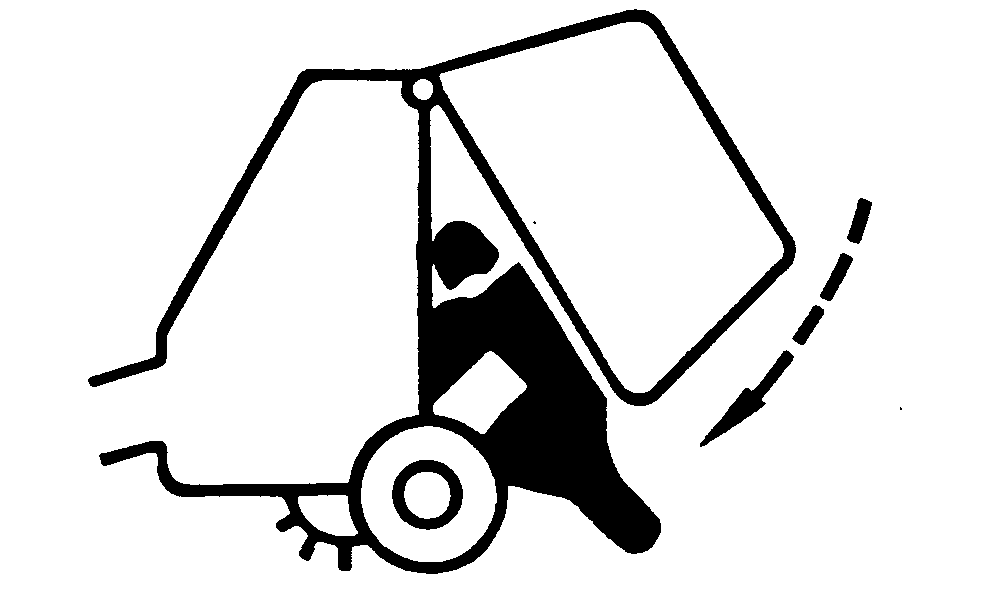
TS698-UN-21SEP89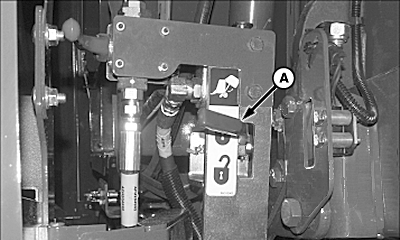
E83349-UN-06JUN17A - Lever
While working inside or around the baler with an open gate, the gate lock lever (A) must be moved to the locked position. Use this safety feature any time the gate is open. Close the gate any time the baler must be left unattended.Raise the gate and move the gate lock lever (A) into the locked position as shown.
-
Shut off the tractor engine and remove ignition key.
-
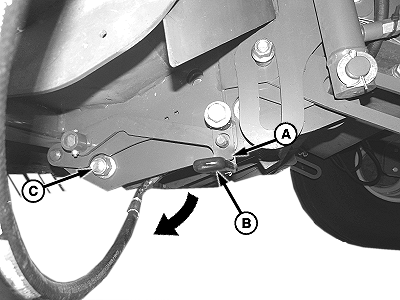
E82214-UN-13FEB17A - Leaf Spring
B - Lever
C - Cap Screw
Remove and retain the retaining clip. Lift leaf spring (A) and pull down lever (B) until it contacts cap screw (C). -
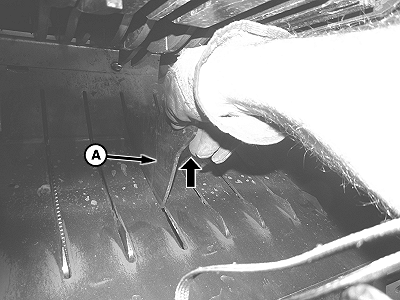
E82213-UN-13FEB17A - Knife
Remove knives as follows:-
Grip the knife (A) at the rear as shown.
-
Pull the knife upward in the direction of the arrow and then pull towards the rear of the baler.
-
Repeat the preceding steps for the remaining knives.
-
-
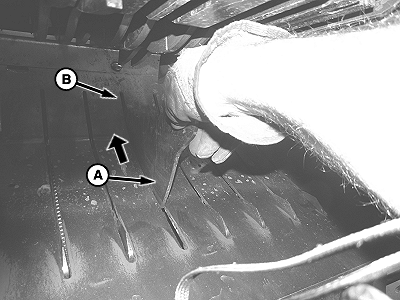
E82215-UN-13FEB17A - Knife
B - Slot
Install knives as follows:-
Grip the knife (A) as shown.
-
Insert the front of the knife into slot (B). Push the knife in the direction of the arrow to engage the front hole in the knife with the D-shaft.
-
Lower the knife into the slot.
-
Repeat the preceding steps for the remaining knives.
-
-
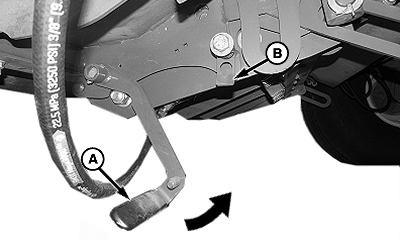
E84428-UN-06SEP17A - Lever
B - Leaf Spring
Rotate lever (A) upwards and lock in place using leaf spring (B). Install previously removed retaining clip. -
After locking the lever, verify that all of the knives are seated correctly in the floor. If any knives are not seated correctly, unlock the lever and ensure that the knives are all seated on the D-shaft.
-
E83350-UN-06JUN17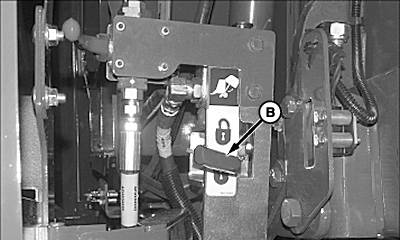
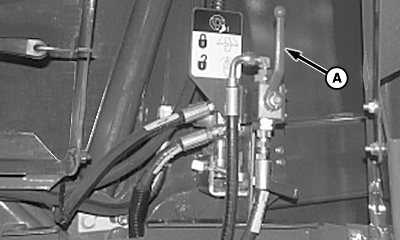
E83760-UN-07JUL17A - Knife Cylinder Lockout Lever
B - Gate Lock Lever
Rotate the valve lever (A) to the unlocked position. -
Move the gate lock lever (B) to the unlocked position and close the gate.
|
BaleTrak is a trademark of Deere & Company |
DP99999,0000D72-19-20171108 |