Bale Short, Dry, Slick Crops

TS679-UN-28SEP89
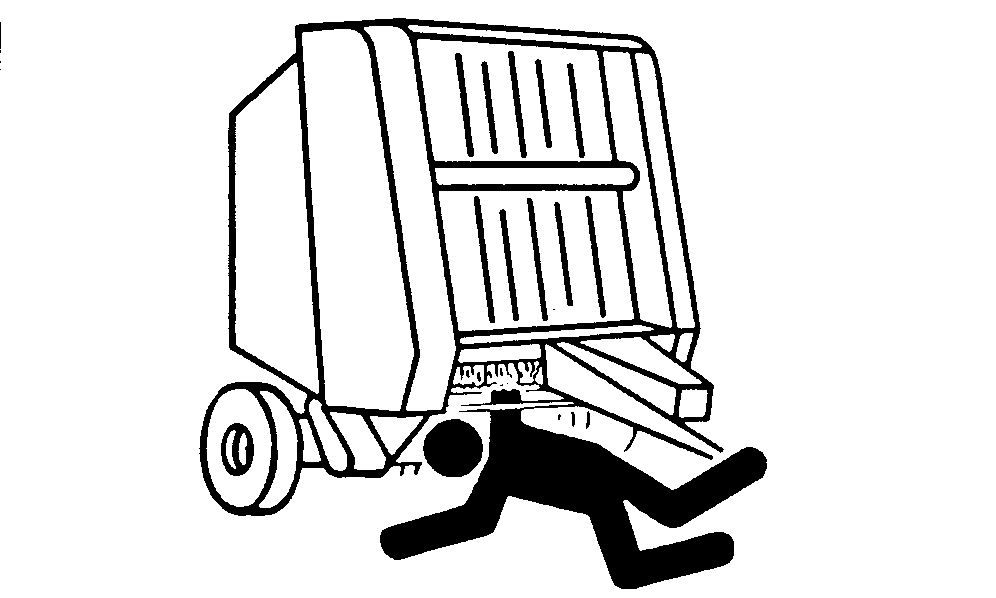
Do not attempt to feed crop or twine into the baler or unplug the feed area while the baler is running. The baler feeds material faster than you can release it.
Disengage the PTO and shut off the tractor engine.
To reduce plugging try one or more of the following techniques:
-
Regular pickup: Check the pickup belt tension and condition. (See ADJUST PICKUP DRIVE BELT IDLER in Service—Baler section.)
MegaWide™ Plus pickup: Check the pickup slip clutch. (See CHECK PICKUP SLIP CLUTCH TORQUE in Service—Baler section.)
-
Check for missing or broken pickup teeth.
-
Raise the pickup as high as practical.
-
Reduce engine speed to 1500 rpm or below (reduces chaffing) and shift the transmission to a higher gear to maintain ground speed.
-
Reduce bale density as necessary. (See ADJUST BALE DENSITY in this section.) If equipped, use the variable core feature to reduce bale density when starting a bale. (See VARIABLE CORE FEATURE in the Operating the Baler section.)
-
Regular pickup only: Remove individual compressor rods, leaving one center rod and one rod on each end of the cross-tube. If material still accumulates, remove the compressor rack. Always replace the compressor rack under normal conditions. (See REMOVE COMPRESSOR RACK in the Service-Baler section.)
-
Make larger windrows (rake together as necessary), but keep windrows narrower than the bale chamber width.
-
Disengage the PTO anytime that crop is not being fed into the baler, such as turns and field borders.
-
Regular pickup only: In short, dry conditions, it can be necessary to lower the baler. (See WHEEL SPINDLE POSITIONS in Preparing the Baler section.)
-
Adjust the pickup float springs to provide more force (float). (See ADJUST PICKUP FLOAT SPRINGS in Service—Baler section.)
-
When baling dry straw, it can be necessary to place twine across the full width of the bale. Or use net wrap (if equipped) to prevent straw from coming out of the feed opening while tying. (See Dry Straw Twine Wrap Program in this section.)
-
For the MegaWide™ HC2 feed system, when precutting is not required, disengage the knives to reduce crop buildup and help prevent crop from coming out of the feed opening while applying twine or net wrap.
-
Bales stored with fewer than two layers of net can be damaged by handling or weather conditions.
Add at least one additional layer of net wrap when baling using a precutter.
When applying net wrap material, different crops require a different number of net wrap layers for effective baling. The following minimum number of layers of net wrap are recommended:
- 2 layers of net wrap for hay
- 3 layers of net wrap for straw, wheat hay, and cereal grains
- 4 layers of net wrap for corn stalks, sudex, hay grazer, and milo stalks
If the baler is equipped with the slip clutch alert feature and it is turned on, the system applies the desired number of layers of net wrap or twine, regardless of PTO speed. Thus, no change is needed on the monitor.
These guidelines apply only if the speed compensation program and slip clutch alert system are turned off.
If machine rpm is less than rated PTO speed, use the following charts as a guideline for the desired net wrap layers or twine spacing.
NET WRAP CHART
Engine rpm
Desired Number of Net Wrap Layers
Approximate Monitor Setting Needed
Rated PTO
2
2
3
3
1800 rpm
2
2.4
3
3.6
1500 rpm
2
2.9
3
4.3
1300 rpm
2
3.3
3
5.0
TWINE SPACING CHART
Engine rpm
Mechanical Setting
Monitor-Controller Setting
Rated Speed
10 cm (4.0 in)
10 cm (4.0 in)
1800 rpm
10 cm (4.0 in)
9 cm (3.5 in)
1500 rpm
10 cm (4.0 in)
8 cm (3.0 in)
1300 rpm
10 cm (4.0 in)
6 cm (2.5 in)
If bales fail to start rotating due to one or both sides of the windrow extending outside the width of the bale chamber, try the following suggestions:
- Make windrows narrower than the bale chamber width.
- Center the baler over the windrow while starting to avoid getting crop under the crop dividers.
|
MegaWide is a trademark of Deere & Company |
DP99999,0000DF3-19-20170920 |