Adjust Twine Tension

TS679-UN-28SEP89
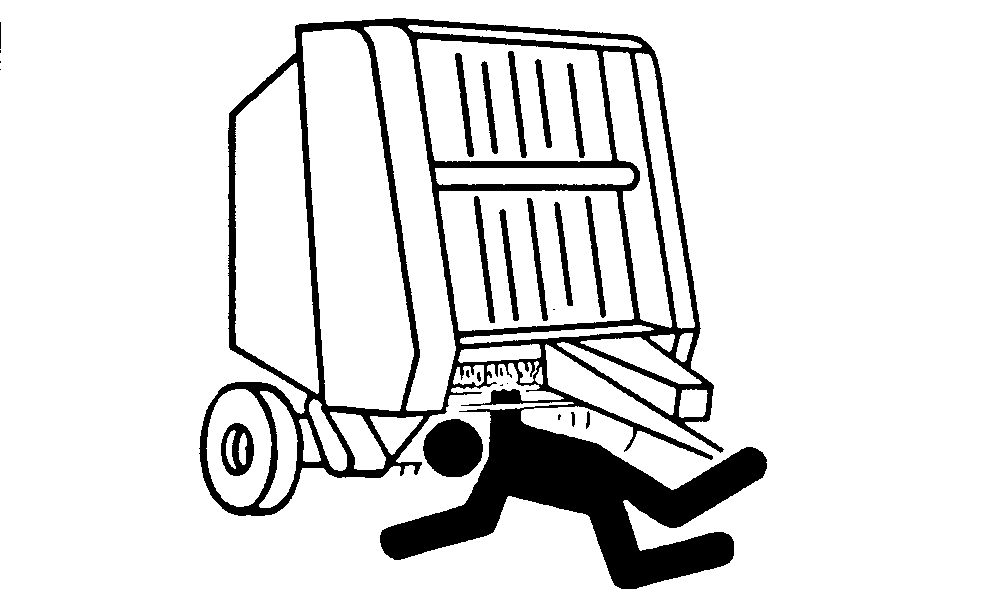
DO NOT attempt to feed twine into baler or pull twine from twine arms WHILE BALER IS RUNNING. The baler feeds material faster than you can release it.
Disengage PTO and shut off tractor engine.
E47598-UN-07JAN00
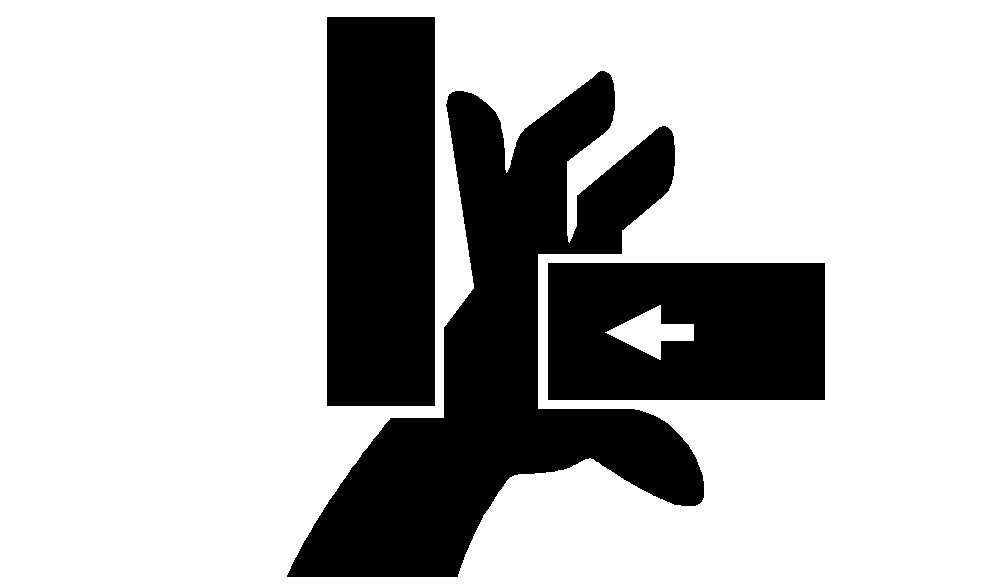
Stay out of the path of twine arms at all times when power to twine arms is ON.
It can be necessary to adjust twine tension when changing to a different size twine or when changing from sisal to plastic.
Left-hand side (front arm) shown. Right-hand side (rear arm) tension plates are the same.
E54949-UN-25JAN07
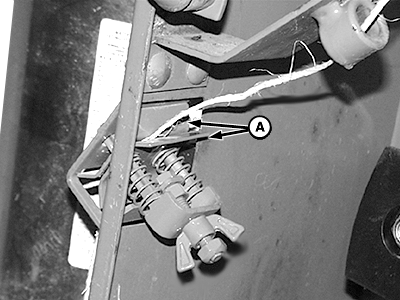
Left-Hand Tension Plate Shown
A - Tension Plates (Door Bands)
Twine tension is controlled by spring-loaded tension plates (A).Adjust twine tension while pulling twine perpendicular to end of twine tube.
- If twine tension is too high, the twine cannot start to wrap around the bale or twine can break.
- If twine tension is too loose, the twine cannot hold the bale adequately.
To adjust twine tension:
-
Lower pickup to avoid twine arm from bending pickup teeth.
-
Move twine arms to home position. Make sure that twine is routed correctly. (See ROUTE TWINE—RIGHT-HAND SIDE [REAR ARM] and LEFT-HAND SIDE [FRONT ARM] in Preparing the Baler section.)
-
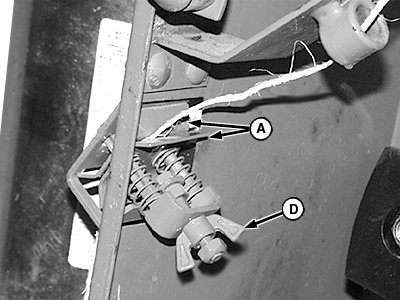
E47616-UN-07JAN00Left-Hand Tension Plate Shown
E39752-UN-17FEB96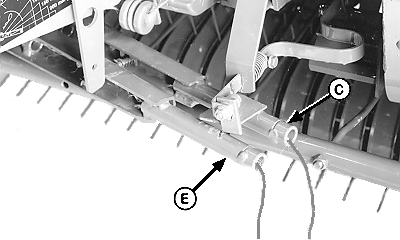
E39751-UN-19FEB96A - Tension Plates (Door Bands)
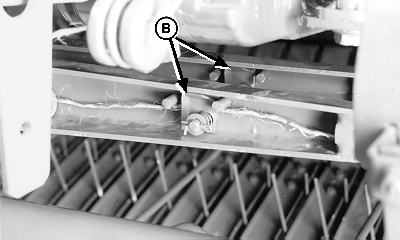
B - Tension Plates (Twine Arms)
C - Rear Twine Arm
D - Wing Nut
E - Front Twine Arm
Remove crop buildup from tension plates (A) located on door bands and from tension plates (B) located on twine arms. -
Attach spring scale to twine from rear twine arm (C). Pull twine perpendicular to the twine arm. Twine pull must be within specifications.
Twine Pull Force 22—45 N (5—10 lb.-force) - Tighten wing nut (D) to increase tension on twine.
- Loosen wing nut (D) to decrease tension on twine.
-
Repeat Step 4 to adjust twine tension for front twine arm (E).
-
Cut twine 305—381 mm (12—15 in.) beyond end of twine arms (C and E)
|
PP98408,0000F10-19-20130207 |