Moving Spreader to Windrow Position
The spreader can be swung up to 60 degrees into the windrow position to allow the material to discharge into a windrow. |
 CAUTION:
Shut off engine, set park brake and remove key.
CAUTION:
Shut off engine, set park brake and remove key.
AG,OUO1035,1490 -19-13JAN00-1/4 |
|
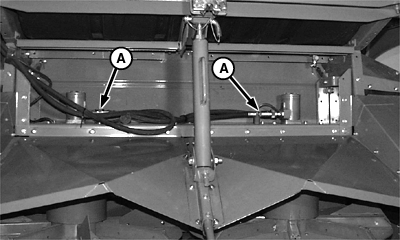
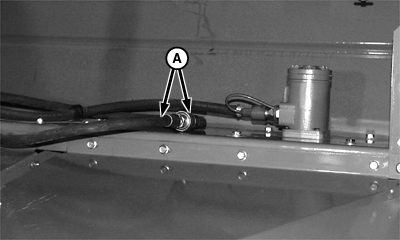
Disconnect hydraulic hoses (A) from spreader and install dust caps. Connect hoses (A) together.
|
|
AG,OUO1035,1490 -19-13JAN00-2/4 |
|
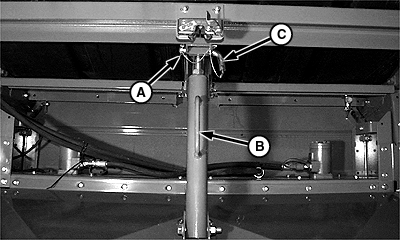
Remove quick-lock pin (A). Hold onto hold-down assembly handle (B) and remove pin (C). Lower hold-down assembly.
|
|
AG,OUO1035,1490 -19-13JAN00-3/4 |
|
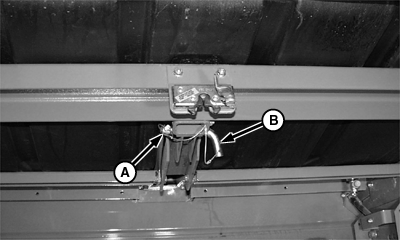
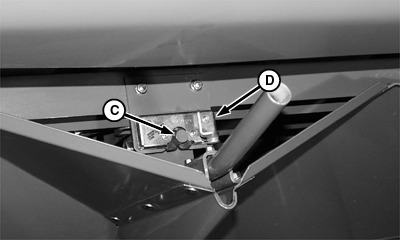
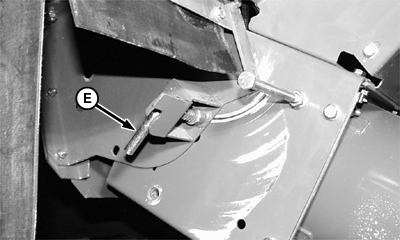
Place pin (A) back into storage position and retain with quick-lock pin (B). IMPORTANT: Make sure pin (E) is fully engaged in spreader assembly. Raise spreader until pin (C) is fully engaged in the latch assembly (D).
|
|
AG,OUO1035,1490 -19-13JAN00-4/4 |