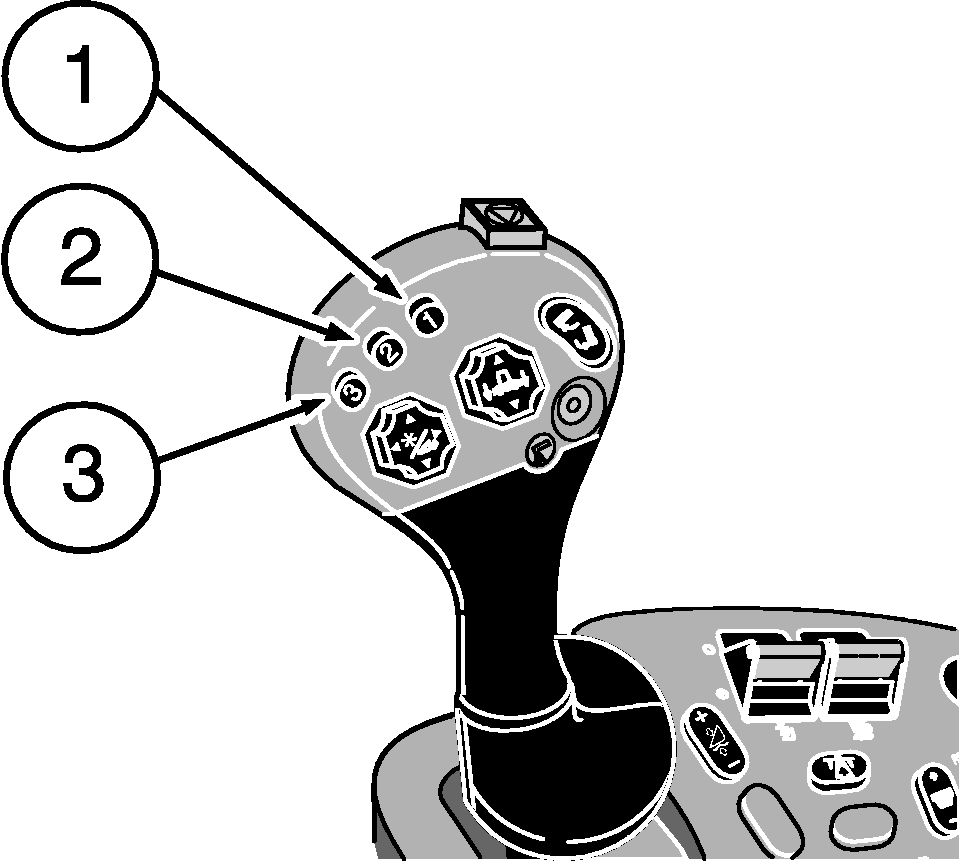
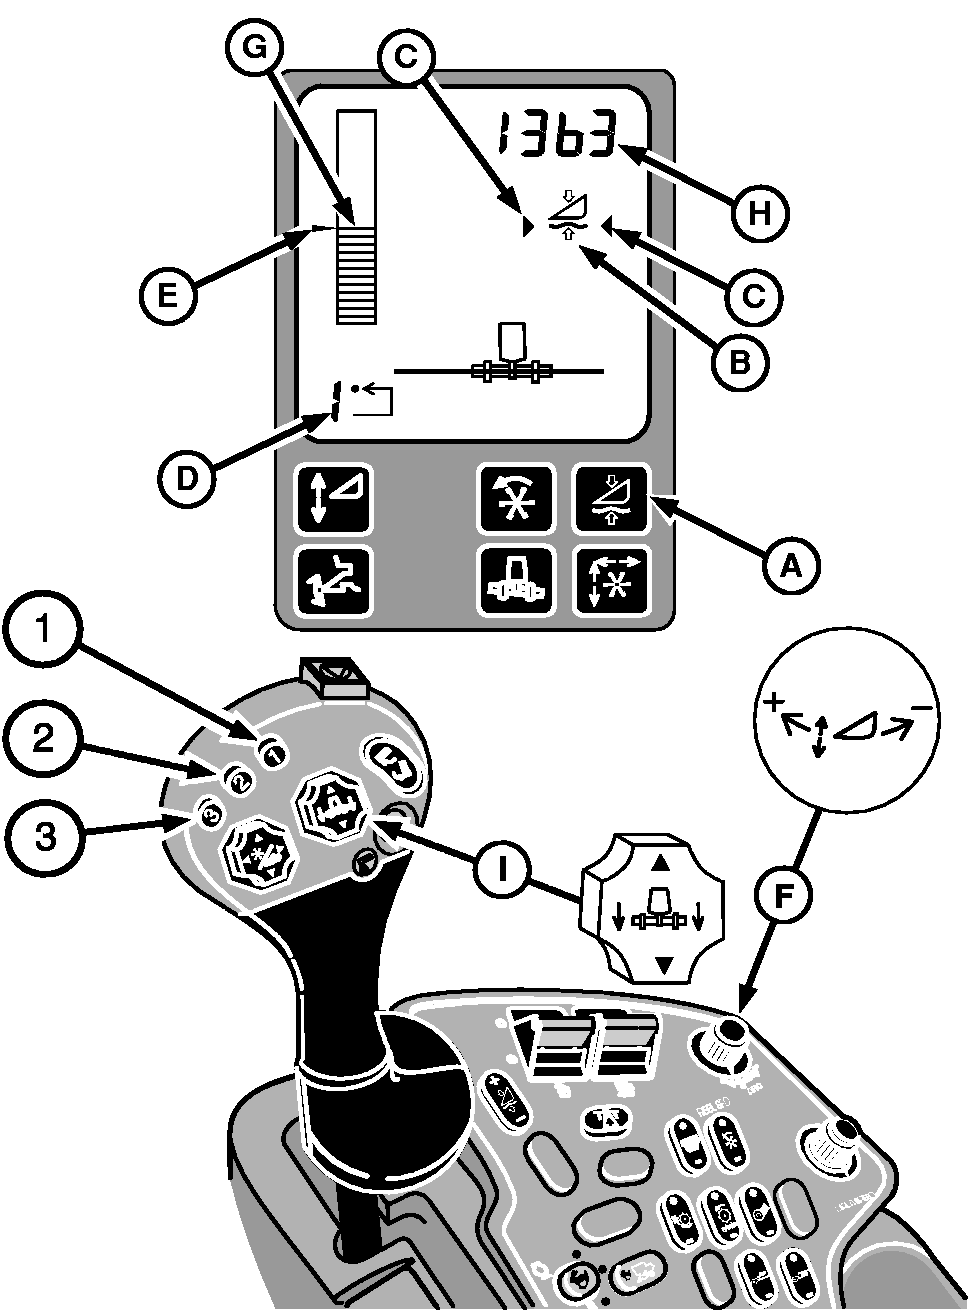
Active Header Float (Optional) - Rigid PlatformsActive Header Float allows a rigid header to be operated in contact with the ground and maintain a set contact pressure. The operator selects how firmly the header contacts the ground and returns to that pressure automatically. A sensor measures the oil pressure within the feeder house lift cylinders and maintains that pressure as the header moves across the ground. Accuracy is greatly affected by accumulator precharge settings. NOTE: While moving through the field, a sensor measures the pressure in the lift cylinders. The system actuates the header raise/lower solenoid valve based on oil pressure within the lift cylinders. This maintains a constant ground contact pressure for the header as the terrain changes. Active Header Float system must be calibrated when the header is used with the combine for the first time (see Calibration Procedures section). Activation buttons 1, 2 and 3 on multifunction control handle are used to select three different header pressures. A few common modes of operation are shown below. There are many more mode combinations that can be selected.
|
|
||||||||||||||||||||||||||||||||||||||

OUO6075,0000395 -19-21APR06-1/2 |
|
Operation
Active Header Float will be active when:
The system is enabled by pressing button (A) on the display. Symbol (B) will appear on the display. Activate Header Float by pressing activation buttons 1, 2 or 3 on the multifunction control handle. Arrow symbols (C) indicate that system is active. Number (D) in the lower left corner of the display indicates which activation button was selected. To change the pressure setpoint (E) for activation buttons, press desired activation button and adjust pressure using active header control dial (F). Turn dial towards plus (+) symbol to increase cylinder lift pressure setpoint (raise header) or towards minus (-) symbol to decrease cylinder lift pressure setpoint (lower header). Pressure setpoint is displayed by an arrow to the left of the bar graph and the actual header float pressure is displayed by bar graph (G) and actual pressure (H) is shown in the upper right side. Units are kPa for metric system and psi for English system. Manually raising Active Header Float using header raise/lower switch (I) will deactivate the system. Pressing any of the activation buttons will reactivate the system and the header will move to the pressure in memory for the selected button. The system can be disabled by pressing button (A) on the display. |
|
OUO6075,0000395 -19-21APR06-2/2 |