Fuel System (8.1 L Engine)-Bleeding
IMPORTANT: Do not attempt to pressurize the fuel tank with compressed air or any other means. Fuel tank and surrounding structural damage could result. 1. Close fuel shut off valve (A). 2. Check fuel level and add clean diesel fuel if necessary. NOTE: Greater fuel quantity in the fuel tank will result in easier priming.
|
|
 CAUTION:
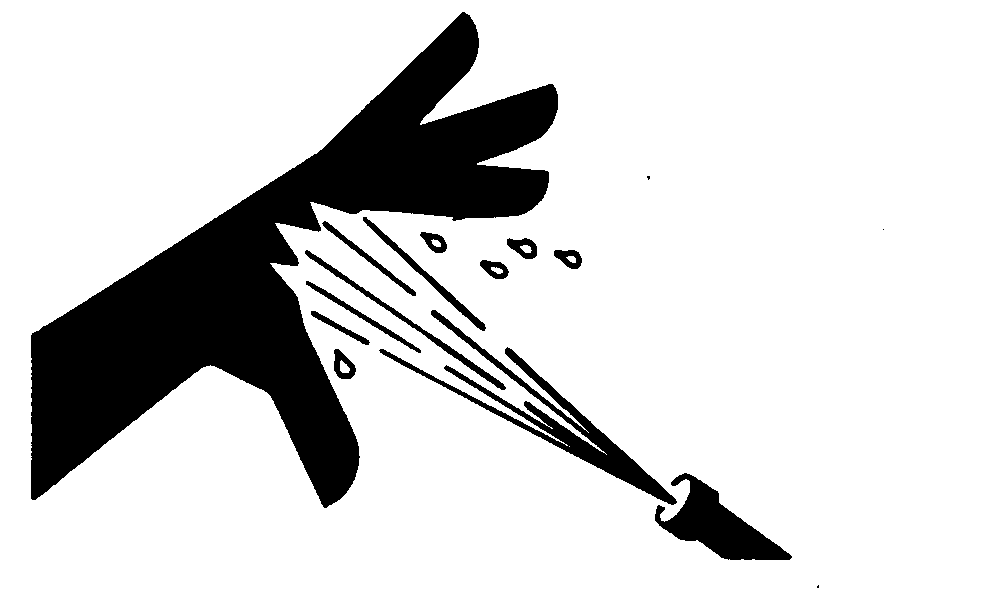
High-pressure fluid remaining in fuel lines can cause serious injury. Only technicians familiar with this type of system should perform repairs. Before disconnecting fuel lines, sensors, or any other components between the high-pressure fuel pump and nozzles on engines with High Pressure Common Rail (HPCR) fuel system, wait a minimum of 15 minutes after engine is stopped.
CAUTION:
High-pressure fluid remaining in fuel lines can cause serious injury. Only technicians familiar with this type of system should perform repairs. Before disconnecting fuel lines, sensors, or any other components between the high-pressure fuel pump and nozzles on engines with High Pressure Common Rail (HPCR) fuel system, wait a minimum of 15 minutes after engine is stopped.
OUO6075,0003E07 -19-16FEB05-1/6 |
|
3.
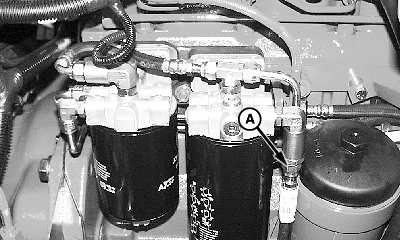
Loosen fuel filter check valve inlet fitting (A) to allow air to pass.
|
|
OUO6075,0003E07 -19-16FEB05-2/6 |
|
4.
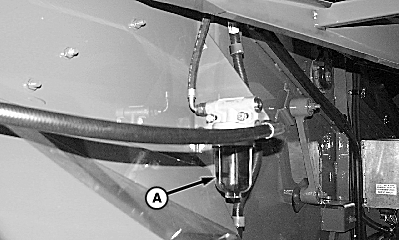
Thoroughly clean area around fuel precleaner bowl (A) and remove bowl. Remove any contaminates from precleaner bowl and screen. Inspect o-ring and reinstall bowl.
NOTE: Removing precleaner bowl is necessary to break any air lock between precleaner and fuel filter inlet check valve that may have occurred if machine was run out of fuel. 5. Open fuel shut off valve. Precleaner bowl should immediately fill with fuel.
|
|
OUO6075,0003E07 -19-16FEB05-3/6 |
|
6.
Tighten fuel filter check valve (A) inlet fitting.
Specification
|
|
OUO6075,0003E07 -19-16FEB05-4/6 |
|
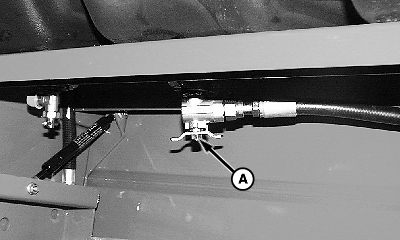
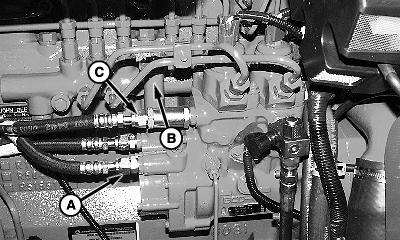
7.
Loosen transfer pump outlet fitting (A) to allow air and fuel to bleed.
Unlock and operate hand primer (B) until steady fuel flow (free of air bubbles) is present out the transfer pump outlet fitting. Primer must be pulled up fully between pumps. Tighten fitting to specification. Specification
NOTE: It can take up to 200 primer strokes until fuel flows steadily at this point if the system was emptied of fuel. 8. Loosen high pressure pump inlet fitting (C). Operate hand primer until steady fuel flow (free of air bubbles) is present out the high pressure pump inlet fitting. Primer must be pulled up fully between pumps. Tighten fitting to specification. Specification
NOTE: It can take up to 200 additional primer strokes until fuel flows steadily at this point if the system was emptied of fuel. |
|
OUO6075,0003E07 -19-16FEB05-5/6 |
|
9.
Completely loosen and unseat high pressure line (A). Operate hand primer until steady fuel flow (free of air bubbles) is present out the open high pressure pump fitting. Tighten the fitting to specification.
Specification
NOTE: It can take up to 150 additional primer strokes until fuel flows steadily at this point if the system was emptied of fuel. 10. Completely loosen and unseat the high pressure line (B). Operate hand primer until steady fuel flow (free of air bubbles) is present out the open high pressure pump fitting. Tighten the fitting to specification and lock the hand primer. Specification
NOTE: It can take up to 50 additional primer strokes until fuel flows steadily at this point if the system was emptied of fuel. 11. Start engine and run 3 to 5 minutes at low idle. DO NOT crank engine for more than 30 seconds. If engine does not start after three attempts or will not keep running, repeat steps 9- 11 until engine starts and runs normally. |
|

OUO6075,0003E07 -19-16FEB05-6/6 |