Service Engine Air Cleaner ElementRemove and clean primary element whenever the indicator light glows. Rapid engine acceleration may cause the indicator to glow prematurely. NOTE: Indicator will not signal correctly if the element is ruptured or not properly seated in the housing. Loss of power or excessive smoke could indicate a restricted element and indicator. 1. Remove access cover from front of machine. |
AG,OUO1011,266 -19-27APR99-1/2 |
|
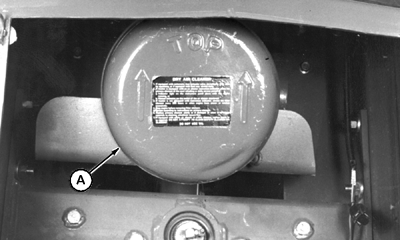
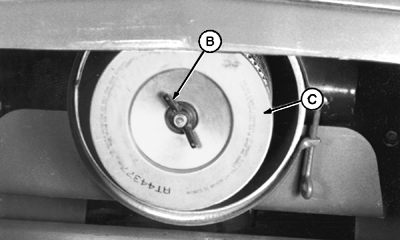
2. Loosen clamp and remove dust cup and baffle (A). 3. Remove wing nut (B) and primary element (C). 4. Clean and inspect air cleaner element. See cleaning, washing and inspecting procedures in this section.
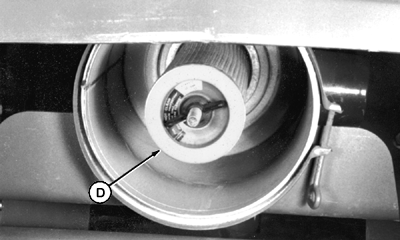
5. Wipe inside of canister and cover with clean cloth. Clean housing with damp rag. IMPORTANT: Remove secondary element only if it is to be replaced. Do not attempt to clean secondary element. 6. If necessary, remove wing nut and secondary element (D). Replace secondary element with new element immediately to prevent dust from entering air intake system. Tighten wing nut. 7. Replace primary element and tighten wing nut. 8. Replace baffle and dust cup and tighten clamp. 9. Install access cover on front of machine.
|
|
AG,OUO1011,266 -19-27APR99-2/2 |
 CAUTION:
There are sharp edges inside filter housing. Be careful when cleaning or you may be cut.


