Replacing Scrapers
|
|
 CAUTION:
Self-adjusting scrapers are sharp and spring-loaded and can cause serious injury to you or others. Wear protective gloves to help prevent injury from cutting edges of blades or scraper.
CAUTION:
Self-adjusting scrapers are sharp and spring-loaded and can cause serious injury to you or others. Wear protective gloves to help prevent injury from cutting edges of blades or scraper.
NX,M63750,AX -19-09JUN98-1/4 |
|
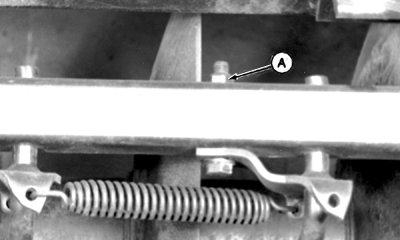
2.
Attach locking pliers to scraper arm (A) that has spring in lower hole.
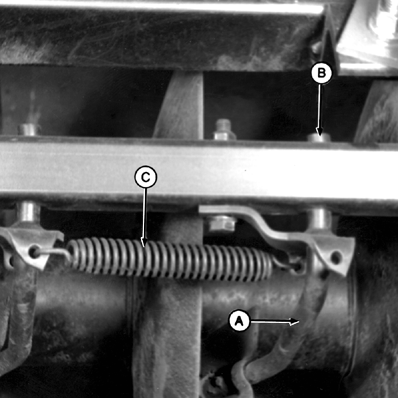
3. Pull scraper against spring and outward from scraper tube (B). 4. Disconnect spring (C).
|
|
NX,M63750,AX -19-09JUN98-2/4 |
|
5.
Remove spring pin (A) and scraper (B).
6. Install new scraper on scraper arm. Drive in new spring pin centered in scraper arm.
|
|
NX,M63750,AX -19-09JUN98-3/4 |
|
7.
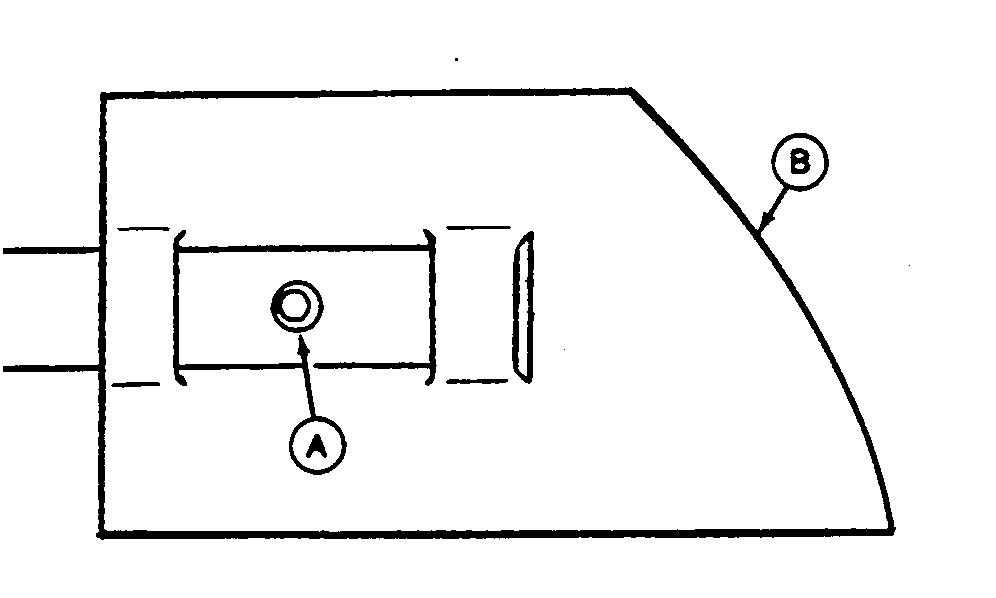
Install scraper with spring in upper hole (A) first.
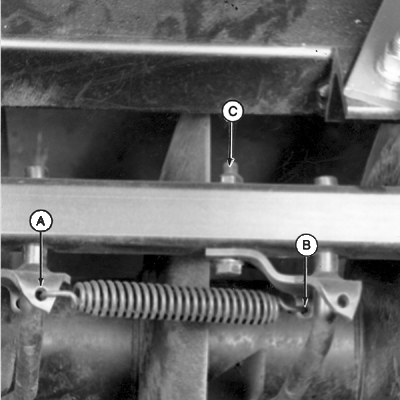
IMPORTANT: Premature scraper wear can occur. Do not position scrapers too tightly against blades. Gangs should revolve freely. 8. Connect spring to lower hole (B), pull against spring tension; starting scraper arm to hole of scraper tube. Straighten scraper arm with hole in tube and work scraper arm in place. Remove locking pliers. 9. Install cap screw, washer, and new lock nut (C).
|
|
NX,M63750,AX -19-09JUN98-4/4 |