Adjusting Doffer Column Tilt
-
NOTE: Radius and leaf gauges for PRO-16 and PRO-12 units are available through your John Deere dealer.
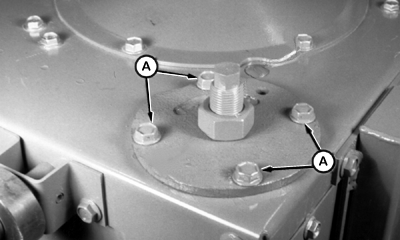
N42182YK-UN-24FEB98A - Cap Screws
Loosen four upper housing cap screws (A). -
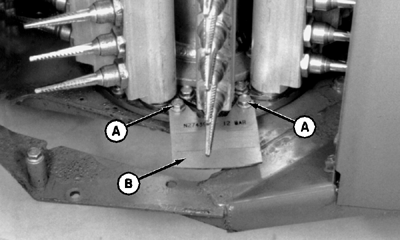
N42166BP-UN-18SEP95A - Stud Screws
B - Radius Gauge (12 Bar—N274391) (16 Bar—N274390)
Remove two picker-bar-pivot-stud screws (A). Install radius gauge (B) (12 Bar—N274391 or 16 Bar—N274390) with offset portion down and part number on top side. -
N42165EH-UN-01AUG95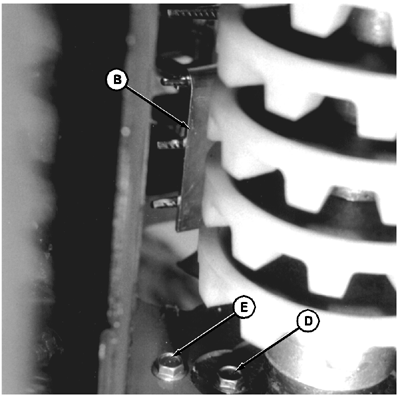
N42165EI-UN-01AUG95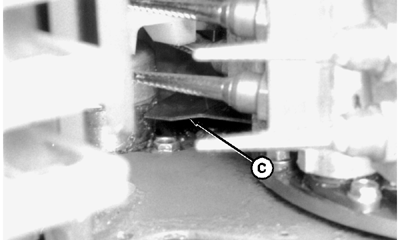
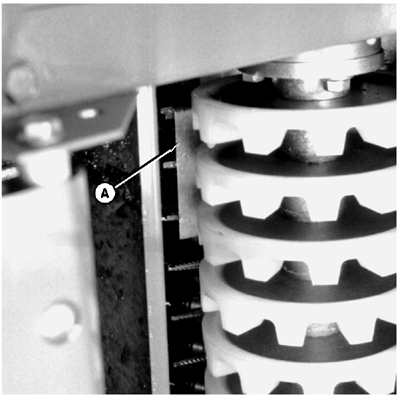
N42165EJ-UN-19SEP95A - Gauge (N117835)
B - Gauge, (12 Bar—N273460), (16 Bar—N117837)
C - Radius Gauge, (12 Bar—N274391) (16 Bar—N274390)
D - Bearing Housing Cap Screws
E - Adjusting Plate Cap Screws
Hang N117835 gauge (A) 1.52 mm (0.60 in.) over top spindle. -
PRO-12 units: Hang N273460 gauge (B) 2.29 mm (0.090 in.) over third spindle from bottom.
PRO-16 units: Hang N117837 gauge (B) 4.75 mm (0.187-in.) over third spindle from bottom.
-
Loosen three adjusting plate cap screws (E).
-
NOTE: Do not loosen bearing housing cap screws (D).
Rotate doffer column until gauges touch doffer. Position doffer against upper and lower gauges with radius gauge (C) (12 Bar N274391 or 16 Bar N274390) against lower bearing housing.
-
Tighten adjusting plate cap screws to specification.
Item Measurement Specification Adjusting Plate Cap Screws Torque 50 N˙m (37 lb.-ft.) -
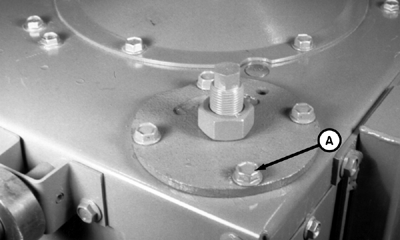
N42178RT-UN-03JUN97A - Cap Screws
Tighten upper housing cap screws (A) to specification.Item Measurement Specification Upper Housing Cap Screws Torque 50 N˙m (37 lb.-ft.) -
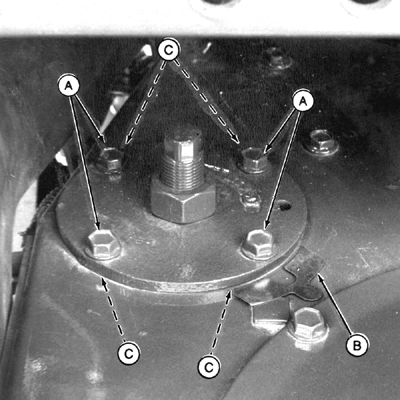
N42176FZ-UN-15AUG97Top
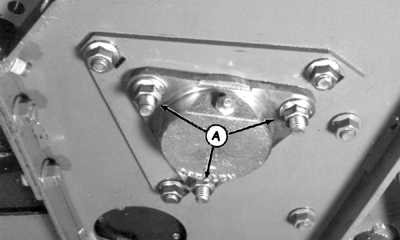
N42169JA-UN-09JUN97Bottom
A - Flange Head Cap Screws
B - Shims (N34164)
C - Shim Locations
If doffer bearings bind after making previous adjustment, loosen top and/or bottom bearing cover flange head cap screws (A) and shim any gap. Use 0.254 mm (0.010 in.) N34164 shims (B) at locations (C) as necessary. -
Tighten all flange head cap screws to specification.
Item Measurement Specification Flange Head Cap Screws Torque 50 N˙m (37 lb.-ft.) -
Check doffer height to see that pads lightly touch the spindles under the leading edge of the column. (See ADJUSTING DOFFER COLUMN HEIGHT—NORMAL CONDITIONS in this section.)
-
Check doffer stub shaft run-out using a dial indicator. Do not exceed specifications.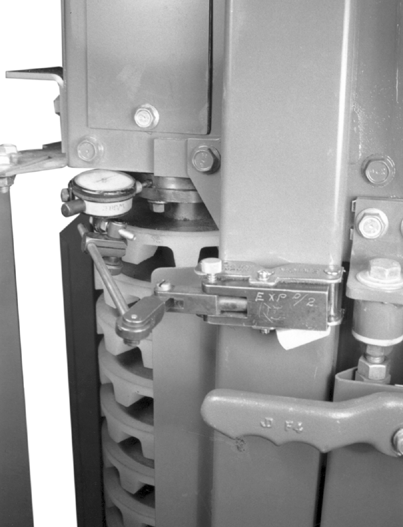
N42178RW-UN-03JUN97Item Measurement Specification Doffer Stub Shaft Maximum Allowable Run-Out 0.25 mm (0.010 in.)
|
DP99999,000040E-19-20100325 |