Testing Thermostats Opening Temperature
To Remove Thermostats
-
 CAUTION: Explosive release of fluids from pressurized cooling
system can cause serious burns. DO NOT drain coolant until it has
cooled below operating temperature. Always loosen radiator pressure
cap or drain valve slowly to relieve pressure.
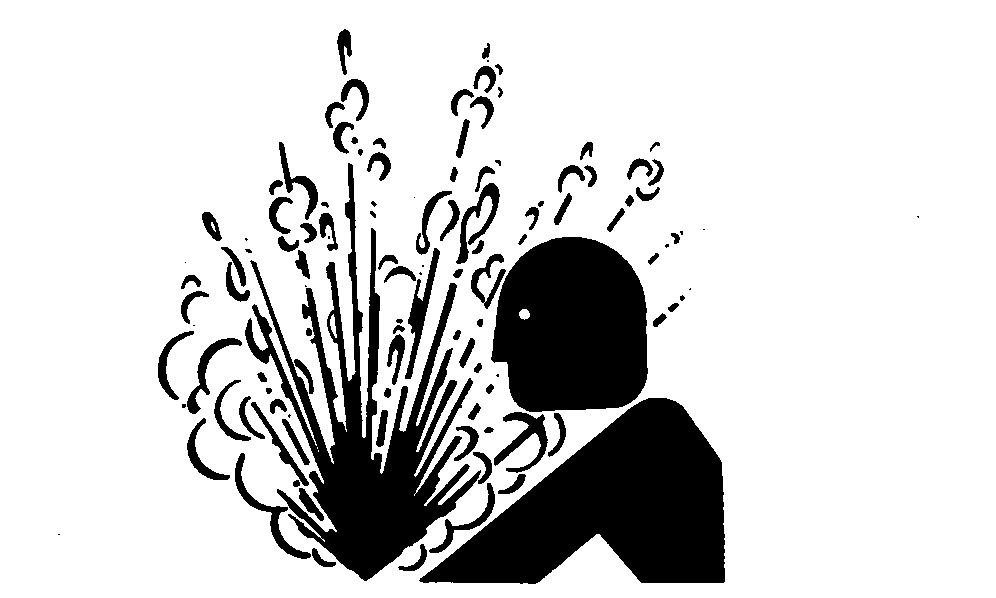
TS281-UN-15APR13High Pressure Fluids
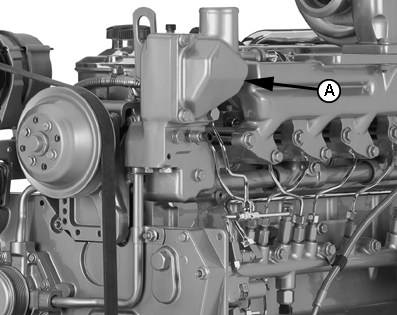
RG13737-UN-11NOV04Thermostat Cover
A - Thermostat Cover
Visually inspect area around thermostat housing for leaks. -
Remove radiator pressure cap and partially drain cooling system.
-
Remove thermostat cover (A). Clean and check cover for cracks or damage
-
NOTE: Some earlier 6.8 L engines may have one non-blocking thermostat. Replace the non-blocking thermostat with a partial blocking thermostat. See your engine distributor.
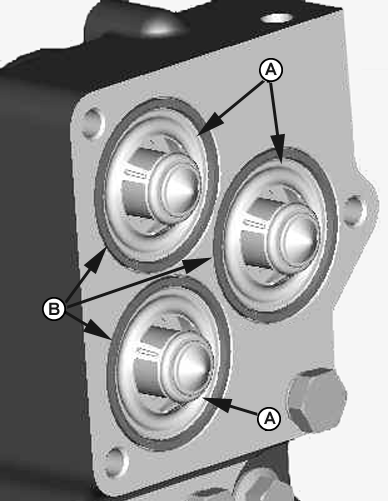
RG14362-UN-06JAN06Thermostats
A - Thermostats
B - Rubber Seal
Remove all three thermostats (A) from the housing. -
Remove and discard rubber seal (B) from each of the three thermostats.
Testing Thermostats Opening Temperature
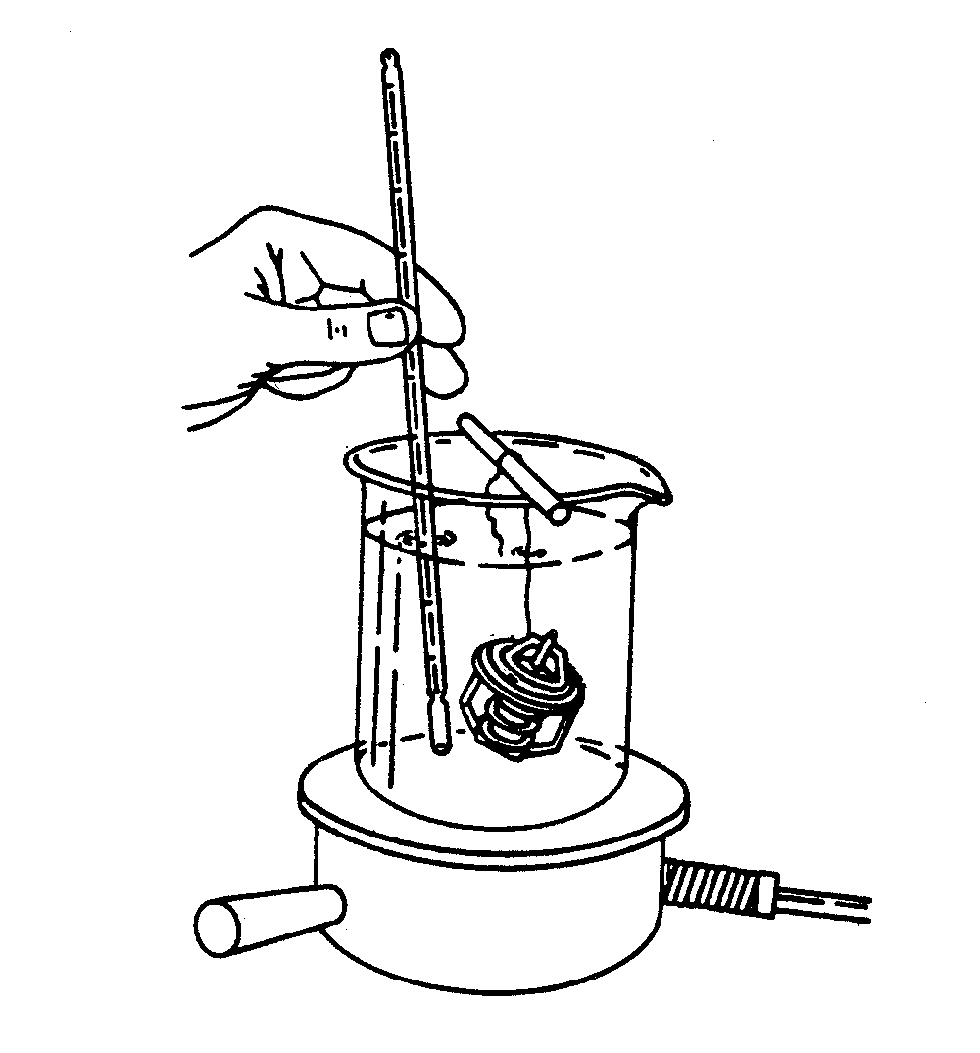
RG5971-UN-23NOV97
Testing Thermostat Opening Temperature
-
NOTE: Perform the following test for the two blocking thermostats as well as for the non-blocking thermostat.
Remove thermostats.
-
Visually inspect thermostats for corrosion or damage. Replace as a matched set as necessary.
CAUTION: DO NOT allow thermostat or thermometer to rest against
the side or bottom of container when heating water. Either may rupture
if overheated. -
Suspend thermostat and a thermometer in a container of water.
-
Stir the water as it heats. Observe opening action of thermostat and compare temperatures with the specification given in chart below.
NOTE: Due to varying tolerances of different suppliers, initial opening and full open temperatures may vary slightly from specified temperatures.
THERMOSTAT TEST SPECIFICATIONS
Rating
Initial Opening (Range)
Full Open (Nominal)
71°C (160°F)
69—72°C (156—162°F)
84°C (182°F)
77°C (170°F)
74—78°C (166—172°F)
89°C (192°F)
82°C (180°F)
80—84°C (175—182°F)
94°C (202°F)
89°C (192°F)
86—90°C (187—194°F)
101°C (214°F)
90°C (195°F)
89—93°C (192—199°F)
103°C (218°F)
92°C (197°F)
89—93°C (193—200°F)
105°C (221°F)
96°C (205°F)
94—97°C (201—207°F)
100°C (213°F)
99°C (210°F)
96—100°C (205—212°F)
111°C (232°F)
-
Remove thermostat and observe its closing action as it cools. In ambient air the thermostat should close completely. Closing action should be smooth and slow.
-
If any thermostat is defective, replace all three thermostats.
To Install Thermostats
RG14362-UN-06JAN06
Installing Thermostats
A - Thermostats
B - Rubber Seal
-
Install new rubber seal (A) for each thermostat.
-
IMPORTANT: Install each thermostat in the same location from which it was removed.
Install thermostats into housing.
-
Install thermostat cover and tighten thermostat cover cap screws to specifications.
Item Measurement Specification Thermostat Cover Cap Screw Torque 73 N·m (55 lb-ft) -
If not already done, fill cooling system and check for leaks.
IMPORTANT: Air must be expelled from cooling system when system is refilled. Loosen plug on top of thermostat housing to allow air to escape when filling system. Retighten plug after filling cooling system.
|
OURGP11,0000068-19-20060103 |