Daily Prestarting Checks
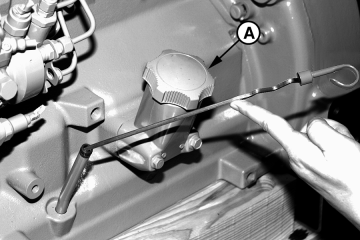
RG8009A-UN-16JUN00
Oil Filler Cap (Left Side)
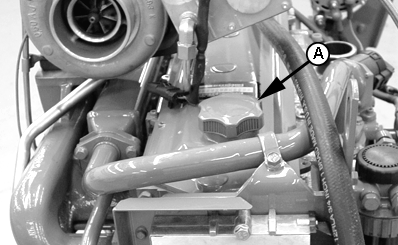
RG13731-UN-11NOV04
Oil Filler Cap (Rocker Arm Cover)
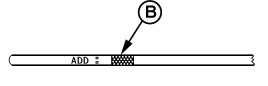
RG13730-UN-11NOV04
Crosshatch on Dipstick
A - Oil Filler Cap
B - Crosshatch Marks On Dipstick
Do the following BEFORE STARTING THE ENGINE for the first time each day:
IMPORTANT: DO NOT add makeup oil until the oil level is BELOW the crosshatch marks (B) on the dipstick.
-
Check engine oil level on dipstick. Add as required, using seasonal viscosity grade oil. (See DIESEL ENGINE OIL in Fuels, Lubricants, and Coolant Section for oil specifications.)
Depending on application, oil may be added at oil filler cap (A) on left side of engine, right side of engine (not shown), or rocker arm cover location.
IMPORTANT: DO NOT fill above the top mark on the dipstick. Oil levels anywhere within crosshatch marks (B) are considered in the acceptable operating range.
-
 CAUTION:
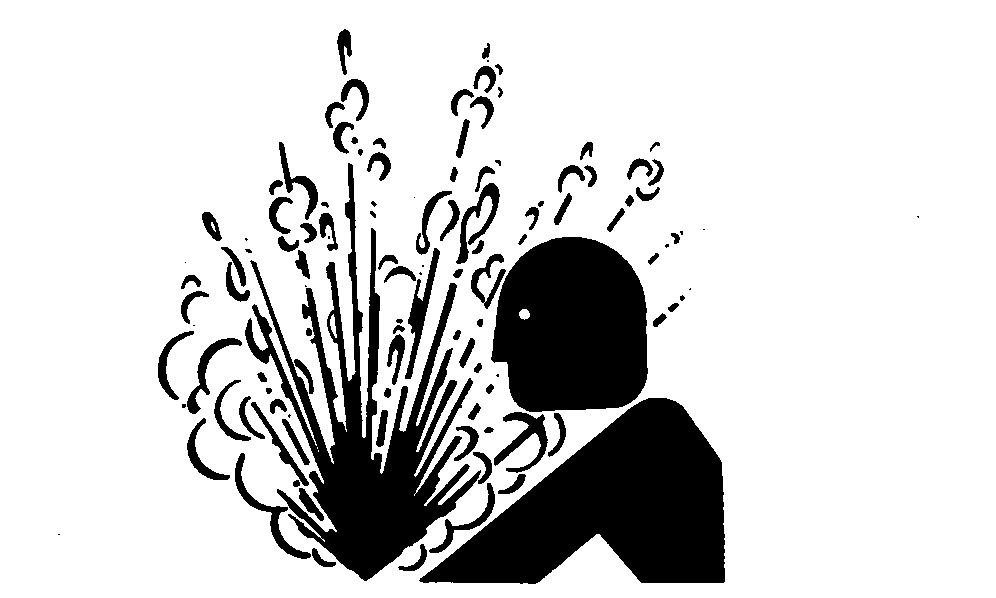
TS281-UN-15APR13High-Pressure Fluids
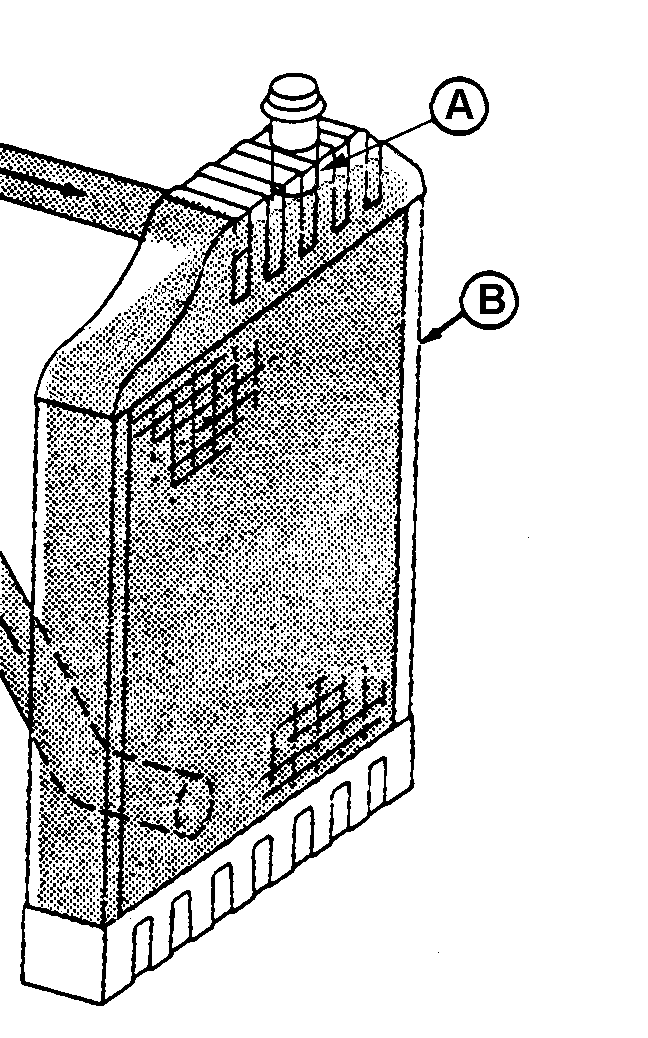
RG13295-UN-20NOV03Fill Radiator
A - Radiator Filler Neck
B - Radiator
Explosive release of fluids from pressurized cooling system can cause serious burns.Only remove filler cap when engine is cold or when cool enough to touch with bare hands. Slowly loosen cap to first stop to relieve pressure before removing completely.
Check the coolant level when engine is cold. Coolant level should be at bottom of surge tank filler neck or radiator filler neck (A). If equipped with a translucent surge tank, coolant level should be at cool fill line indicator on surge tank. Add proper coolant solution to radiator (B) or surge tank with if level is low. (See ADDING COOLANT in Service As Required Section.) Check overall cooling system for leaks.
NOTE: Refer to your vehicle's operator's manual for recommendations for non-John Deere supplied accessories.
-
NOTE: Engine is equipped with a water-in-fuel sensor at the primary fuel filter (C). Indicator light will signal the operator that water should be drained from the filter bowl.
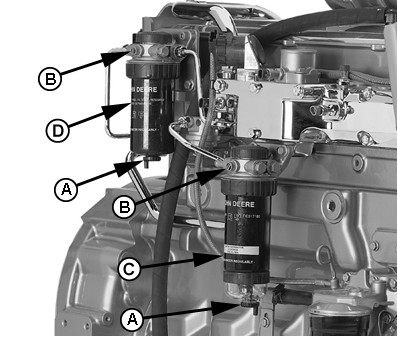
RG13808-UN-07DEC04Drain Fuel Filters
A - Drain Plug
B - Air Bleed Plug
C - Primary Fuel Filter
D - Final Fuel Filter
Check the primary fuel filter (C) and the final fuel filter (D) for water or debris. If filter is fitted with a see-through bowl, drain as needed based on a daily visual inspection.IMPORTANT: Drain water into a suitable container and dispose of properly.
-
Loosen drain plugs (A) at bottom of fuel filters or bowls, if equipped, half turn to one turn.
-
Loosen air bleed plugs (B) two full turns on fuel filter mounting and drain water from bottom until fuel starts to drain out.
-
When fuel starts to drain out, tighten drain plugs securely.
After draining water from the fuel filters, the filters must be primed by bleeding all air from the fuel system. See BLEEDING FUEL SYSTEM in Service As Required Section, later in this manual
-
-
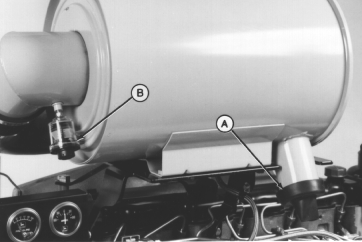
RG7332A-UN-22JAN99Dust Unloader Valve and Indicator Gauge
A - Dust Unloader Valve
B - Air Restriction Indicator
If the air cleaner has an automatic dust unloader valve (A), squeeze the unloader valve on air cleaner assembly to clear away any dust buildup.If equipped with air intake restriction indicator gauge (B), check gauge to determine if air cleaner needs to be serviced.
IMPORTANT: Maximum air intake restriction is 6.25 kPa (0.06 bar) (1.0 psi) (25 in. H2O). A clogged air cleaner element will cause excessive intake restriction and a reduced air supply to the engine.
-
Make a thorough inspection of the engine compartment. Look for oil or coolant leaks, worn fan and accessory drive belts, loose connections and trash build-up. Remove trash buildup and have repairs made as needed if leaks are found.
NOTE: Wipe all fittings, caps, and plugs before performing any maintenance to reduce the chance of system contamination.
Inspect:
- Radiator for leaks and trash build-up.
- Air intake system hoses and connections for cracks and loose clamps.
- Fan, alternator, and accessory drive belts for cracks, breaks or other damage.
- Coolant pump for coolant leaks.
NOTE: It is normal for a small amount of leakage to occur as the engine cools down and parts contract. Excessive coolant leakage may indicate the need to replace the coolant pump seal. Contact your engine distributor or servicing dealer for repairs.
|
OURGP11,0000069-19-20060104 |