Checking and Replacing Traction Drive Belt
 CAUTION: Rotating parts can catch fingers, loose clothing, or
long hair. Wait for engine and all moving parts to stop before leaving
operator’s station to adjust or service machine.
CAUTION: Rotating parts can catch fingers, loose clothing, or
long hair. Wait for engine and all moving parts to stop before leaving
operator’s station to adjust or service machine.
NOTE: The traction drive belt will not require a tension adjustment. Belt is self-adjusted using a spring tensioner.
Checking Traction Drive Belt
-
Park machine safely. (See Parking Safely in the Safety section.)
-
Remove retaining knob (A), and remove belt access panel (B).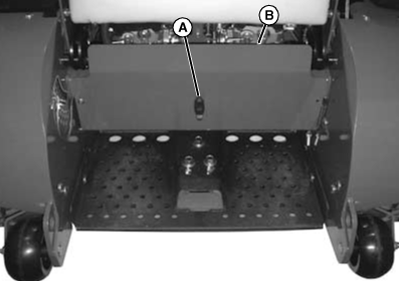
TCAL43664-UN-26MAR13 -
NOTE: Support mower deck securely before performing this procedure. Do not depend on latching mechanism alone to support the mower deck.
Raise mower deck to the highest cutting height position.
-
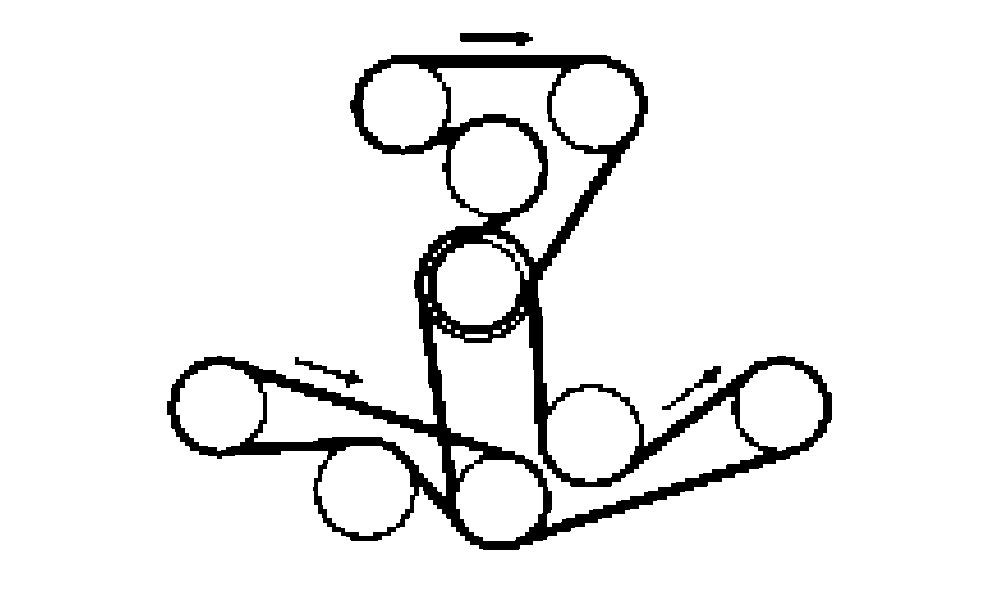
Inspect belt (C) for excessive wear, damage, or stretching.
TCAL43665-UN-26MAR13
Removing Traction Drive Belt
-
Park machine safely. (See Parking Safely in the Safety section.)
-
Remove mower deck drive belts. See Replacing Mower Deck Drive Belt in the Service Mower section.
-
Insert a 1/2 in. drive ratchet or breaker bar in square hole (A) in idler pulley arm (B).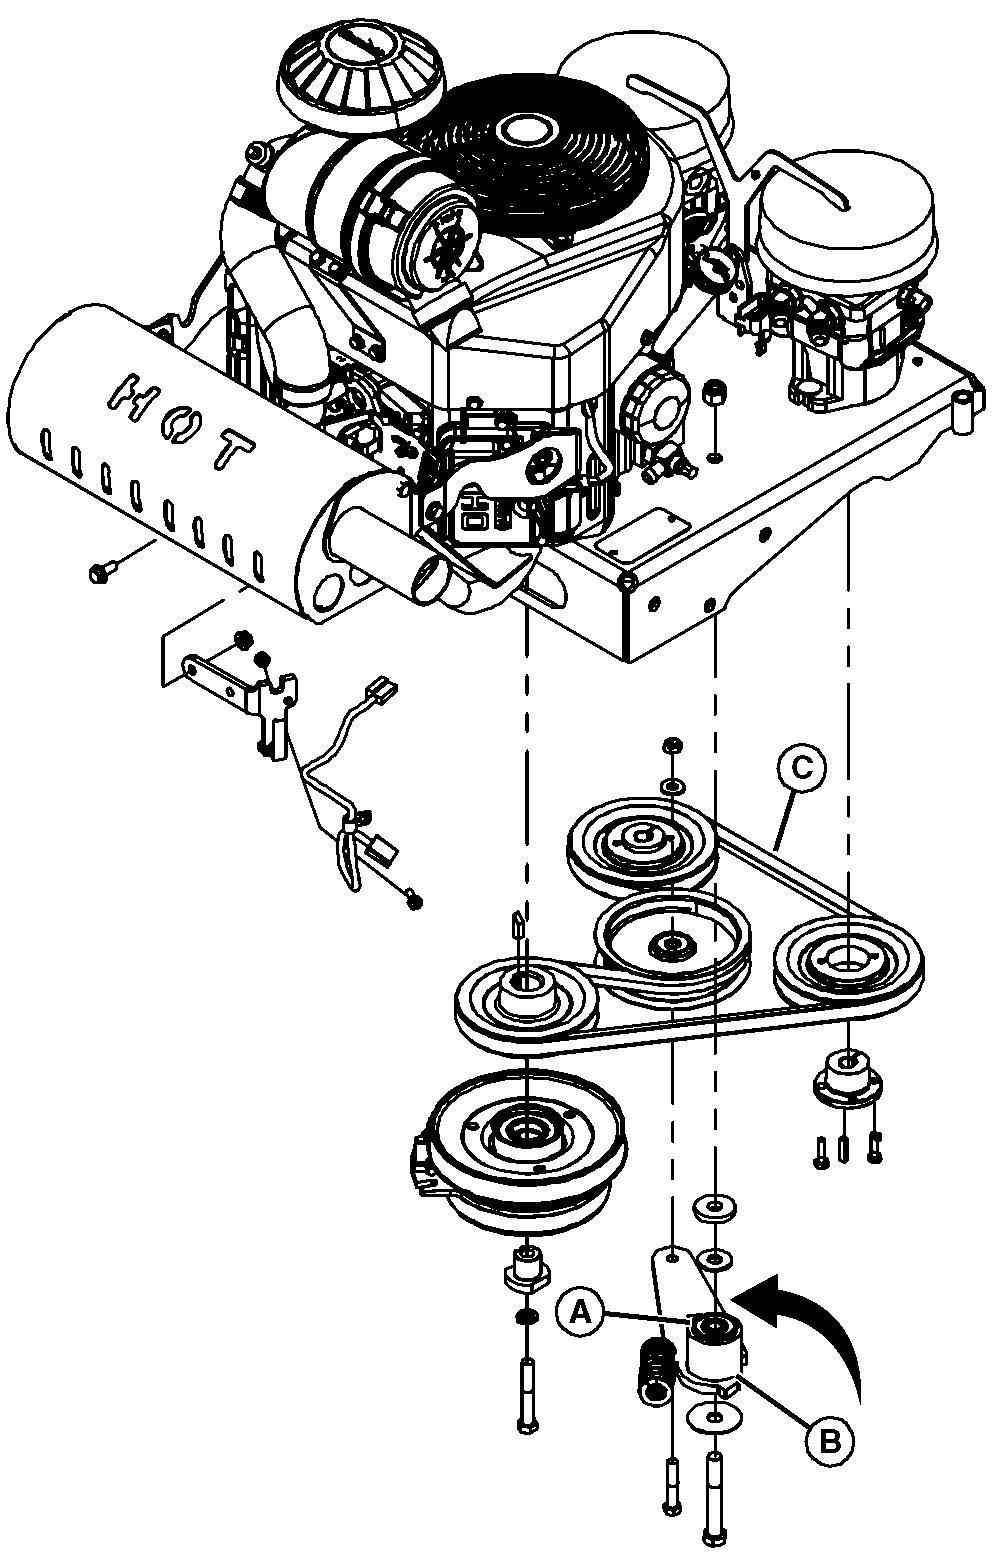
TCAL43666-UN-26MAR13 -
Rotate tension idler pulley arm (B) to remove tension from drive belt (C).
-
While holding idler pulley arm, remove traction drive belt (C).
Installing Traction Drive Belt
TCAL43667-UN-26MAR13
-
Use a 1/2 in. drive ratchet or breaker bar to rotate idler pulley arm as shown above and hold in place.
-
Install traction drive belt on drive sheaves.
-
Slowly allow idler arm to rotate into belt.
-
Install belt shield.
|
BB87125,0001475-19-20130708 |