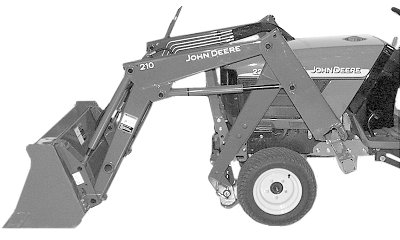
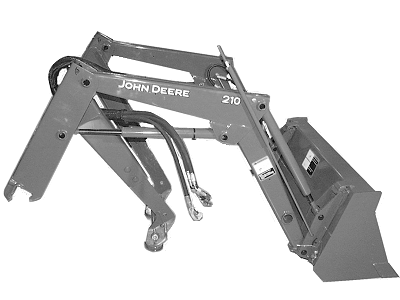
Removing Loader
1.
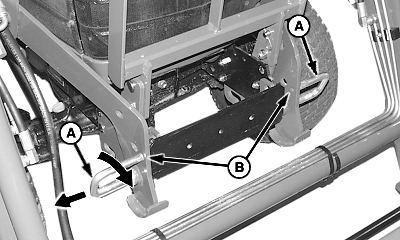
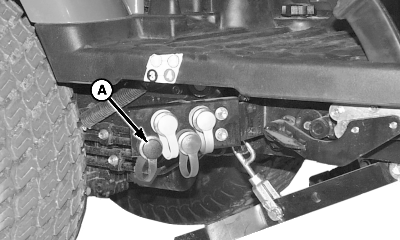
Pull out on latch locks (A) and turn forward into storage hole (B), as shown.
A-Latch Locks
B-Storage Hole
|
|
|
|
OUO6077,00015C7 -19-27NOV02-1/7
|
|
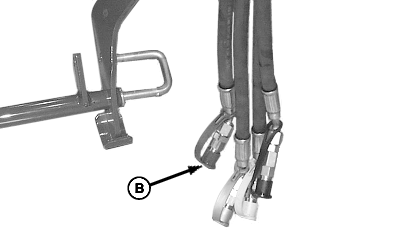
2.
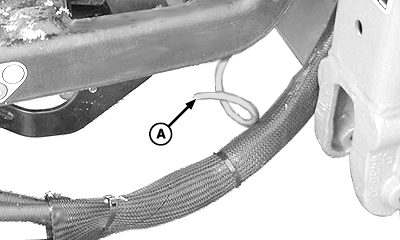
Remove hydraulic hoses from guide (A).
3.
Start tractor engine.
A-Hose Guide
|
|
|
|
OUO6077,00015C7 -19-27NOV02-2/7
|
|
4.
Extend lift cylinders. Latch bar will lower and masts will lift out of rear frames.
5.
Raise masts high enough to clear front tires.
6.
Engage tractor parking brake and/or place transmission in "Park".
7.
Shut off tractor engine and remove key.
|
|
|
|
OUO6077,00015C7 -19-27NOV02-3/7
|
|
 CAUTION:
To avoid injury from escaping hydraulic oil under pressure, relieve pressure in the system before disconnecting hydraulic oil lines. CAUTION:
To avoid injury from escaping hydraulic oil under pressure, relieve pressure in the system before disconnecting hydraulic oil lines.
8.
Move multi-function control lever back and forth and side-to-side several times to relieve hydraulic system pressure.
|
|
|
|
OUO6077,00015C7 -19-27NOV02-4/7
|
|
9.
Disconnect hoses at couplers and install dust plugs (A) and caps (B).
A-Dust Plug (4 used)
B-Dust Cap (4 used)
|
|
|
|
OUO6077,00015C7 -19-27NOV02-5/7
|
|
IMPORTANT:
To avoid hose damage, be sure hoses do not catch on tractor when moving away from loader.
10.
Store hoses on lift cylinder. DO NOT lay them on the ground.
11.
Start tractor engine.
12.
Disengage tractor parking brake and/or place transmission in reverse and slowly move away from loader.
|
|
|
|
OUO6077,00015C7 -19-27NOV02-6/7
|
|
13.
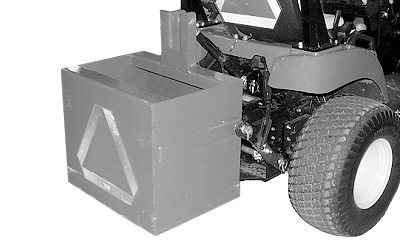
Remove ballast box. (See REMOVING BALLAST BOX in this section.)
A-Hitch Control Lever
|
|
|
|
OUO6077,00015C7 -19-27NOV02-7/7
|
|