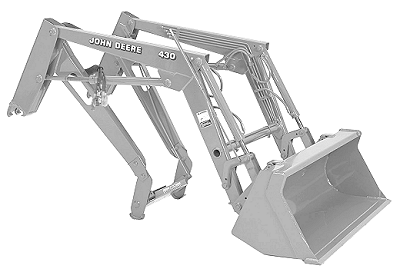
Preparing to Attach Loader
1. Attach ballast box and make sure tractor is prepared for loader operation. (See Preparing the Tractor section.) |
 CAUTION:
To help prevent personal injury from tractor instability, be sure to prepare tractor for loader operation as outlined in Preparing the Tractor section. Be sure to attach ballast box before attempting to attach loader.
CAUTION:
To help prevent personal injury from tractor instability, be sure to prepare tractor for loader operation as outlined in Preparing the Tractor section. Be sure to attach ballast box before attempting to attach loader.
OUMX005,00017FF -19-23FEB04-1/6 |
|
2.
Check loader for any damaged or missing parts.
3. Make sure all hydraulic fittings on loader and tractor are free of dirt. |
|
OUMX005,00017FF -19-23FEB04-2/6 |
|
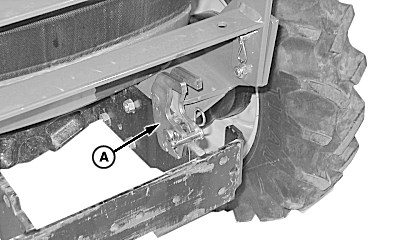
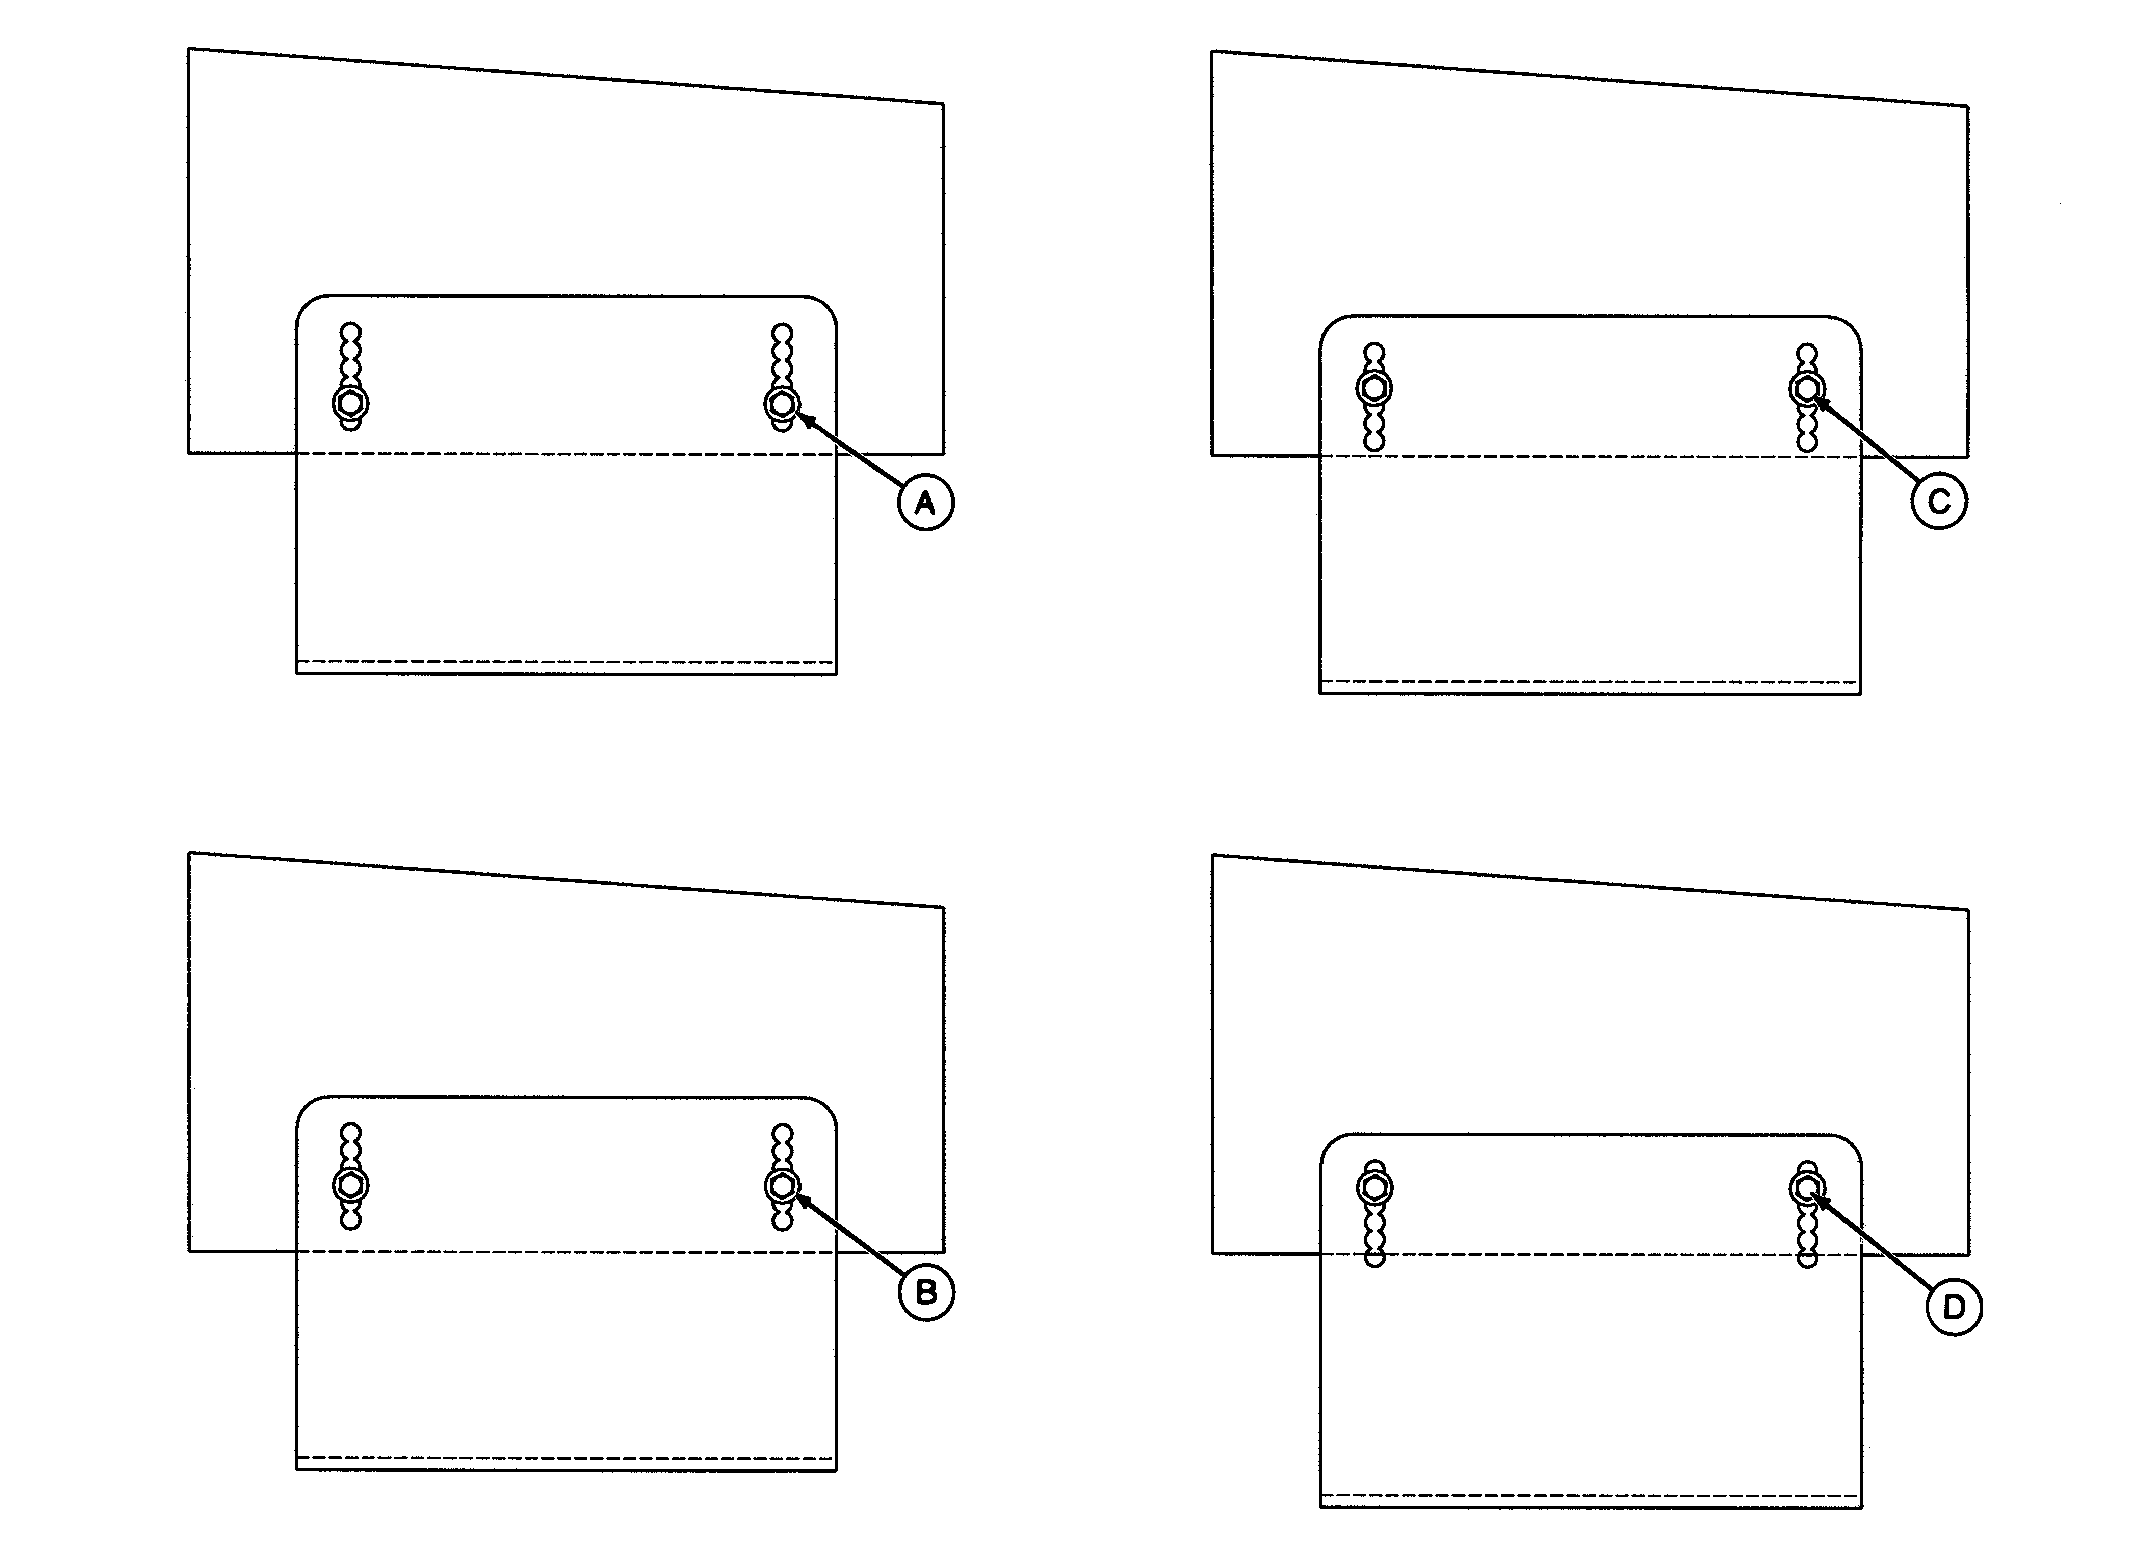
IMPORTANT: Make sure all latches are in correct position. 4. Make sure latches (A and B), if equipped, are UP, as shown.
|
|
OUMX005,00017FF -19-23FEB04-3/6 |
|
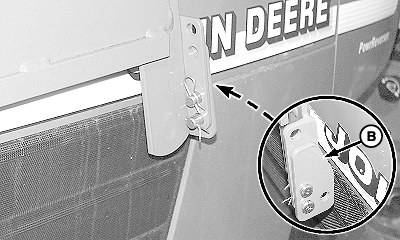
NOTE: 430 on 970 and 1070 Tractor; Latch (A) is located on right-hand mast. Loader for 990 and 4000 series tractor shown. 5. Loader latch (A) should be unlatched and pushed forward into slot (B).
|
|

OUMX005,00017FF -19-23FEB04-4/6 |
|
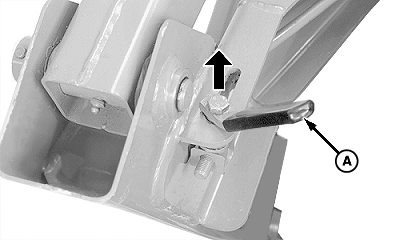
NOTE: Due to variations in tire sizes and individual parking methods, additional adjustment of stop plates may be required. 6. 460 only; Adjust stop plates (A) to prevent loader mast from interfering with tractor platform while parking the loader.
|
|

OUMX005,00017FF -19-23FEB04-5/6 |
|
|
|
|
|
|
Remove screws, place stop plates in position shown for specific loader/tractor/tire combination, and reinstall screws. Repeat on opposite side. |
OUMX005,00017FF -19-23FEB04-6/6 |