Using Service Locks
Install Service Locks
-
E50093-UN-08AUG01
W00278-UN-04DEC91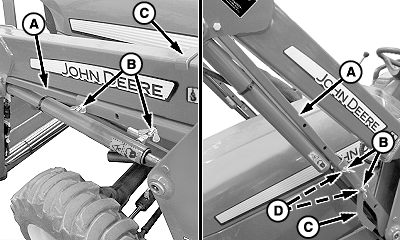
W22719-UN-26JUN12A - Extension (1 each side)
B - Cap Screws, Lock Washers, Wing Nuts (2 each per side)
C - Storage Bracket (1 each side)
D - Holes (end of extension)
Remove any load from bucket or attachment. -
IMPORTANT: Avoid machine damage. Do not lower loader onto service locks with hydraulic pressure applied or with load in bucket.
Engage parking brake or place transmission in PARK.
-
Start tractor and raise loader to maximum height.
-
Lock multi-function control lever (See LOCK OUT MULTI-FUNCTION CONTROL LEVER in Controls section.)
-
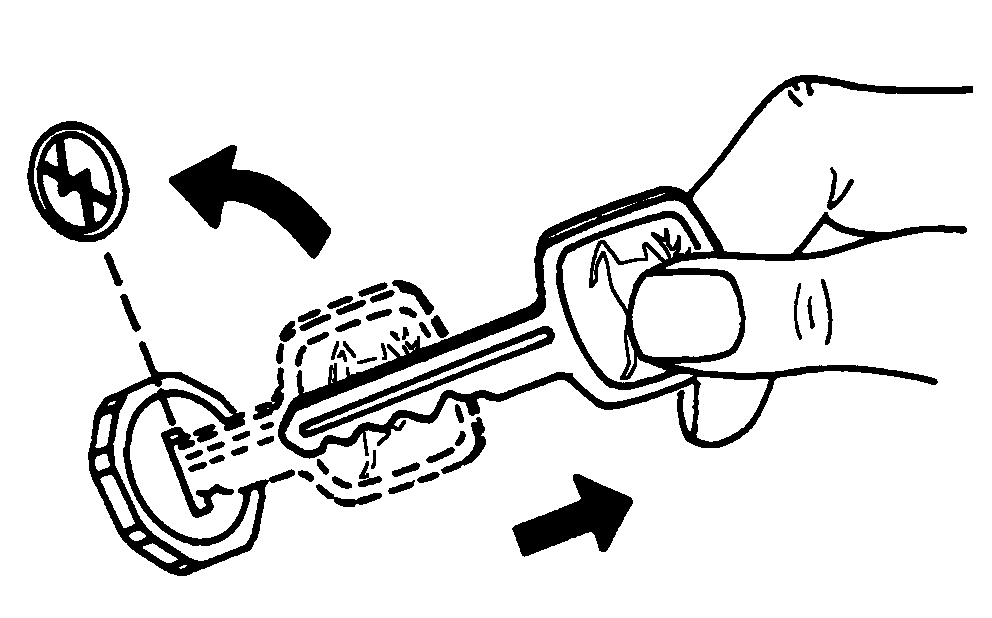
Shut off tractor engine and remove key.
-
 CAUTION: Avoid injury or death. Do not stand under a raised
loader.
CAUTION: Avoid injury or death. Do not stand under a raised
loader.Remove wing nuts, lock washers, and cap screws (B), and storage bracket (C).
-
CAUTION: To safely support weight of raised loader, make sure
cap screws (B) are installed through holes in outer sleeve and last
two holes (D) in end of extension.
Pivot service lock down and align holes on outer sleeve with last two holes (D) in end of extension (A).
-
Install cap screws, lock washers, and wing nuts (B), and storage bracket (C) as shown.
-
Unlock multi-function control lever by pushing lockout knob IN.
-
Dump bucket or attachment to relieve pressure.
-
Slowly relieve pressure in lift cylinders until booms lower and come to rest on service locks. (See procedure in your tractor Operator's Manual.)
Remove and Store Service Locks
-
CAUTION:
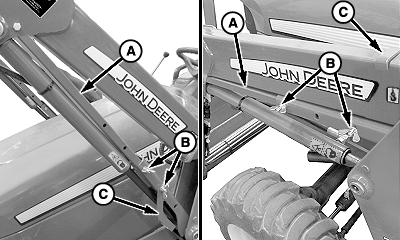
W22720-UN-26JUN12A - Extension (1 each side)
B - Cap Screws, Lock Washers, Wing Nuts (2 each per side)
C - Storage Bracket (1 per side)
Avoid injury or death. Do not stand under a raised loader. Lift service lock around the leveling link while standing to side of tractor and loader.Level the attachment with the ground then raise loader to maximum height.
-
Lock multi-function control lever, shut off tractor engine and remove key.
-
Remove wing nuts, lock washers, and cap screws (B).
-
Align extension (A) with inner set of holes in outer sleeve.
-
Align last hole in service lock with hole in storage bracket (C) and install cap screws, lock washers, and wing nuts (B).
-
Repeat Steps 3—5 on opposite side.
-
Slowly lower loader by releasing pressure.
|
OUO6038,00020F7-19-20120626 |