Adjusting The Automatic Tracking System With Steering DrawbarAfter the crop sprayer has been connected (see section "Coupling and Uncoupling of the Sprayer"), the following procedure must be followed to adjust the automatic tracking system on the steering drawbar. The spray booms must be unfolded, otherwise operation of the steering drawbar is not possible:
|
|
WZ00085,0000384 -19-05AUG05-1/2 |
|
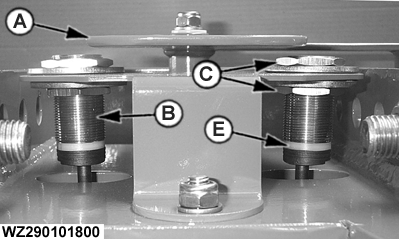
The steering cylinder is fitted with fixed restrictors with a diameter of 1.0 mm on the rod side of the cylinder and a diameter of 1.2 mm on the piston side of the cylinder. The restrictors have been set to an average driving speed of 4-6 km/h when turning. When oil flow at restrictors is increased, the system may turn unstable, because the cylinder operates at too large steps and as a result the "zero point" is never reached. Automatic Tracking With Adjustable RestrictorsThe machine can be equipped with a single or double steering cylinder with adjustable restrictors. The restrictors allow adjustment of the steering to different turning speeds. The cylinders are located unterneath the machine.
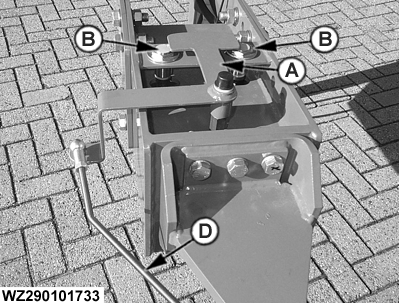
All restrictors on the machine need to be adjusted. The recommended speed when turning at the headland is 4-6 km/h. |
WZ00085,0000384 -19-05AUG05-2/2 |