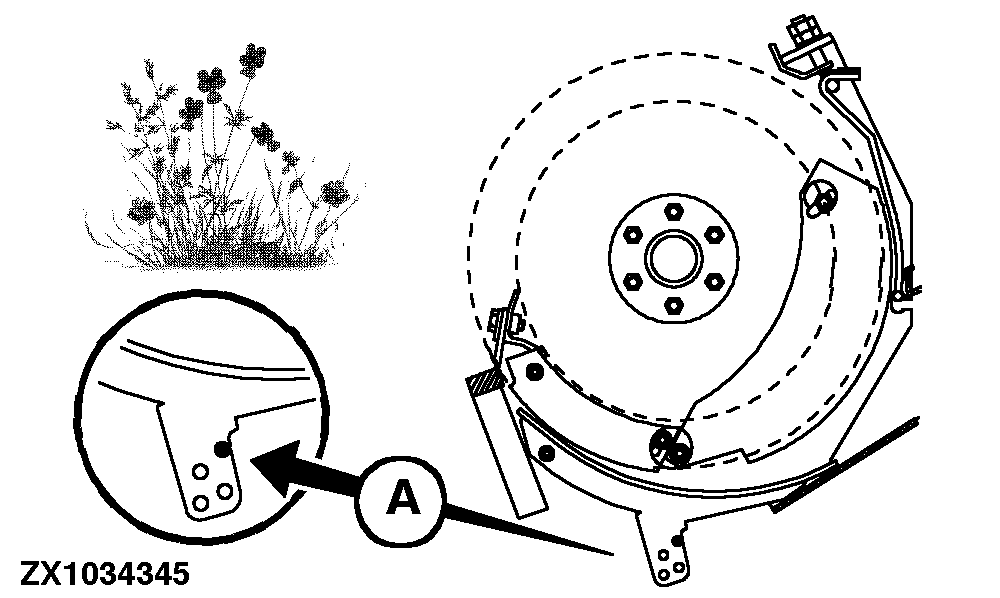
Adjusting Spiral FloorAdjusting for GrassHarvest grass only with the spiral floor at its maximum setting.
|
|
OUZXMAG,0001B8D -19-17OCT03-1/3 |
|
Adjusting for Corn (Maize)
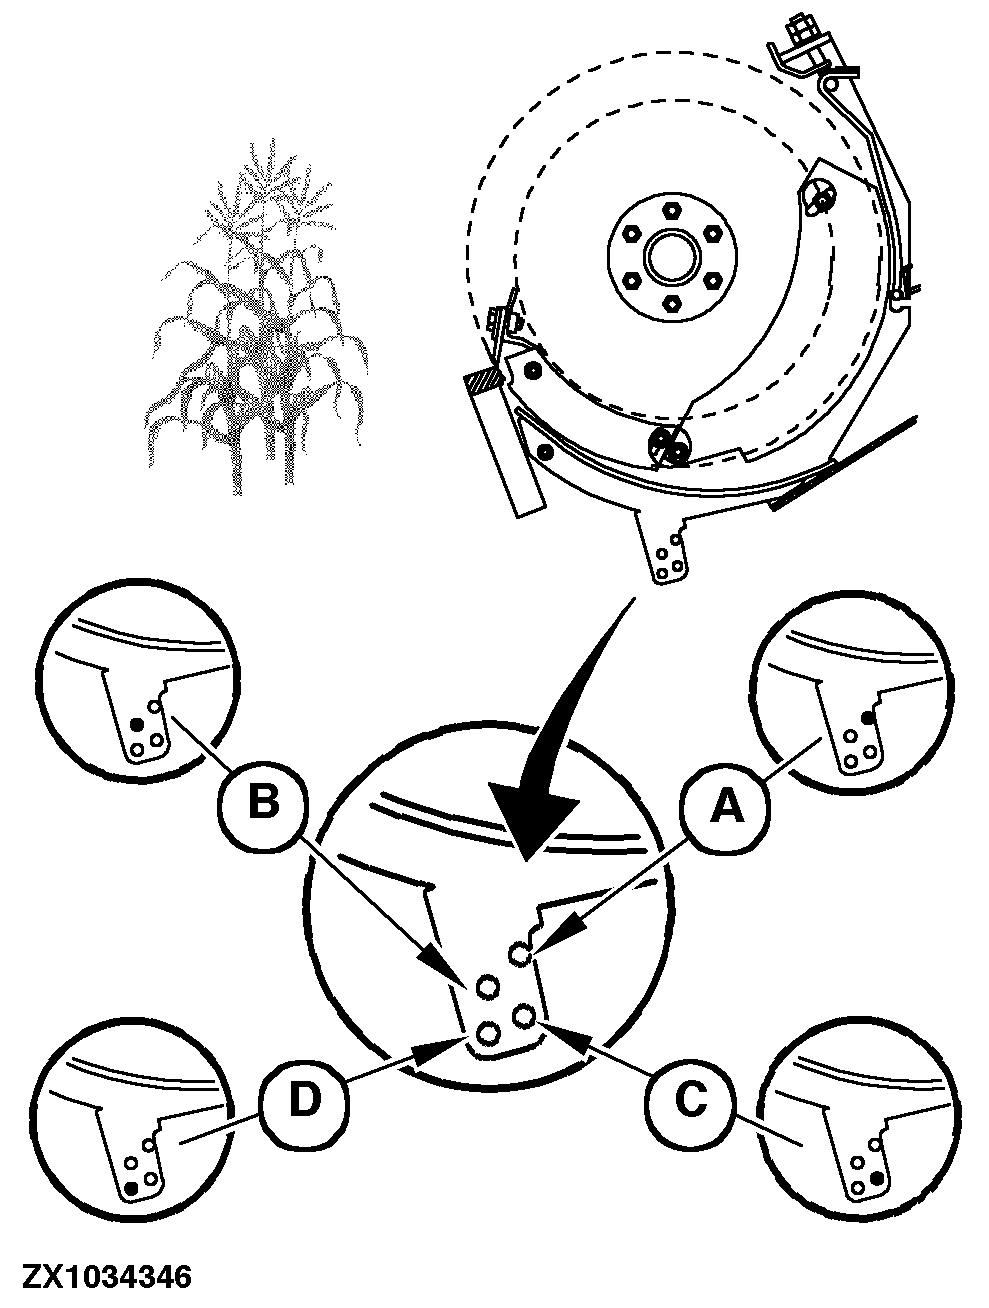
Always begin with the maximum setting (A) If harvesting unit in its operating position requires a re-adjustment of the spiral floor, keep the following in mind:
|
|
OUZXMAG,0001B8D -19-17OCT03-2/3 |
|
Spiral Floor Adjustment Chart
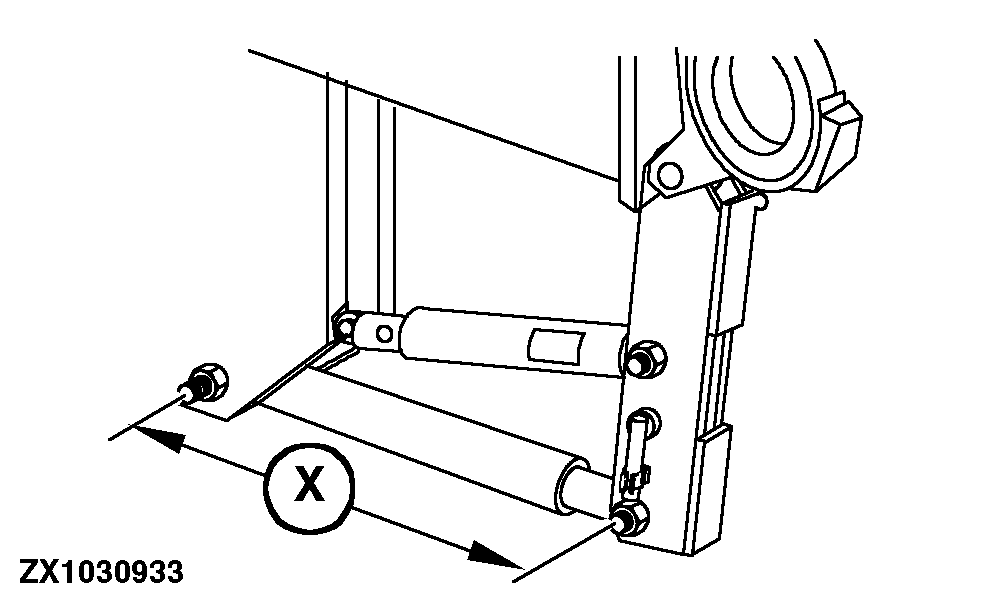
When the header is at its operating height, measure the length of lift cylinder (X) and compare with chart to obtain the correct pin holes you should use. NOTE: The following chart shows the cylinder length (X) at an operating height of min. 120 mm (0.47 in.).
Adjust the discharge chute (see this section and the "Kernel Processor" section). |
|
OUZXMAG,0001B8D -19-17OCT03-3/3 |


